
Using a voltmeter for diagnostics is crucial for identifying electrical problems. Start by ensuring safety; always check your equipment and wear protective gear. When you connect the voltmeter, do it in parallel with the circuit components. Choose the right voltage range slightly above your expected measurement for accurate results. Be cautious to avoid common mistakes, like incorrect probe placement or wrong range selection. Monitor the voltage drops across components to pinpoint issues effectively. Once you get the hang of it, you'll find troubleshooting easier than ever. There's much more to discover about maximizing your voltmeter's potential.
Key Takeaways
- Connect the voltmeter in parallel with circuit elements to measure voltage accurately without disrupting the circuit.
- Select a voltage range slightly above the expected measurement for precise results and avoid incorrect readings.
- Use digital voltmeters for quick monitoring of voltage changes and effective diagnostics in electrical circuits.
- Employ the hopscotch technique to locate voltage drops across different components in the circuit during troubleshooting.
- Always verify circuit power availability and switch positions before conducting any voltage measurements for safety.
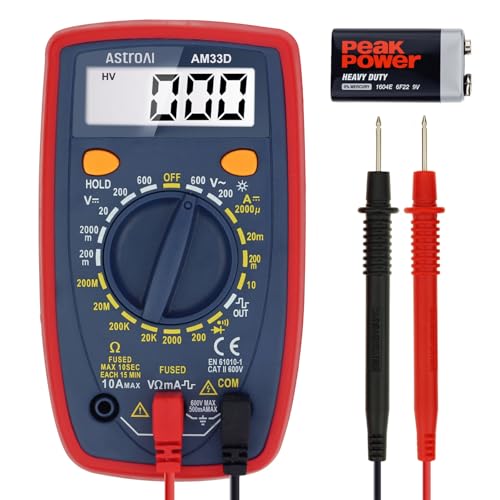
AstroAI Digital Multimeter Tester 2000 Counts with DC AC Voltmeter and Ohm Volt Amp Meter; Measures Voltage, Current, Resistance, Continuity and Diode, Blue
- Measurement Capabilities: Voltage, Current, Resistance, Diode, Continuity
- Versatile Use: Ideal for household and automotive testing
- Display Features: Backlight LCD with 3 ½ digits
As an affiliate, we earn on qualifying purchases.
As an affiliate, we earn on qualifying purchases.
Safety Precautions

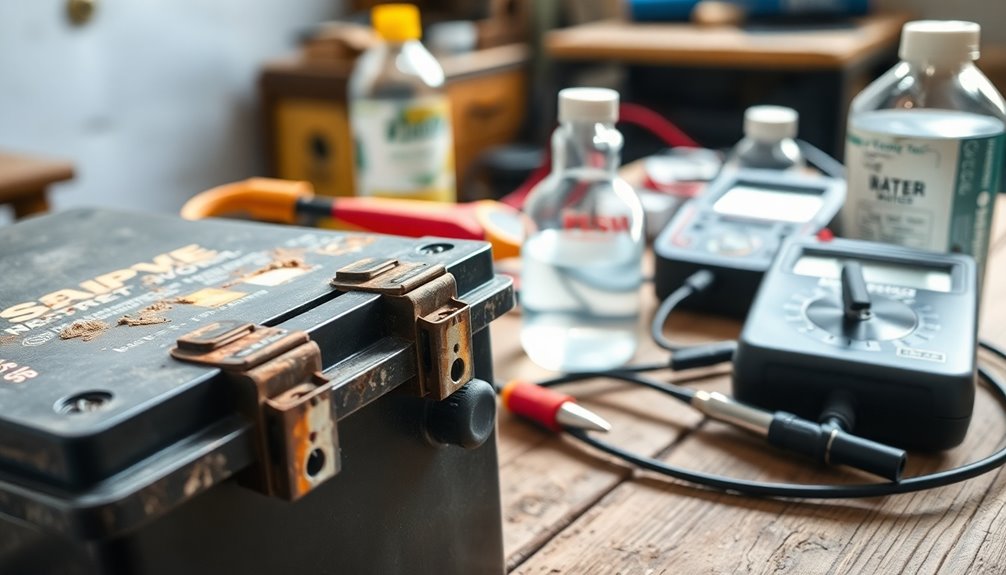
Ensuring your safety while using a voltmeter starts with taking the right precautions. First, visually inspect the voltmeter, test probes, and any accessories for physical damage. Make sure all plugs fit securely and check for exposed metal or cracks in the casing. Before you begin, verify that the voltmeter works properly using a known voltage source or a proving unit.
Next, you need to deenergize and discharge the circuit completely. Always use lock-out/tag-out procedures to ensure that the circuit is safe to work on. If these procedures aren't enforced, assume the circuit is live and take necessary precautions. Additionally, remember that a voltmeter measures voltage by connecting in parallel to the circuit for accurate readings.
It's also crucial to check for any signs of wear or damage on the test leads and meter casing to prevent mishaps.
Don't forget to wear appropriate personal protective equipment. Safety glasses or a face shield will protect you from potential electrical arcs, and insulated gloves will help keep you safe. Stand on an insulated mat to avoid electrical shock, and wear flame-resistant clothing.
Connecting the Voltmeter
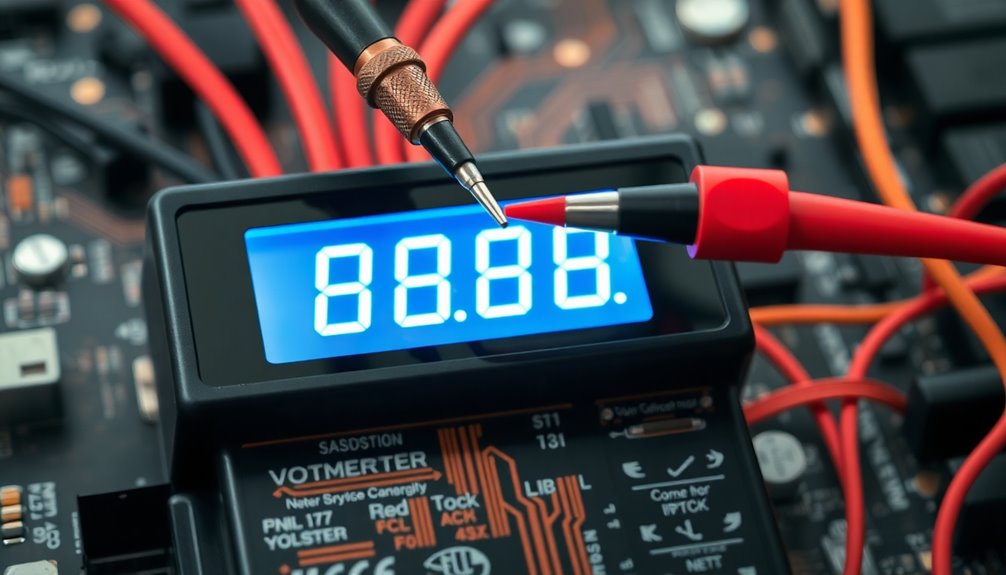
To connect a voltmeter properly, you should always place it in parallel with the circuit element you're measuring. This parallel connection ensures the voltmeter experiences the same potential difference as the device, providing accurate readings. Remember, connecting a voltmeter in series disrupts the circuit and yields incorrect measurements.
Identify the specific measurement points where you want to assess the voltage drop. For instance, to measure voltage across a light bulb, connect the voltmeter leads to the bulb's terminals. You won't need to disconnect any circuit elements, as you can add the voltmeter last without interrupting the flow.
If you're using a multimeter, insert the leads into the "COM" and "V" jacks, and set the dial to the right voltage range, like VDC or VAC. Make sure this range is slightly higher than the expected voltage to avoid damaging the multimeter. If you have an auto-ranging multimeter, it will handle the range selection for you.
For low-voltage measurements, connect directly in parallel; for high-voltage scenarios, use potential transformers to step down the voltage. This is particularly important for measuring HT voltage accurately in electrical systems.
In complex systems, ensure the wiring and switch configurations are correctly set for accurate phase voltage readings.
Measuring Voltage Techniques
Measuring voltage accurately requires a clear understanding of the techniques involved. First, you should choose the correct measurement range. Select a range slightly higher than the expected voltage to ensure accuracy. If you use a range that's too small, you risk getting inaccurate measurements.
Remember, manual-ranging multimeters require you to select the voltage range, while auto-ranging multimeters do this for you. Also, ensure your multimeter is set to the correct type of voltage, either DC or AC, before you start measuring.
Next, know your voltmeter types. Analog voltmeters display voltage with a needle but are slower and less sensitive, while digital voltmeters show numerical values and offer higher precision. They also respond faster to changes. Digital voltmeters are particularly useful because they provide stable readings, which aids in accurate diagnostics.
When measuring voltage in circuits, connect the voltmeter in parallel. For AC, the leads don't have positive or negative designations, but for DC, the red lead is positive and the black lead is negative.
As you take measurements, keep an eye on the results. Digital voltmeters can quickly track rapid changes, helping you identify voltage drops and diagnose electrical issues effectively.
Common Mistakes to Avoid
Common mistakes can lead to inaccurate voltage readings and potential damage to your equipment. One of the most critical errors is incorrect probe placement. When measuring current on a breadboard, always place the probes in series to avoid shorting power to ground, which can cause the power supply to brown out or the internal fuse to blow.
Remember to switch back to voltage mode after measuring current to prevent accidental short circuits.
Using the wrong range on your multimeter can also skew your readings. If you select a range that's too low, you might get an overloaded reading. Conversely, choosing a range that's too high can reduce precision. Adjust the range according to the expected measurement.
Misinterpreting readings is another common issue. High-impedance voltmeters can pick up phantom voltages that aren't real. Always validate your measurements against a known source to confirm accuracy. Additionally, ensure you understand Ohm's Law to interpret resistance values correctly, as it plays a crucial role in voltage calculations.
Finally, never underestimate safety precautions. Always use a non-contact tester for AC circuits, and ensure direct metal-to-metal contact when testing for voltage.
Trusting your voltmeter without validation can lead to dangerous situations. Stay cautious and double-check your findings!
Troubleshooting Strategies
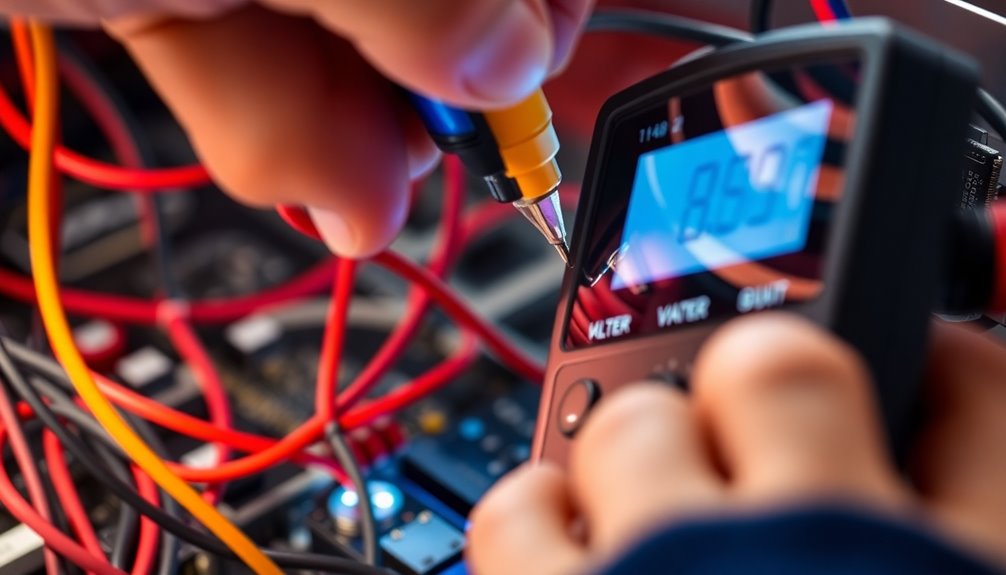
Effective troubleshooting strategies can make all the difference when diagnosing electrical issues. Start by verifying power availability to the circuit. Check if the breaker is off or if there's a general power outage. Ensure the switch is in the 'on' position and that your multimeter is set to the correct type of current—AC or DC. Always take safety precautions before you begin.
Next, identify voltage drops by testing at the power source and working through the circuit. Use "hopscotch voltage readings" to find where the voltage drops to zero. Check each component and wiring connection until you pinpoint any breaks in the circuit. Remember that voltage readings can indicate open switches or failed loads.
If you find voltage across a load but it doesn't work, that load has likely failed. If there's voltage across a switch, the switch is open. After isolating components, use an ohmmeter to check resistance and compare it to the manufacturer's specs to determine if it's open or shorted.
Finally, de-energize the circuit, isolate the faulty component or wiring, and make necessary repairs. Reconnect and retest the circuit to ensure everything's functioning properly. If needed, employ wire tracing equipment for complex issues.
Frequently Asked Questions
What Types of Voltmeters Are Available for Use?
There are several types of voltmeters available for your needs.
You've got analog voltmeters, which use a needle to display measurements but can be less accurate. Digital voltmeters show numbers on a screen, offering higher precision.
Specialized voltmeters cater to specific tasks, like measuring high voltages or both AC and DC.
Finally, multimeters combine multiple functions, letting you measure voltage, resistance, and current all in one device.
Choose based on your application.
How Do I Calibrate My Voltmeter for Accurate Readings?
To calibrate your voltmeter for accurate readings, set up a circuit with a potentiometer and rheostats. Measure the voltage with the potentiometer and compare it to your voltmeter's reading.
If there's a discrepancy, adjust the voltmeter until both readings match. Ensure you select the optimal range for your voltmeter, ideally between 2/3 and full scale, to minimize uncertainty.
Using a stable voltage reference can also enhance your calibration accuracy.
Can I Use a Smartphone App as a Voltmeter?
Yes, you can use a smartphone app as a voltmeter, but it depends on your device and the app you choose.
Make sure your phone is compatible and that you have the right hardware, like an SDI-12 converter or a USB adapter.
You'll need to download the appropriate app, set it up according to the instructions, and connect it to the sensors properly to get accurate readings.
What Is the Difference Between Analog and Digital Voltmeters?
When you compare analog and digital voltmeters, you'll notice some key differences.
Analog voltmeters display readings through a needle on a scale, requiring you to interpret the position. In contrast, digital voltmeters show numerical values directly, making them easier to read.
Digital options are generally more accurate and sensitive, while analog models are more affordable and energy-efficient.
However, digital voltmeters respond faster to voltage changes, enhancing their overall functionality.
How Often Should I Replace My Voltmeter?
You should consider replacing your voltmeter every few years, depending on usage and condition.
If you notice inaccurate readings, physical damage, or erratic behavior, it's time for a change.
Regular maintenance can extend its life, but if it no longer meets your accuracy needs or has outdated technology, don't hesitate to upgrade.
Staying aware of these factors helps ensure you've got the best tool for your measurements.
Conclusion
Using a voltmeter can significantly enhance your diagnostic skills, but safety should always come first. By connecting it properly and employing the right techniques, you'll gather accurate voltage readings. Avoid common mistakes, and remember to troubleshoot effectively to pinpoint issues quickly. With practice, you'll gain confidence in using this essential tool, making your diagnostic process smoother and more reliable. So, grab your voltmeter, stay safe, and get started on diagnosing those electrical problems!