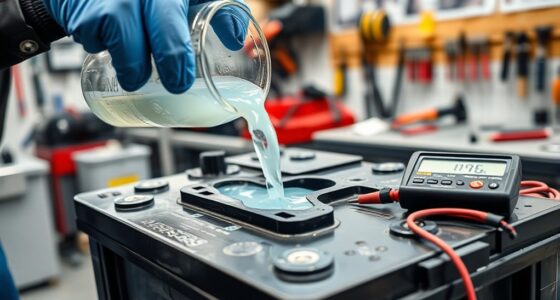
Did you know that a motorcycle battery can last up to a decade if well-kept? Additionally, many battery types, including lead-acid, AGM, and gel, have unique maintenance needs that affect their longevity and performance12. If your motorcycle battery has lost its charge, don’t be quick to replace it; instead, consider reconditioning it. In this comprehensive guide, you will learn practical steps on how to recondition a dead motorcycle battery, a cost-effective method that can extend its life and improve performance.
Understanding the reconditioning process can save you money and keep you riding smoothly. This guide will walk you through each step necessary for successful motorcycle battery reconditioning, ensuring that your ride is always ready when you are.
Key Takeaways
- Moto batteries can last a decade with proper care.
- Reconditioning can revive old batteries and enhance performance.
- Safe cleaning and charging practices are essential.
- Regular charging prevents sulfation in lead-acid batteries.
- Monitoring battery voltage is crucial for successful reconditioning.
Understanding Motorcycle Batteries
Motorcycle batteries are essential components that power your bike and ensure its smooth operation. They come in various motorcycle battery types, each with its unique characteristics and lifespan. Understanding these types can help you make informed decisions when it comes to maintaining or replacing your battery.
Types of Motorcycle Batteries
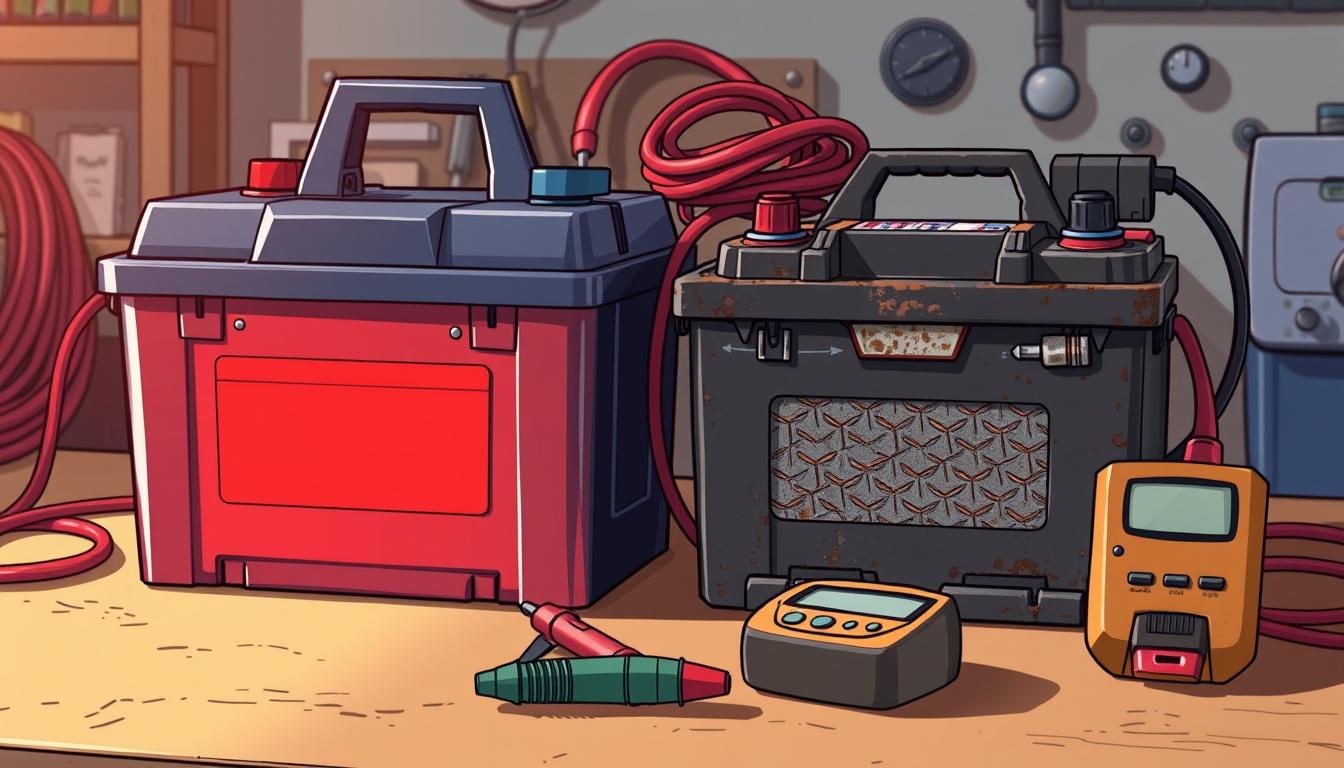
The most common motorcycle battery types include lead-acid, gel, and lithium-ion batteries. Lead-acid batteries have been the traditional choice for many riders. They are available in two subtypes: sealed lead acid (SLA) and valve regulated lead acid (VRLA). SLA batteries are compact and less prone to leaks, making them popular for various applications. Gel batteries offer a safety advantage, as they do not leak dangerous sulfuric acid in case of damage, making them a safer option overall3. Lithium-ion batteries tend to be lighter and have a longer lifespan, but they require careful handling and specific chargers.
Signs of a Dead Battery
Recognizing dead battery signs is vital for any motorcycle owner. Common indicators include an inability to hold a charge, decreased voltage levels, or dimming of lights when the bike is running. If your voltage reading drops below 12 V, it’s a sign that the battery is not fully charged4. When the voltage falls below 9.5 V during a load test, the battery is likely no longer functional and requires replacement4. Regular checks can prevent unexpected breakdowns and ensure reliable riding experiences.
Importance of Reconditioning
The importance of reconditioning motorcycle batteries cannot be overstated. Reconditioning can restore a battery’s capacity and performance, allowing it to serve you longer while saving you money on replacements. A well-maintained motorcycle battery can last up to a decade under optimal conditions4. It’s recommended to charge your battery at least once a month to prevent total discharge, particularly if you won’t be using your motorcycle for extended periods4. With the right techniques, you can breathe new life into your battery and improve your motorcycle’s reliability.

Tools You’ll Need
When reconditioning a motorcycle battery, having the right tools at your disposal is essential for a successful process. With the appropriate motorcycle battery tools, you can navigate both the reconditioning and testing phases confidently. Below are the categories of tools that will support you during this task.
Basic Tools for Reconditioning
The basic tools required for reconditioning include:
- A multimeter for measuring voltage levels
- An adjustable power supply (PSU) for charging
- Distilled water for topping up battery cells
- A screwdriver for terminal connections
- Protective equipment for safety
Having a voltage meter and possibly a charger on hand is beneficial, as they play a crucial role in maintaining battery health5.
Safety Gear
Safety gear for battery work is vital to shield you from harmful substances and potential accidents. Recommended safety gear includes:
- Goggles to protect your eyes from splashes
- Rubber gloves to prevent skin contact with battery acid
- An apron to protect your clothing from corrosive materials
Using protective equipment is crucial when handling old batteries due to potential hazards6.
Additional Equipment
Investing in additional battery reconditioning equipment can further facilitate the reconditioning process. Consider having:
- A flashlight for inspecting the battery environment
- A syringe for filling the battery cells accurately
- Battery terminal cleaners for removing corrosion
Staying well-equipped will help streamline the reconditioning process and improve the chances of restoring your battery effectively7.

Preparing the Battery
Before diving into the reconditioning process, proper preparation is vital for success and safe handling. Start by adhering to key battery safety precautions to mitigate any risks associated with working around a motorcycle battery. Always work in a well-ventilated area and wear protective gear, such as gloves and goggles, to protect yourself from harmful chemicals and possible battery explosions.
Safety Precautions
Implementing battery safety precautions doesn’t just safeguard your physical well-being; it also helps maintain the integrity of the battery itself. Ensure that you:
- Disconnect the battery from the motorcycle’s electrical system.
- Inspect for any visible signs of damage, such as cracks or leaks.
- Store the battery in a cool, dry place away from direct sunlight.
Removing the Battery from the Motorcycle
When removing the battery, careful handling is crucial. Start by ensuring the motorcycle is powered down, and then disconnect the terminals. Remember, negative (-) terminal should always be removed before the positive (+) terminal to prevent any short circuits. This method reduces hazards, ensuring a safer experience during your battery preparation.
Inspecting the Battery
Once you’ve successfully removed the battery, proceed to inspecting the motorcycle battery thoroughly. Look for signs of sulfation or any corrosion on the terminals. Verification of electrolyte levels is critical; ensure that they are sufficient to cover the lead plates inside. This inspection unveils the necessary steps to take in your reconditioning journey, paving the way for restoring your battery’s capacity and longevity.

| Inspection Criteria | What to Look For |
|---|---|
| Physical Damage | Cracks, leaks, or bulges |
| Electrolyte Level | Should cover lead plates |
| Terminal Condition | Signs of corrosion or wear |
| Voltage Levels | Shouldn’t be below 11.8V in open circuit |
In summary, accurately preparing your motorcycle battery sets the foundation for effective maintenance and repair. By understanding and applying battery safety precautions, systematically removing the battery, and conducting thorough inspections, you enable a seamless reconditioning process to extend the lifespan of your motorcycle battery89.
Cleaning the Battery Terminals
For optimal performance of your motorcycle, maintaining clean battery terminals is essential. This process involves several steps, particularly focused on effective corrosion removal and proper techniques for cleaning.
Removing Corrosion
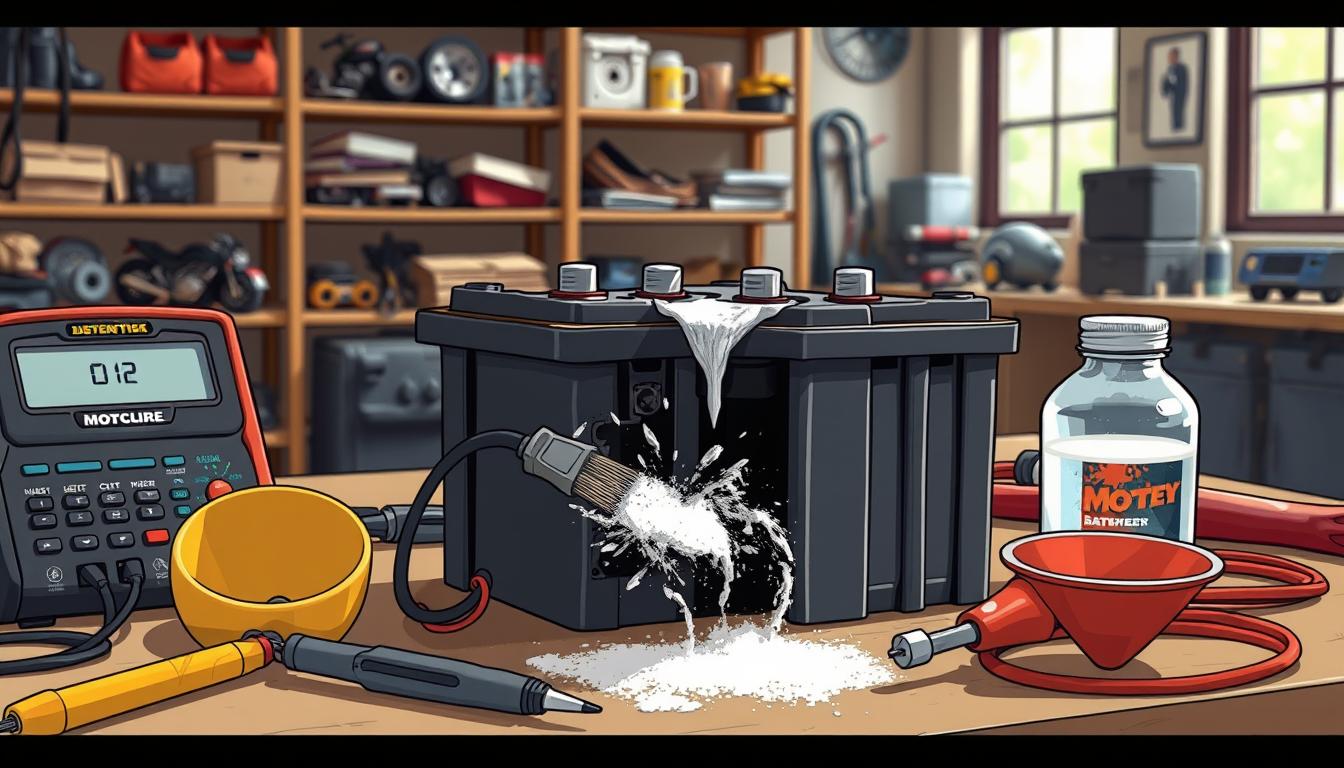
Inspecting for corrosion on your battery terminals should be a regular part of your maintenance routine. Most motorcycle owners primarily use their motorcycles recreationally, leading to long periods of battery inactivity, which can promote corrosion buildup. Neglecting battery maintenance may result in a weak or completely dead battery over time10. Use baking soda mixed with water as a simple solution for neutralizing acid and cleaning battery terminals. This effective corrosion removal technique prevents further deterioration and enhances connectivity.
Proper Techniques for Cleaning
While cleaning motorcycle battery terminals, disconnect the cables first, starting with the negative terminal. A visual inspection is crucial to detect any signs of corrosion that may hinder performance10. After applying the baking soda mixture, scrub the terminals gently with a wire brush to eliminate corrosion effectively. Fully dry the terminals afterward to avoid any moisture that could lead to additional corrosion. This process can help ensure that your battery is ready for optimal performance, allowing it to register a healthy voltage level of above 12.5 volts9.
Reattaching the Terminals
Once the terminals are clean and dry, it is important to reattach them correctly. Begin with the positive terminal, followed by the negative. This battery terminal reattachment process is paramount for ensuring a secure connection, which is essential for maintaining battery efficiency and longevity. Visual checks should be performed after reattachment to confirm that the terminals are snugly fit, thus promoting better performance during usage10.

Charging the Battery
When it comes to reconditioning a dead motorcycle battery, understanding the charging process for motorcycle batteries is crucial. Choosing the right battery charger can make a significant difference in revitalizing your battery effectively. Selecting an appropriate charger is essential, especially for those that have been deeply discharged.
Choosing the Right Charger
Different methods are available for charging motorcycle batteries, including jump-starters, trickle chargers, and jump-starting from another motorcycle. For motorcycle owners who do not ride regularly, it is recommended to charge the battery every other month to ensure it stays in good condition11. If you lack another motorcycle or a jump-starter, charging costs can reach up to $100, plus electricity fees11.
Step-by-Step Charging Process
The charging process involves connecting the charger to the motorcycle battery. Ensure the charger is set correctly according to the manufacturer’s guidelines to provide the proper voltage. Regularly check the battery voltage; a healthy battery should read 12.7 V or above when fully charged12. If voltage drops below 9.5 V during loading, the battery needs replacing12.
Monitoring the Charging
While charging motorcycle batteries, it’s essential to monitor both voltage and current to prevent overcharging, which can be detrimental. A typical charging session can last anywhere from 6 to 24 hours, depending on the charger’s amp hour rating12. Keeping an eye on the charging status helps maintain battery health and longevity.

| Charger Type | Time Required (Hours) | Best For |
|---|---|---|
| Trickle Charger | 12-24 | Maintaining charge |
| Jump-Starter | 1-2 | Quick starts |
| Standard Charger | 6-12 | Complete charging |
Following these guidelines will ensure that you manage the charging motorcycle battery process effectively, paving the way for a successful reconditioning of your battery. Safety precautions during charging are paramount due to the inherent risks associated with electricity and battery emissions11.
Testing the Reconditioned Battery
After successfully reconditioning your motorcycle battery, it’s essential to conduct thorough testing to ensure it’s in optimal condition for use. This process comprises various steps, including load testing and checking voltage levels to confirm effective restoration.
How to Perform a Load Test
To begin load testing the battery, connect a load tester to the battery terminals. Monitor the voltage drop while it is under load. A healthy battery should maintain a voltage above 12V during this process, indicating that it can handle the demands placed on it9. This method helps in determining the battery’s overall health and functionality.
Checking Voltage Levels
After the load test, use a multimeter to check the open circuit voltage of the battery. A battery voltage should not be lower than 11.8V, which corresponds to 30% charge level. Voltage readings can range, with 100% at 12.73V and only 10% at 11.51V9. Ensuring the voltage is within an acceptable range is critical for reliable motorcycle operation.
Signs of a Successful Reconditioning
Successful battery reconditioning signs include representing stable voltage levels, strong performance under load, and the ability to power a 12V device without significant drops. If, after the process, the battery now requires a higher charge, such as moving from 1Ah to 3Ah, this indicates changed performance characteristics13. Moreover, the presence of white fabric inside battery cells signifies a greater chance of revival compared to brown fabric with white lumps, which indicates poor reconditioning success14.

In summary, implementing these testing methods will help ensure your motorcycle battery is reconditioned and ready for reliable performance on the road91413.
Maintenance Tips for Battery Longevity
To ensure your motorcycle battery remains in optimal condition, adopting a proactive approach to maintenance is essential. Regular inspection practices should include checking terminals for corrosion, testing the battery voltage, and ensuring electrolyte levels are sufficient. Research indicates that long periods of inactivity can lead to a motorcycle battery draining or becoming weak, which emphasizes the need for routine checks every couple of months to ensure your battery holds sufficient charge15.
Regular Inspection Practices
While most well-maintained motorcycle batteries can last anywhere from two to five years, it’s crucial to monitor their health consistently. Look out for battery replacement indicators such as slow cranking and dimming lights; these symptoms often suggest that it’s time for a new battery16. Using a multimeter tester can help you measure your battery’s voltage, with optimal readings being above 12.5 volts to confirm a healthy battery status15.
Proper Battery Storage
Battery storage tips play a vital role in battery health. If you plan on not using your motorcycle for an extended time, store the battery in a cool, dry place and consider using a trickle charger to maintain charge levels. Modern smart chargers are particularly beneficial as they protect the battery and keep charging amperage low for optimal health16.
When to Replace the Battery
Understanding when to replace the battery is fundamental in your motorcycle maintenance routine. Frequent signs like failure to hold a charge or inability to start the engine indicate it’s time for a new battery. Consulting with professional motorcycle technicians can provide valuable insights if you’re uncertain about maintenance or troubleshooting battery issues16.
FAQ
How can I tell if my motorcycle battery is dead?
What tools do I need for motorcycle battery reconditioning?
Is it safe to clean motorcycle battery terminals at home?
How long does it take to recondition a dead motorcycle battery?
Can I revive a completely dead motorcycle battery?
How often should I perform maintenance on my motorcycle battery?
What are the best practices for storing a motorcycle battery?
When should I consider replacing my motorcycle battery?
Source Links
- https://www.vikingbags.com/blogs/news/dead-motorcycle-battery-recharge-it-or-replace-it?srsltid=AfmBOopSWAefLHtKrtjMCH8mHn6PiW3KR1Oed5msmmE3MwVP_GQ62gOa – Dead Motorcycle Battery: Recharge It or Replace It?
- https://www.rideapart.com/features/357577/ask-rideapart-dead-motorcycle-battery/ – Ask RideApart: I Killed My Motorcycle Battery. Now What?
- https://www.bravabatteries.com/repair-a-lead-acid-gel-battery/ – How to Refurbish and Repair a Lead Acid Gel Battery
- https://www.vikingbags.com/blogs/news/dead-motorcycle-battery-recharge-it-or-replace-it?srsltid=AfmBOopIcM2bm3Zl8OW5PxjaQcmJzaXmuAnbbwqr8wPnSHgGgnOe_AEY – Dead Motorcycle Battery: Recharge It or Replace It?
- https://www.powerbuilt.com/blogs/news/the-recap-motorcycle-battery-maintenance?srsltid=AfmBOoq8lZHfuE2pCfvrR3huisn4v92XmWL8uPdQ5-AaFYD7-H_Xhsqr – The Recap: Motorcycle Battery Maintenance
- https://www.fiero.nl/forum/Forum2/HTML/136900.html – Restoring Stored Dead Batteries to Life for less than $5
- https://www.vikingbags.com/blogs/news/dead-motorcycle-battery-recharge-it-or-replace-it?srsltid=AfmBOoqJmr3YX3nLuki6AUWWDH_H_WcLR2sgViCJ8caW8MOM3aINNcaV – Dead Motorcycle Battery: Recharge It or Replace It?
- https://laverdaforum.com/threads/bringing-a-dead-lead-acid-battery-back-to-life.95241/ – Bringing a dead lead acid battery back to life?
- https://www.instructables.com/How-to-revive-old-lead-acid-batteries/ – How to Revive Old Lead Acid Batteries
- https://www.powerbuilt.com/blogs/news/the-recap-motorcycle-battery-maintenance?srsltid=AfmBOoqKBXiOzZ-3Jbdwql2KJ0VaO2tsLE1-f0ErPeyiQNZJCpZmup57 – The Recap: Motorcycle Battery Maintenance
- https://www.thedrive.com/motorcycles/35000/how-to-charge-a-motorcycle-battery – How To Charge a Motorcycle Battery
- https://www.vikingbags.com/blogs/news/dead-motorcycle-battery-recharge-it-or-replace-it?srsltid=AfmBOopbfF1kxZECUwgJLGSK78jIJZmZr55TAF-VSkggFnBJNyz7MF2i – Dead Motorcycle Battery: Recharge It or Replace It?
- https://www.candlepowerforums.com/threads/reconditioning-lead-acid-batteries-with-epsom-salt.354586/ – Reconditioning Lead Acid Batteries with Epsom salt
- https://www.sportbikes.net/threads/any-way-to-revive-a-dead-battery.383915/ – Any way to revive a dead battery?
- https://www.powerbuilt.com/blogs/news/the-recap-motorcycle-battery-maintenance?srsltid=AfmBOoqwHnF2kn5hZw1kimd3jnB8GUYcQLRSyJlrImsl4I2xKAQvnR15 – The Recap: Motorcycle Battery Maintenance
- https://www.moto1.nz/blogs/news/essential-tips-for-motorcycle-battery-care?srsltid=AfmBOoqtrg8L-_qV_rHGJYgkTn44lxAX57_9-bd4HOQKfmCjgRj4HYeG – Essential Tips for Motorcycle Battery Care

