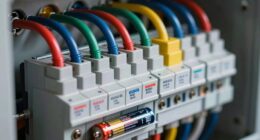

To restore your lawn mower battery, start by checking its condition—look for corrosion and ensure connections are tight. Clean the terminals with a baking soda solution to prevent issues. Next, use a suitable charger, charging the battery securely and avoiding overcharging. If needed, jump-start the mower safely, ensuring both batteries have similar voltage. Maintain battery health by regularly recharging and inspecting it, especially during storage. Follow these practices to maximize performance, and you'll be ready for ongoing success. Stick around, and you'll discover even more tips to keep your battery running like new!
Key Takeaways
- Inspect and clean battery terminals using a baking soda solution to remove corrosion and ensure optimal connections.
- Check battery voltage; charge if below 12.7 volts, and monitor charging to avoid overcharging.
- Regularly recharge the battery after each use and avoid complete discharges to extend its lifespan.
- Store the battery in a cool, dry place and perform periodic voltage checks during long-term storage.
- Utilize a smart charger with float charging capability to maintain battery charge without overcharging.
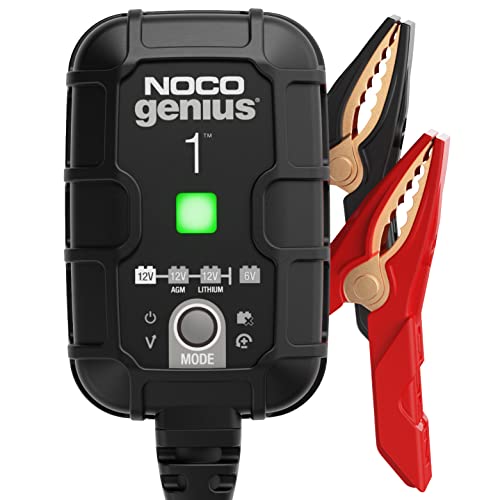
NOCO GENIUS1: 1A 6V/12V Smart Battery Charger – Automatic Maintainer, Trickle Charger & Desulfator with Overcharge Protection & Temperature Compensation – for Lead-Acid & Lithium Batteries
- Compact Design: 35% smaller, more powerful
- All-in-One Charging: Charger, maintainer, trickle, desulfator
- Versatile Compatibility: For 6V/12V lead-acid and lithium batteries
As an affiliate, we earn on qualifying purchases.
As an affiliate, we earn on qualifying purchases.
Assessing Battery Condition
Assessing the condition of your lawn mower battery is crucial for smooth operation and can save you from unexpected breakdowns. Start by checking the connections. Loose wires can prevent the battery from functioning properly, so look under the seat of your riding mower and gently pull on the wires to ensure they're securely attached. Tighten any loose connections to restore electrical flow.
Next, listen for sounds when you try to start the mower. If you hear a clicking sound, that usually indicates a weak battery. No sound or a slow crank means the battery may be dying. These sounds serve as early warning signs that you might need a replacement soon. Regular maintenance, including trickle charging, can enhance battery performance and prolong its lifespan.
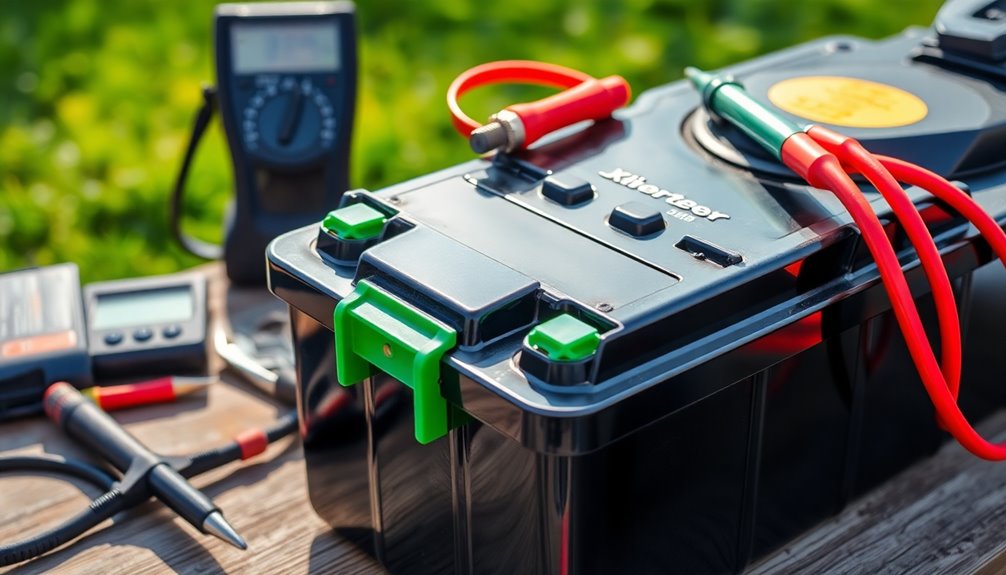
You should also verify the battery's voltage using a multimeter. Set it to DC, and connect the positive lead to the red terminal and the negative lead to the black. A healthy battery should read around 12.7 volts, while anything below 12 volts suggests it's time for a new battery.
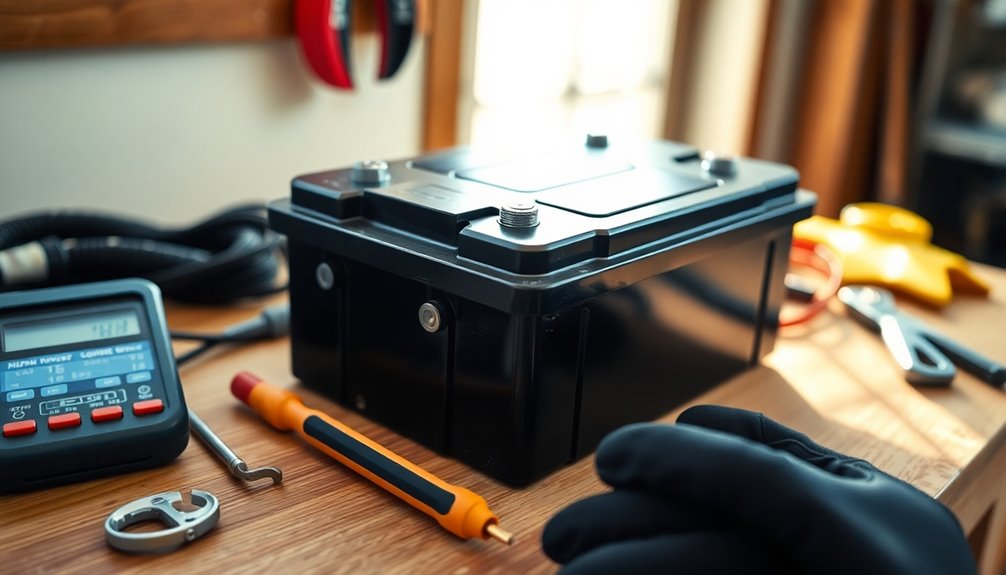
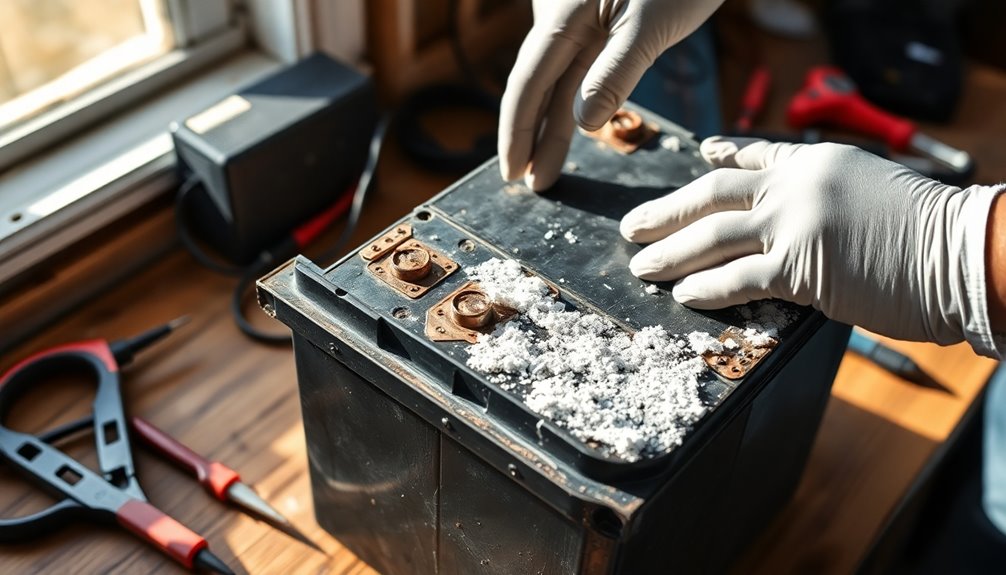
Finally, examine the physical condition of the battery. Look for corrosion on the terminals, and clean them if needed. Ensure the water reservoir is filled to the max for optimal performance.
Proper Charging Techniques
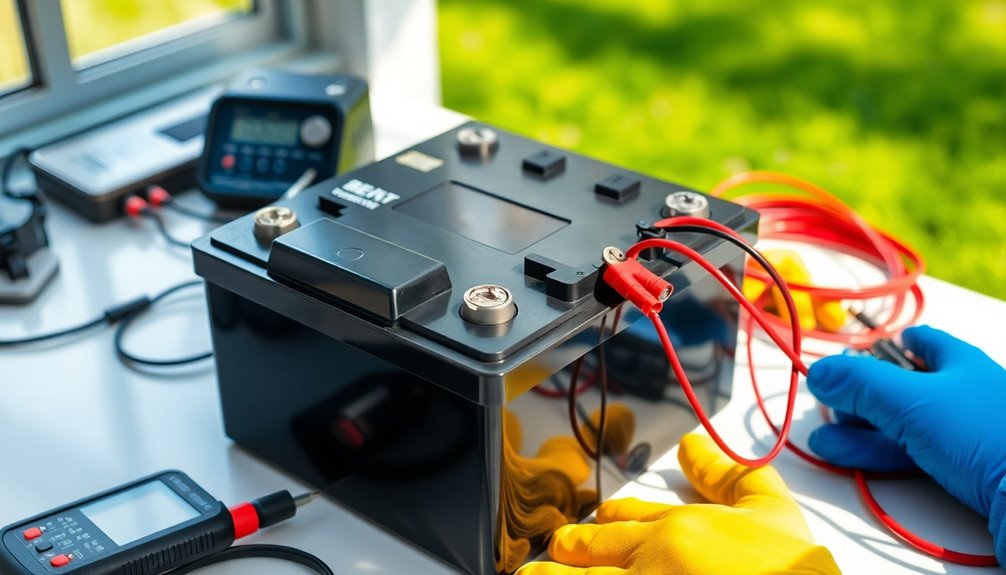
Once you've determined your lawn mower battery's condition, it's time to ensure it gets the right charge. Start by cleaning the terminals with a mixture of baking soda and a dry cloth to remove any corrosion.
Check the battery label to confirm its voltage and type, ensuring your charger matches these specifications. Always wear protective clothing, including gloves and safety glasses, and make sure there's good airflow in the charging area. Regular maintenance, including cleaning terminals, is essential for optimal battery health.
When connecting the charger, attach the positive (red) cable first, followed by the negative (black) cable. Set the charger's voltage to match your battery's. Make sure the cables are securely connected and avoid letting them touch any metal parts.
If your charger has adjustable settings, keep the amps below 2 to protect the battery. Charge in a dry, well-ventilated space, monitoring the process to prevent overcharging. For long-term maintenance, consider using a trickle charger for lead-acid batteries.
Once charging is complete, unplug the charger from the outlet and disconnect the cables in reverse order—negative first, then positive. Finally, inspect the battery and charger for any damage before storing them safely.
Safely Jump Starting
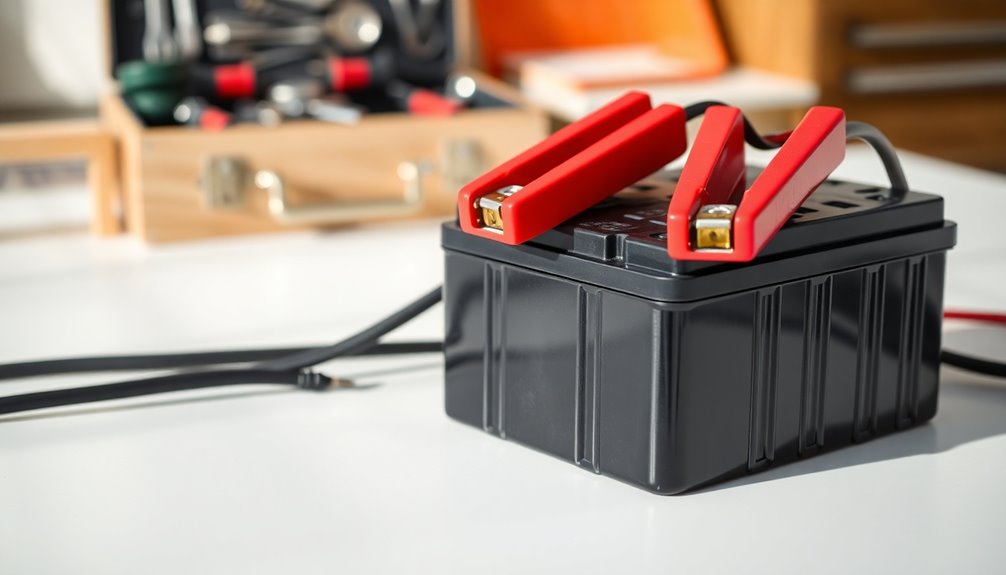
Jump-starting a lawn mower battery can breathe new life into your machine when it's struggling to start. Before you begin, ensure both the lawn mower and car batteries have similar voltages to avoid damage. Wear gloves and safety goggles to protect yourself from electrical hazards and battery acid leaks. Clear the area of any flammable materials or sparks.
Start by connecting the red jumper cable to the positive terminals of both batteries. Then, attach the black jumper cable to the negative terminal of the car battery and connect the other end to an unpainted metal part of the lawn mower's frame. Make sure the cables are securely attached and keep them away from moving parts.
Set the parking brake on the mower, ensure the PTO is off, and turn the ignition on. If the battery is completely dead, you might need to connect the cables to the starter motor instead of the battery terminals to jump start directly.
Once the mower starts, let it run for a few minutes to recharge the battery slightly. Finally, disconnect the cables in reverse order and fully charge the mower battery as soon as possible. If it doesn't hold a charge, consider replacing it.
Maintaining Battery Health

Maintaining your lawn mower battery's health is crucial for ensuring reliable starts and optimal performance. Regular charging is essential; make sure to charge your battery after each use, especially if you mow frequently. Use the charger specifically designed for your battery type, and either let it shut off automatically or unplug it once fully charged. Avoid letting the battery completely discharge, particularly during storage.
Keeping the battery terminals clean and secure is another vital task. Clean the terminals with a wire brush and a baking soda solution to prevent corrosion. Regular inspections can help identify issues early, allowing you to monitor battery condition and take action before performance declines.
Check connections monthly to ensure they're tight, and apply grease to keep them well-protected. Don't forget to remove dirt from the battery tray and surrounding area.
Proper storage during the off-season can extend your battery life. Store it in a cool, dry place, away from sunlight and freezing temperatures. Fully charge it before winter storage and check the charge level monthly, topping it up as needed. For flooded batteries, check the water levels and add distilled water if necessary.
Disconnect the battery from the mower during extended storage to prevent any drain.
Preventing Sulfation

To keep your lawn mower battery functioning at its best, preventing sulfation is key. Start by using smart chargers that adjust voltage and current based on your battery's needs. This ensures the battery doesn't get overcharged, which can lead to sulfation.
Monitor the charging times, and if you're using a charger without a desulfation mode, apply a low and slow charge to help break down any existing sulfation. It's important to remember that sulfation occurs when the State-of-Charge (SoC) drops below 100%.
Next, regularly check the electrolyte levels in batteries with removable caps. Top off with distilled water if necessary.
Visually inspect for sulfation build-up, especially around the terminals, and clean the battery tops to remove any discharge paths. If you see corrosion, use a mixture of baking soda and water with a wire brush to clean the terminals, ensuring good connections.
Lastly, ensure your charger has a float charging capability. This maintains the battery's charge without overcharging, further preventing sulfation.
Storage Guidelines
When it comes to storing your lawn mower battery, following the right guidelines can make all the difference in its longevity and performance.
First, remove the battery from the mower, disconnecting the negative cable before the positive cable. Clean the battery and terminals to prevent corrosion, using a baking soda and water paste if needed, and dry everything thoroughly.
Before storing, fully charge the battery or ensure it's at least 70% charged. Avoid leaving it in a discharged state to prevent permanent damage. If you can't keep it connected to a charger, charge it once a month, using a trickle or smart charger to maintain the charge without overcharging. Fully charged batteries are essential for winter operation to ensure reliable starting when needed.
Store the battery in a cool, dry place, avoiding direct sunlight and heat sources. Keep it away from freezing temperatures, as a discharged battery is more susceptible to freezing. Place it on a flat, stable surface, ideally in a climate-controlled environment.
Finally, check the battery charge every couple of months during winter storage. Recharge it fully before using it again and conduct regular voltage tests to ensure it's ready for action.
Signs of Battery Failure
Recognizing the signs of battery failure is crucial for keeping your lawn mower in top shape. First, check the battery terminals. If they're loose or corroded, it can cause connection issues and prevent proper power flow. Ensure the wires are securely attached and free from corrosion. Vibration can also lead to disconnections, so inspect those connections closely.
Next, pay attention to charging problems. If your battery won't hold a charge after eight hours or the voltage doesn't exceed 10.5 volts during charging, it's a red flag. If your charger indicates a full charge, but the voltage is 12.4 or less, that's another sign of trouble.
Monitor the voltage readings. A reading below 11.5 volts or anything showing 0 volts suggests a short circuit. Fully charged batteries should read at least 12.7 volts. A reading below 12.4V indicates sulfation issues, which can hinder battery performance and may require replacement.
Lastly, listen for physical and auditory indicators. If you hear a clicking sound when starting or notice dark fluid in the battery cells, it's time to investigate further. Low water levels and weak startup sounds signal that your battery may need attention before you can rely on your mower again.
When to Replace

Knowing when to replace your lawn mower battery can save you time and frustration. Typically, lawn mower batteries last between 3 to 5 years, with lead-acid batteries averaging 2 to 4 years and lithium-ion options lasting up to 5 years or more with proper care.
Pay attention to performance; if your mower struggles to crank or starts requiring frequent recharges, it may be time for a new battery. A voltage reading below 12 volts, like 11.5 volts, indicates replacement is necessary. Additionally, consider that battery quality plays a significant role in the overall lifespan of your battery.
Also, inspect for physical signs of failure. Visible corrosion on terminals or the battery itself can signal impending failure. If you notice rust on the battery holder, that can accelerate degradation.
Lastly, if your battery doesn't hold a charge after being fully charged or shows symptoms like dim headlights, it's likely dead.
In short, keep an eye on your battery's age, performance, voltage, and physical condition. Addressing these factors promptly will help ensure your lawn mower runs smoothly and efficiently.
Tips for Longevity

To keep your lawn mower battery in top shape and extend its lifespan, implementing a few key practices is vital.
Start by investing in a high-quality battery designed specifically for lawn mowers. Opt for well-known brands to ensure durability and compatibility with your mower model. Make sure you select the right type of battery, whether it's lead-acid or lithium-ion, as this choice impacts performance.
Usage matters too. Use your mower regularly but avoid overdoing it, especially in thick grass or wet conditions that can strain the battery. Follow the manufacturer's charging guidelines to prevent overcharging or undercharging. Charge your battery at least once a month during summer and weekly in winter, and never operate your mower with a nearly dead battery.
Maintenance is crucial. Clean the battery terminals regularly and use a baking soda solution to tackle corrosion. Ensure connections are tight and well-greased. Regular charge level checks are essential for optimal performance to ensure the battery is ready when needed.
Store your battery in a cool, dry place, fully charged for lead-acid types and partially charged for lithium-ion. Consider using a trickle charger during winter to maintain charge, and always keep it away from metal objects and liquids.
Frequently Asked Questions
Can I Use a Different Charger for My Lawn Mower Battery?
You shouldn't use a different charger for your lawn mower battery unless it matches the voltage and type specified by the manufacturer.
Check the battery label to ensure compatibility, as using the wrong charger can lead to issues like overheating or leaks.
Always opt for chargers equipped with safety features, and charge your battery in a well-ventilated area.
Following these guidelines helps maintain battery performance and longevity while keeping you safe.
How Often Should I Check My Lawn Mower Battery's Voltage?
You should check your lawn mower battery's voltage regularly to ensure it's in good shape.
It's best to do this after storage, before each use, and after charging. Seasonal checks at the start and end of mowing season are crucial too.
If you notice signs like no sounds when starting, slow engine cranking, or dim headlights, it's time for a voltage check.
Keeping an eye on these factors will help maintain optimal performance.
Is It Safe to Jump Start in Wet Conditions?
Jump-starting a battery in wet conditions isn't safe. Wet surfaces can cause your mower to slip, increasing the risk of accidents.
Plus, moisture heightens the chance of electrical shock when handling cables. It's best to avoid jump-starting until the area's dry.
If you must, use a charger in a well-ventilated, dry spot. Always check your battery's health and wear protective gear to stay safe during the process.
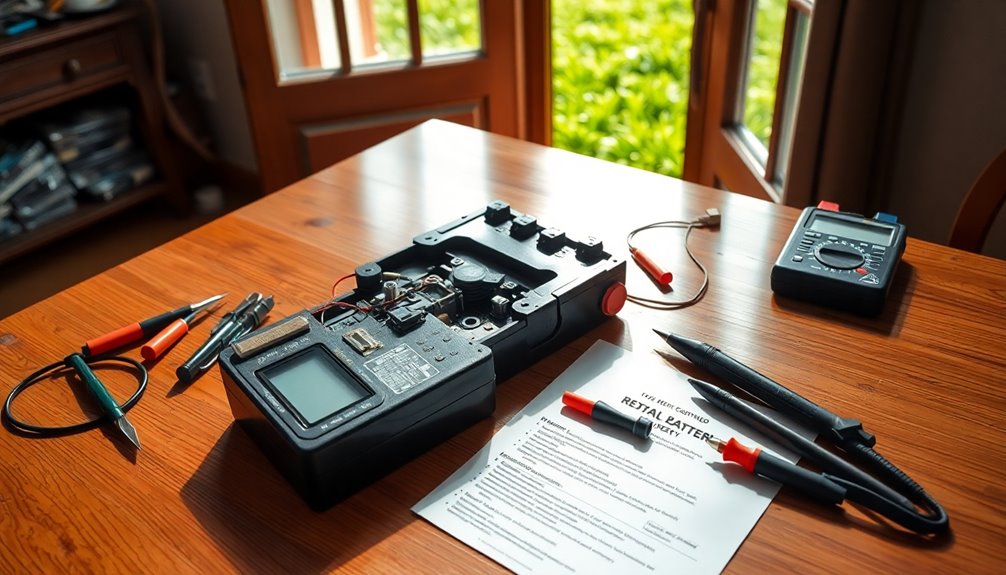
What Tools Do I Need for Battery Maintenance?
For battery maintenance, you'll need a few essential tools.
Grab a wire brush to clean off any corrosion, and use a baking soda and water solution for stubborn spots. A voltmeter helps you check the battery voltage, while distilled water is crucial for topping off lead-acid batteries.
Don't forget protective gloves and safety goggles for safety.
Lastly, keep a screwdriver handy for tightening connections and ensuring everything's secure.
How Can I Tell if My Battery Is Sulfated?
To tell if your battery's sulfated, check for white or blue-green corrosion on the terminals and cables.
Inspect the casing for cracks or bulging, and look for any leakage around the cells.
Use a multimeter to measure voltage; a healthy battery should read 12.6V or higher.
If it discharges quickly or doesn't hold a charge, those are signs of sulfation.
Also, watch for excessive gas venting during charging.
Conclusion
Now that you know how to restore your lawn mower battery, you can keep it running at its best. By assessing its condition, using proper charging techniques, and maintaining battery health, you'll extend its life significantly. Don't forget to prevent sulfation and follow storage guidelines. Watch for signs of failure, and know when it's time to replace it. With these tips, you'll enjoy a longer-lasting battery, ensuring your mower's ready whenever you need it.