If your Ryobi battery shows it's fully charged but isn't working, start by checking the charger and battery compatibility. Inspect the charger for any damage and test it with another battery. Clean the battery contacts with a damp cloth to remove dirt and corrosion. Try resetting the battery by pressing any reset holes you find. If that doesn't help, perform a pulse charge by disconnecting and reconnecting it multiple times. Measure the voltage, looking for output around 18 volts. If issues persist, there's more to explore regarding potential signs of failure and when to seek professional help.
Key Takeaways
- Test the charger with another battery to confirm it's functioning properly and compatible with your Ryobi battery model.
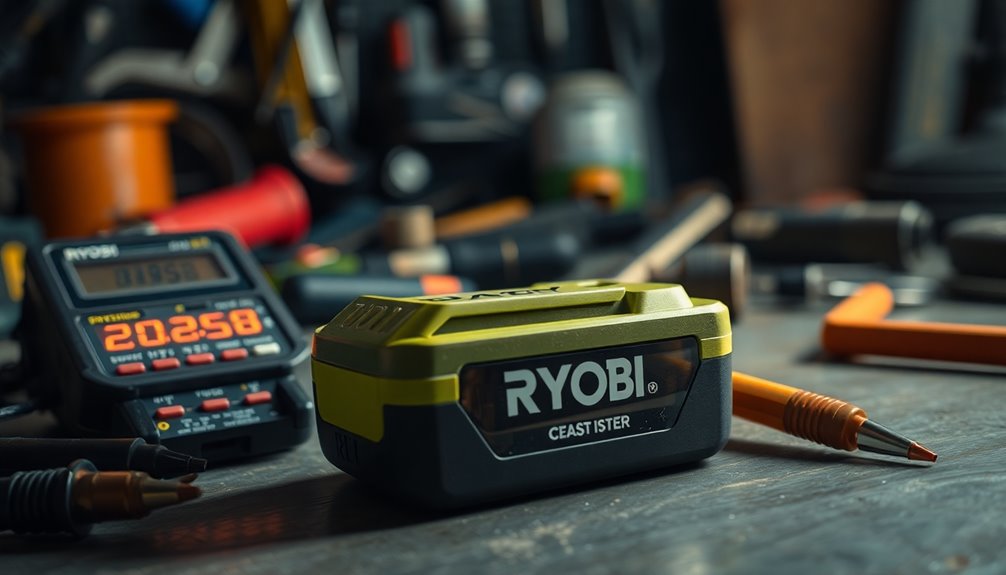
- Measure the battery voltage with a multimeter; a fully charged battery should read around 21V.
- Clean the battery connectors and charger contacts to eliminate dirt and corrosion that could hinder performance.
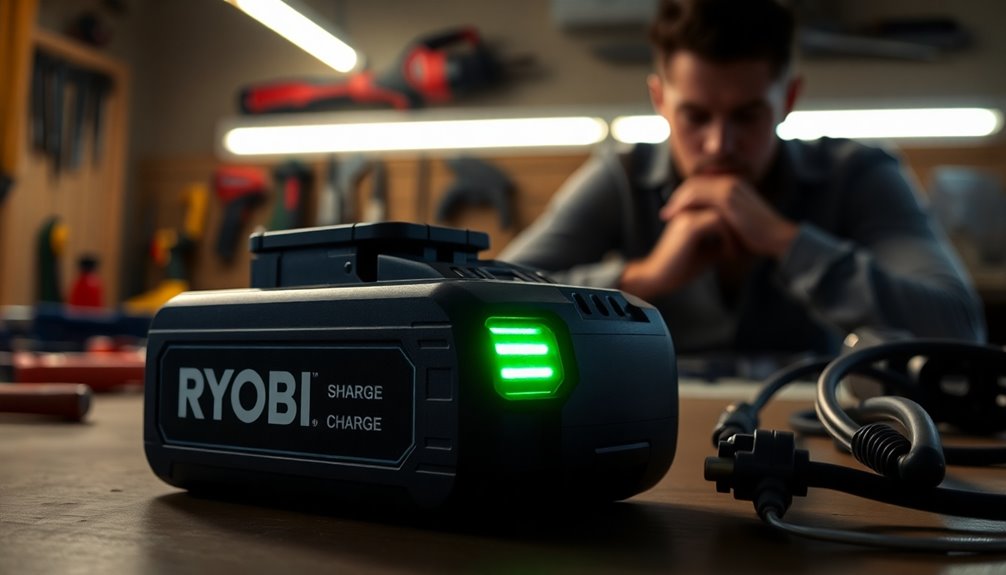
- Observe blinking light patterns on the battery and charger, as they may indicate a specific issue needing attention.
- If problems persist, consider professional assistance to avoid voiding warranties or risking safety.

18-Volt P117 Rapid Charger Replace for Ryobi 12V-18V Battery One+ Lithium-Ion/NiCad/NiMh Battery P102 P108 P189 P197 P103 P105 P107 P190 P191 PBP002 PBP005
- Compatibility: Fits Ryobi 18V and 12V batteries
- Replacement Model: Replaces P117, P118, P135, P166
- Charging Technology: Advanced, fast charging with universal voltage
As an affiliate, we earn on qualifying purchases.
As an affiliate, we earn on qualifying purchases.
Check Battery and Charger

When troubleshooting Ryobi battery issues, start by checking the battery and charger to ensure they're compatible and functioning properly.
First, confirm that your charger matches the specific model of your Ryobi battery. You can consult the manual or the Ryobi website for the recommended charger. If you have another battery, test your charger with it to see if it's working correctly. Look for any signs of damage or wear on the charger, and try to use the original charger to avoid compatibility issues.
Next, verify the charging methods. Double-check the recommended charging time for your battery and avoid over or under-charging, as this can lead to significant problems. It's also essential to note that the battery in question is relatively new, so it should ideally function without issues.
Make sure you're charging the battery in a suitable environment, away from extreme temperatures. Monitor the charging process to confirm the charger indicates a full charge.
If you suspect an issue with the battery itself, use a multimeter to measure its voltage. Compare the measured voltage to the battery's specified voltage, ensuring it's within an acceptable range.
Identifying discrepancies early can save you time and effort in solving your battery issues.
Clean the Contacts

Cleaning the battery contacts is essential for ensuring optimal performance and longevity. Over time, you may notice corrosion, dirt, or grease building up on the contacts, which can hinder the battery's functionality. Regular cleaning of battery terminals can enhance equipment performance and prevent battery-related issues down the line.
To get started, gather your materials: cotton swabs or Q-tips, electrical cleaner or white vinegar, water, and optionally, baking soda and fine wire.
Begin by spraying the cotton swabs with electrical cleaner or white vinegar. Gently rub the contacts with the dampened swabs to remove any dirt or grease. If you spot stubborn corrosion, use fine wire to scrub it off carefully.
After cleaning, rinse the contacts with water to eliminate any residue. If you used vinegar, adding baking soda to the rinse water can help neutralize it.
Before reinserting the battery, ensure the contacts are completely dry. Once dry, put the battery back into the tool and test its functionality. If the issue persists, you might need to explore other troubleshooting methods.
Regularly cleaning the contacts can prevent future problems and help extend your battery's life. Don't forget to check if your battery is still under warranty for a potential replacement!
Reset the Battery
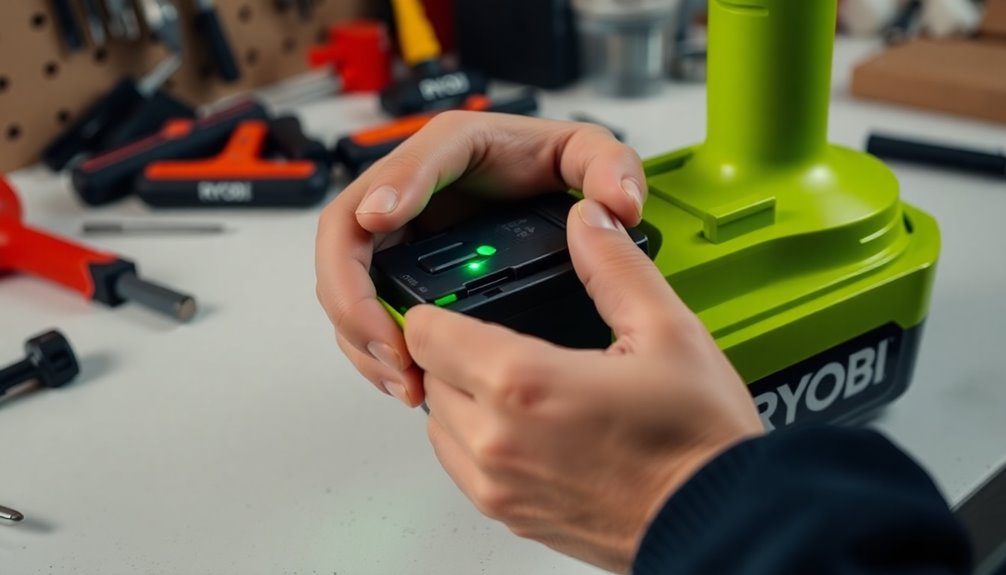
Resetting the battery can often resolve persistent issues and restore functionality. First, check for any blinking light patterns on the battery and charger to confirm the problem. If your battery is still under warranty, it's wise to verify this before proceeding with repairs.
Use a multimeter to measure the battery's voltage, ensuring it's at the intended level, and confirm that your charger is compatible. Regular maintenance can also help prolong battery life, which is essential for optimal performance.
To reset the battery, you'll need to disassemble it. Start by removing the T10H security screws with a Torx anti-tamper bit. Carefully peel back or cut through the sticker separating the battery halves, then gently separate the top cover from the bottom. Always take safety precautions to avoid electrical shock.
Next, locate the two small reset holes next to each other. Use an insulated wire or a wrapped paperclip to depress these reset ports simultaneously. You'll know the reset worked if you see light flashes. Avoid touching internal components to prevent damage.
Once done, reattach the top cover and secure it with the screws. Charge the battery again and test it in a Ryobi tool to see if it's functioning correctly.
Try Pulse Charging
After you've tried resetting your Ryobi battery without success, another method worth exploring is pulse charging. This technique involves intermittently connecting and disconnecting the battery from the charger, which can help revive batteries that the charger doesn't recognize. It mimics the natural charging pulses that lithium-ion batteries respond to, and you can do it using your standard charger without any invasive methods.
To perform pulse charging, plug the battery into the charger, then unplug it for 10 seconds. Repeat this several times to see if the charger starts to recognize the battery. If this direct method doesn't work, consider using a power strip to flip the switch on and off for about a minute. Make sure the positive and negative terminals are aligned correctly. Remember that accurate voltage readings are crucial for assessing battery health, so monitoring voltage throughout this process can be beneficial.
As you continue this process, look for signs like the red flashing light on the charger stopping, which indicates the battery is being recognized. If successful, your battery should start charging normally.
Measure Voltage

Understanding the voltage of your Ryobi battery is crucial for diagnosing its health and functionality. Begin by measuring the overall voltage of the battery. For a fully charged 5-cell Ryobi battery, you should see around 21V, while a fully discharged battery will drop to approximately 14V. If the voltage is too low, the charger may not recognize the battery, preventing it from charging. Additionally, it's worth noting that all recent tools utilize 18V lithium-ion batteries, which allows for battery interchangeability among Ryobi products.
Next, check the voltage of individual cells using a multimeter. Fully charged 18650 cells should be around 4.2V, while fully discharged cells sit at about 2.8V. If you notice that one cell is significantly lower than the others, it may indicate a bad cell or an internal short. It's important to ensure that all cells have relatively close voltages.
Don't forget to observe how the voltage behaves under load. Voltage can drop quickly when the battery isn't used, affecting performance. If your readings show that the overall voltage is low, consider boosting it to see if it resolves the issue.
Remember to wear safety gear and ensure proper connections while measuring. These steps will help you determine if your Ryobi battery has a deeper issue.
Advanced Troubleshooting
If your voltage measurements indicate deeper issues with your Ryobi battery, advanced troubleshooting techniques can help diagnose and potentially fix the problem.
Start by disassembling the battery. Remove the screws, including the hidden one protected by a plastic tab, using a star-shaped or T10 security bit screwdriver. Gently pry apart the case to avoid damaging internal components and lift out the battery pack to inspect the cells and circuitry. It's critical to check all cells for balance before attempting the jump start.
Next, you can bypass the battery control module (BCM), which may prevent charging due to low voltage. Directly apply a surface charge to the battery cells using wires from a charger, ensuring the correct orientation of the terminals. Monitor the voltage and current closely during this process.
If individual cells are deeply discharged, consider charging them separately with a regulated power supply set to low current and around 3.8V. Once charged, use the original charger to balance the pack.
Lastly, try alternative charging methods like pulse charging or using a trickle charger to jump-start the battery. Ensure all connections are secure to avoid electrical hazards.
With these steps, you might revive your Ryobi battery.
Common Signs of Failure
When dealing with Ryobi batteries, recognizing common signs of failure is crucial for maintaining your tools' performance. One major indicator is reduced charge and poor charging. If your battery shows as fully charged but doesn't power your tools, it could indicate low voltage or that it's been drained too far, often due to overuse. Defective batteries can output only 8 volts instead of the expected 18 volts, signaling a serious issue.
Sudden shutdowns are another red flag. If your device powers down unexpectedly, even with a charge left, you might be facing manufacturing defects or aging issues. Unlike a gradual power reduction, these shutdowns can happen without warning, often leading to a necessary battery replacement.
Overheating is also a serious concern. While batteries can warm up during use, excessive heat suggests internal issues or manufacturing defects. This can diminish battery lifespan and performance, so keep an eye on temperature.
Lastly, watch for physical and connection issues. Dirty or corroded connectors, acid leaks, and wear and tear can all impede charging. Internal shorts or damaged cells might prevent proper function.
Staying alert to these signs will help you maintain your Ryobi batteries effectively.
When to Seek Professional Help
Seeking professional help for your Ryobi battery issues can save you time and prevent further damage.
If you notice any physical damage—like cracks, dents, or burns—it's crucial to consult a professional. Exposure to water or extreme temperatures can also compromise your battery's safety. Additionally, if the battery is showing signs of extensive use, it may be more susceptible to failure.
Have you tried multiple DIY methods with no success? If the battery still won't charge or function, it might be time to call in an expert. Low voltage levels or a malfunctioning control module indicate that the problem is beyond simple fixes.
If your battery is still under warranty, avoid DIY repairs that could void it. Manufacturer guidelines often recommend contacting an authorized service center for issues covered under warranty terms.
Safety should always come first. If there's a risk of electrical shock or signs of internal leaks, don't hesitate to seek help.
If you're not comfortable with electrical repairs or lack specialized tools, professionals have the necessary training and equipment to handle hazardous conditions safely.
Taking these steps can ensure your battery gets the attention it needs without risking your safety or warranty.
Frequently Asked Questions
How Long Does a Ryobi Battery Typically Last?
A Ryobi battery typically lasts between 3 to 6 years, but this can vary based on how you use and care for it.
To maximize its lifespan, store it in a cool, dry place and keep it at a partial charge of 50-60% when not in use.
Regularly inspect it for damage and clean the terminals to ensure efficient power delivery.
Following these practices will help you get the most out of your battery.
Can I Use a Different Brand Charger for Ryobi Batteries?
You shouldn't use a different brand charger for Ryobi batteries.
Ryobi chargers are specifically designed for their batteries, ensuring proper voltage and safety features. Using another brand might void your warranty and could damage the battery.
Plus, you'll miss out on IntelliCell technology that balances charging.
Stick with Ryobi chargers for reliable performance and to keep your battery in top condition.
Your tools will thank you for it!
What Should I Do if the Battery Overheats?
If your battery overheats, the first thing you should do is remove it from the device immediately.
Let it cool down in a well-ventilated area. Avoid touching any burnt or melted parts.
Check for dirt or corrosion on the connectors, and make sure it's stored properly away from direct sunlight.
If overheating continues, consider replacing the battery or consulting a professional for further assistance.
Safety is paramount, so don't ignore the signs!
Are There Warranties Available for Ryobi Batteries?
Yes, there are warranties available for Ryobi batteries.
Most of their 18V and 40V batteries come with a 3-year limited warranty, while 80V batteries used for personal purposes have a 5-year coverage.
To ensure your warranty is valid, keep your proof of purchase and follow the manufacturer's guidelines.
If you register on MyRYOBI within 30 days of purchase, you may even extend your warranty period for certain products.
How Can I Properly Dispose of a Dead Battery?
To properly dispose of a dead battery, you need to determine its type first.
For lithium-ion batteries, tape the terminals to prevent fires, then find a local recycling center using resources like Earth911 or Call2Recycle.
Lead-acid batteries should be returned to retailers or hazardous waste programs.
Always avoid throwing batteries in the trash.
Conclusion
If your Ryobi battery says it's fully charged but won't work, don't panic. Start by checking the battery and charger, then clean the contacts and consider resetting the battery. Pulse charging can sometimes help, and measuring the voltage can reveal deeper issues. If you notice common signs of failure, it might be time to seek professional help. By following these steps, you can get back to your projects with confidence and ease!