
Restoring marine batteries for boats is vital to ensure they perform their best. Start by cleaning terminals to prevent corrosion and checking electrolyte levels if you have flooded lead-acid batteries. Use a marine-grade charger that protects against overcharging and perform equalization charges to balance cells. Watch for signs like slow cranking or dimming lights, which indicate it's time for restoration. Regular maintenance, such as cleaning connections and inspecting for leaks, keeps your battery healthy. With these tips, you'll get the most out of your marine battery investment and enjoy smoother boating experiences ahead. More insights await!
Key Takeaways
- Regularly clean battery terminals with a baking soda solution to prevent corrosion and ensure optimal connections.
- Monitor electrolyte levels in flooded lead-acid batteries and top up as needed to maintain performance.
- Use a marine-grade battery charger set to the correct charging rate to prevent overcharging and extend battery life.
- Perform equalization charges to balance battery cells and prevent sulfation, enhancing overall longevity.
- Conduct visual inspections for cracks, leaks, and corrosion, addressing any issues promptly to ensure reliable operation.
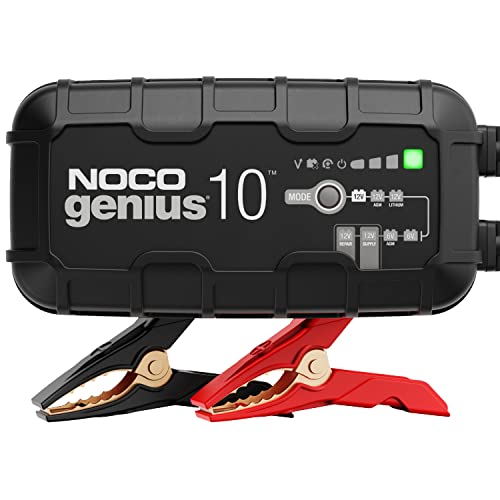
NOCO GENIUS10: 10A 6V/12V Smart Battery Charger – Automatic Maintainer, Trickle Charger & Desulfator with Overcharge Protection & Temperature Compensation – for Lead-Acid & Lithium Batteries
- Compact and Powerful: 17% smaller, over 115% more power
- All-in-One Charging: Battery charger, maintainer, trickle charger, desulfator
- Versatile Battery Compatibility: Supports 6V/12V lead-acid and lithium batteries
As an affiliate, we earn on qualifying purchases.
Importance of Battery Restoration
Regularly restoring marine batteries is crucial for maximizing their lifespan and performance. By maintaining your battery, you prevent issues like corrosion and ensure optimal functionality.
Start by cleaning battery terminals to avoid buildup that can impede performance. Regularly check the electrolyte levels in flooded lead-acid batteries, topping them up with distilled water as necessary. Inspect cables for wear and tear; this helps prevent energy loss and fire hazards.
Utilizing a marine-grade battery charger with smart features can protect against overcharging. It's important not to let your battery fully discharge; recharge it when the state of charge drops below 50%. After each use, charge the battery fully and consider using solar chargers when your boat's not in use.
To further extend your battery's life, perform equalization charges periodically and use a battery desulfator to combat sulfation. Keeping the battery fully charged during storage will also help prevent damage. Additionally, regular inspection of battery connections can identify potential issues before they escalate.
Proper maintenance not only reduces safety hazards but also saves money on replacements. By following these practices, you'll ensure your marine battery performs consistently, providing reliable power for all your boating needs.
Signs Your Battery Needs Restoration

Maintaining your marine battery is only effective if you're aware of the signs that indicate it needs restoration. One major sign is slow cranking when you try to start your engine. If you notice a delayed response when turning the key, it could be due to internal corrosion or sulfation.
Dimming lights and electronics are also red flags, showing that your battery isn't holding its charge. If your voltage readings consistently drop below 12.4 volts, that's a clear indication of poor charge retention. A gradual dimming of lights can be an early warning sign that your battery needs attention before further electrical problems arise.
Frequent jump starts—especially more than three in a short period—can signal a failing battery. If your battery drops voltage dramatically overnight after recharging, it may be nearing the end of its life.
Visual signs matter too; check for cracks, leaks, or excessive corrosion around the terminals. These issues can hinder electricity flow and may lead to serious risks like overheating or explosions.
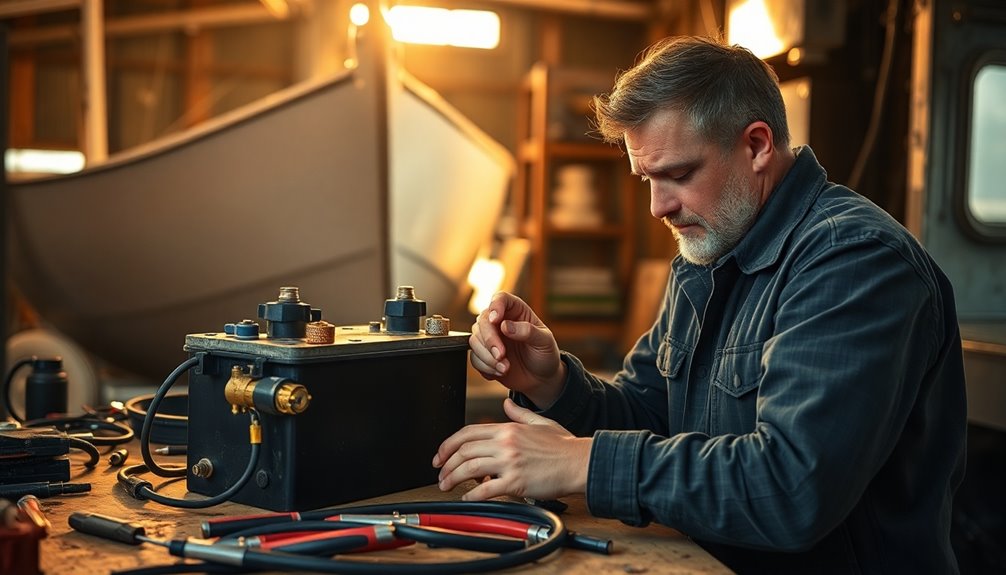
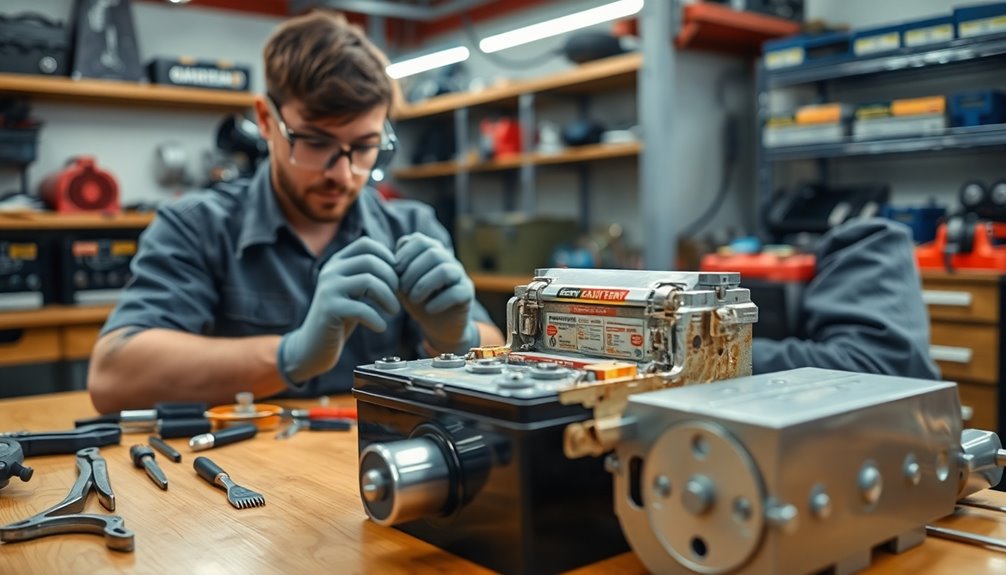
Preparing for Restoration

Before diving into the restoration process, take the time to prepare your marine battery properly. Start by draining all acid from the battery and storing it in a bucket. Rinse the battery with fresh water to eliminate any residual acid.
It's crucial to conduct an internal examination of the battery's condition using a scope, making any necessary corrections. Don't forget to filter the used battery acid into a second, clean container. Regular maintenance can help prevent sulfation issues that often arise due to neglect.
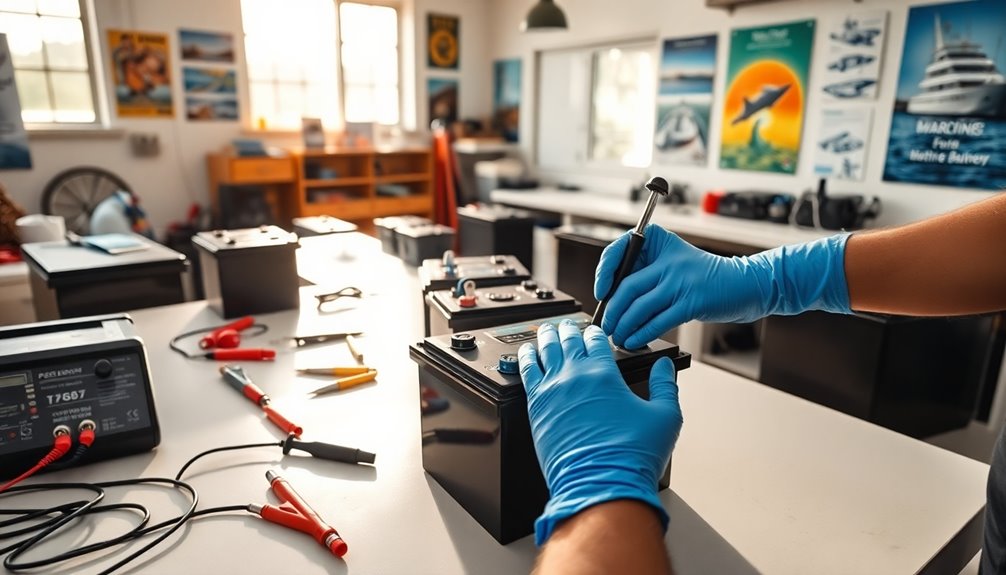
Before you begin, equip yourself with protective gear, including safety glasses and latex gloves, to shield yourself from hazardous materials. Ensure you have all necessary tools ready, like a torch, rags, socket set, extension bar, screwdriver, and cable ties.
Always disconnect the battery cables to prevent accidental short circuits or electrical shocks. Work in a well-ventilated area to avoid inhaling any harmful fumes from the battery acid.
These preparation steps not only enhance your safety but also set you up for a successful restoration process. By following these guidelines, you'll be in the best position to restore your marine battery effectively.
Cleaning Battery Terminals

After ensuring your marine battery is prepared and safe to work on, cleaning the battery terminals is the next important step.
Start by disconnecting the negative terminal first, followed by the positive terminal. This prevents sparks or short circuits during the cleaning process. Wear nitrile gloves and eye protection for safety, and make sure to remove any visible corrosion or debris from the terminals and the tops of the batteries.
Next, mix a solution of baking soda and water and apply it to the corroded areas. Let it sit for a few minutes to loosen the corrosion. Use an old toothbrush or wire brush to scrub away the buildup. For tougher corrosion, white vinegar or lemon juice can be effective as well. If you encounter heavy corrosion, consider using sandpaper or a specialized tool like the STEELMAN 4-Way Battery Terminal Cleaning Tool. Corrosion appears as powdery buildup around terminals and should be addressed promptly.
Once you've scrubbed the terminals, wipe away the residue with paper towels and rinse with clean water.
Reconnect the battery, starting with the positive terminal. To prevent future corrosion, apply a terminal protective spray and make regular cleaning part of your routine maintenance.
Charging Techniques for Restoration
Properly charging your marine battery is crucial for its restoration and longevity. Start by using a deep-cycle marine battery charger specifically designed for lead-acid batteries. Avoid car chargers, as their higher voltage can damage your battery.
Set the charging rate according to the battery's manual, typically between 2–10 amps. Charging at a lower amperage for an extended period helps prevent overheating and extends battery life. Following manufacturer guidelines is essential for maximizing the effectiveness of the charging process.
Monitor the battery's voltage and temperature periodically to ensure they remain within recommended levels. Consider using the equalization charge mode on your charger to balance individual cells and mix the electrolyte effectively.
Perform an equalization charge every charge/discharge cycle for the next ten cycles or until the specific gravities in all cells read 1.270 or higher. If your charger lacks this mode, manually restart it after a normal charge for an additional 1–3 hours.
Cautiously explore pulse charging techniques, which can sometimes recover sulfated batteries, but be aware that improper methods can cause harm. Always follow the manufacturer's instructions and never leave a battery on charge for more than 48 hours.
Safety first!
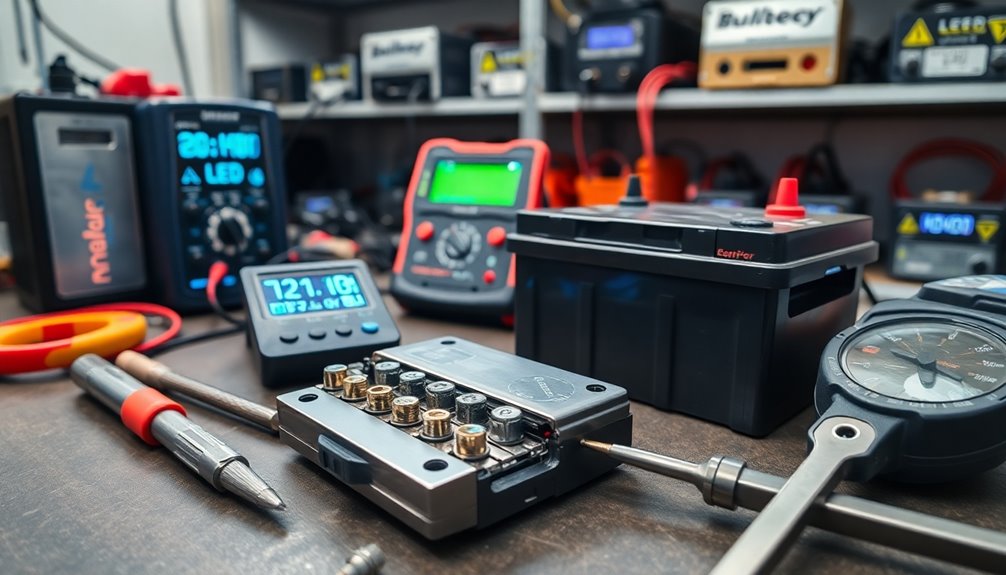
Testing Battery Health

Testing your marine battery's health is essential for ensuring reliable performance on the water. Start with a visual inspection; check for corrosion around the terminals, any swelling or bulging of the casing, and cracks or leaks. These signs can indicate serious issues that might affect performance. Regularly monitoring your battery's performance is also crucial. If your engine cranks slowly, or if lights dim and electronics misbehave, your battery may be weakening.
Next, use a multimeter to measure voltage. A fully charged marine battery should show 12.6-12.8 volts; anything below 11.7 volts during an open-circuit test suggests it's discharged. When under load, a healthy battery should maintain above 9.6 volts. It's important to remember that healthy batteries should start boats effortlessly, highlighting the significance of maintaining optimum battery health.
Consider specialized testing methods too. A hydrometer can help check specific gravity in flooded lead-acid batteries, while a conductance tester works for sealed types. Load tests simulate actual usage, revealing the battery's true capacity.
Lastly, conduct a continuity test to ensure electricity flows uninterrupted, and use a voltage-drop test to spot faulty connections. Regular testing can help you catch problems early and keep your boat powered when you need it most.
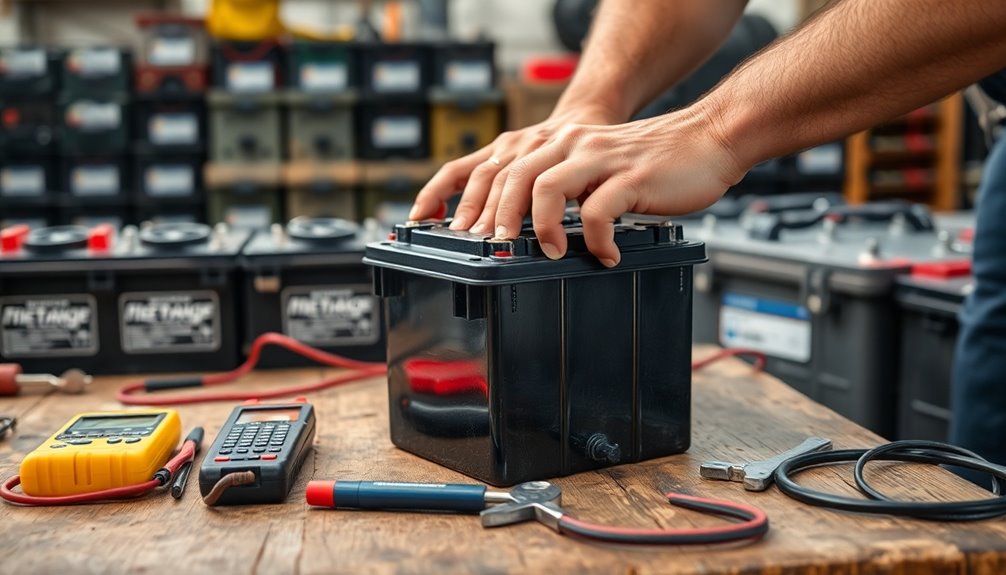
Replacing Damaged Components
Replacing damaged components in your marine battery system is crucial for maintaining optimal performance on the water. Start by opening the battery compartment and carefully inspecting the old battery for any acid leaks.
Clean the terminals and surrounding areas to ensure a safe workspace. Use a wrench or pliers to remove the negative (black) cable first, followed by the positive (red) cable, making sure they don't touch each other during this process. Once removed, lift out the old battery.
Next, prepare your new battery by confirming it's the correct type and size for your boat. Check the compartment for damage or corrosion and clean it if needed. It's important to ensure that you avoid mixing different battery types to prevent performance problems.
Place the new battery securely in the compartment, ensuring it's properly seated. Clean the terminals to prevent any issues.
Now, reconnect the battery cables by attaching the positive cable first, tightening it securely, followed by the negative cable. Ensure the cables don't touch each other or any metal parts.
Double-check all connections for tightness and correctness. Finally, remember to dispose of the old battery responsibly and follow safety protocols to avoid accidents.
Long-term Maintenance Tips

Long-term maintenance is essential for keeping your marine batteries in top shape and ensuring they perform reliably on the water. Start with monthly visual inspections to spot corrosion, loose connections, or physical damage. Clean the terminals using a baking soda and water mixture to ensure solid electrical connections. For flooded batteries, check electrolyte levels every 2-4 weeks, topping up with distilled water as needed.
Make sure your battery terminals are tight and free from corrosion. Applying a corrosion inhibitor and dielectric grease will help protect them. Use a smart charger that prevents overcharging and follow the manufacturer's recommendations for charging cycles. Avoid deep discharges, and perform equalization charging every 3-6 months to maintain battery performance. Regular charging is essential to prevent sulfation in lead-acid batteries, which can prolong their lifespan.
Monitor your battery's health regularly with a voltmeter or battery monitor to keep track of its voltage and remaining capacity. Store your batteries in a cool, dry place during the off-season, and ensure they're secured in the battery compartment to prevent damage from vibrations.
Safe Storage Practices
How can you ensure your marine batteries stay in prime condition during storage? First, fully charge your battery before storing it to prevent sulfation and freezing. Disconnect the negative cable and wait a few hours before checking the specific gravity or voltage. Make sure the specific gravity reads between 1.265 and 1.285 or the voltage is at 12.6V to confirm a full charge.
Always remove the batteries from the boat to avoid potential damage.
Store your batteries in a cool, dry place, like a garage or storage shed, ideally between 50°F and 80°F. Avoid placing them directly on concrete floors without a non-conductive mat to protect against moisture. Keep the area away from direct sunlight and extreme heat for optimal conditions. Additionally, maintaining proper storage conditions will further enhance the lifespan of your batteries.
To prevent discharge, consider using a battery maintainer and check the charge level every 1-2 months. Recharge if it drops below 50%.
Finally, clean the battery terminals and lightly grease them to prevent corrosion. Ensure the batteries are securely stored to avoid movement, and protect the positive terminal with a cover to prevent sparks.
Following these practices will keep your marine batteries ready for use.
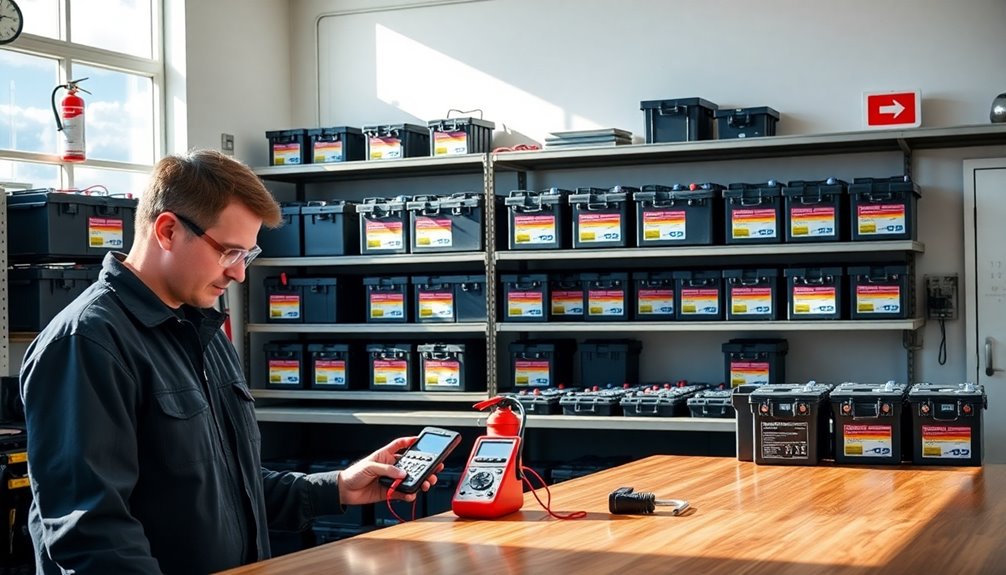
Battery Type Considerations
When choosing the right battery for your boat, it's crucial to understand the different types available and their specific uses.
Starting batteries are designed for quick engine ignition, delivering high-cranking amps. However, they're not suitable for powering electronics or lights, and typically last only 2-3 years with proper maintenance.
If you need a battery for powering accessories like GPS and lights, consider deep cycle batteries. These are built for slow discharge over time and can handle extended use without damage, making them essential for longer boat trips. Full recharge after every use is essential for battery longevity.
For small powerboats or sailboats, dual-purpose batteries combine the features of both starting and deep cycle batteries. They're versatile but may not perform as well as specialized options.
Lastly, lithium (LiFePO4) batteries offer a lightweight alternative with a lifespan of 10-12 years. They allow for 100% Depth of Discharge without damage and provide consistent power output.
Although they come with a higher upfront cost, their long-term benefits make them a cost-effective choice.
Understanding these options will help you select the best battery type for your boating needs.
Frequently Asked Questions
How Often Should I Restore My Marine Batteries?
You should consider restoring your marine batteries whenever you notice signs of reduced performance, like slow starts or fast self-discharge.
Ideally, perform maintenance checks monthly and conduct more thorough inspections every 3-6 months. If your batteries show uneven voltages or visible corrosion, it's time to act.
Regularly monitor their health, and if issues arise, restore them to extend their lifespan and ensure reliable performance when you need them most.
Can I Restore a Completely Dead Battery?
You can often restore a completely dead battery, but it depends on its condition.
If it hasn't suffered severe damage from sulfation or old age, you might've success.
Start by checking the voltage and charging it with a suitable charger.
If it's still not holding a charge, you may need to consider alternatives like pulse charging or even replacement.
Ultimately, careful assessment will guide your decision on restoration.
What Tools Do I Need for Battery Restoration?
For battery restoration, you'll need several essential tools.
Start with protective gear like gloves and safety goggles. A digital multimeter helps you check voltage, while baking soda and water clean terminals.
Use a charger suitable for your battery type and a load tester to assess its performance. Keep distilled water handy for electrolyte maintenance.
Finally, have a bucket and filter ready for safely handling any used acid during the process.
Is Battery Restoration Cost-Effective Compared to Replacement?
When you compare battery restoration to replacement, it often proves to be cost-effective.
Restoring a battery typically requires a lower initial investment and can extend its lifespan, saving you money over time.
While new batteries come with warranties, the long-term savings from restoration can outweigh those benefits.
Are There Risks of Restoring Old Batteries?
Yes, there are several risks involved in restoring old batteries.
You might damage the battery by using improper additives or overcharging it, which can lead to electrolyte loss and corrosion. High-rate charging can blow off lead sulfate, reducing capacity.
Additionally, exposing lead plates to air can cause irreversible damage.
Always prioritize safety by ensuring proper ventilation and using the correct charging methods to minimize these risks and extend the battery's lifespan.
Conclusion
Restoring your marine batteries is crucial for keeping your boat running smoothly and extending their lifespan. By recognizing the signs of wear and following proper restoration techniques, you can save money and ensure reliable performance on the water. Don't forget about long-term maintenance and safe storage practices to keep your batteries in top shape. With the right care, your batteries will serve you well, making every boating adventure enjoyable and worry-free.