
DIY battery reconditioning kits can save you money and reduce waste by restoring old batteries and extending their lifespan. They are user-friendly with step-by-step instructions but require safety precautions and some technical skills. Not all batteries can be reconditioned, especially if they’re severely damaged, and the process isn’t permanent. If you want to understand how to do it safely and effectively, there’s more you should consider to get the best results.
Key Takeaways
- DIY kits can effectively revive and extend the lifespan of various batteries, saving costs and reducing waste.
- Proper safety precautions are essential to prevent accidents like acid leaks, fires, or injuries during reconditioning.
- Not all batteries, especially severely damaged ones, are suitable for reconditioning, and success varies.
- Reconditioning requires technical skills, patience, and careful adherence to instructions for safe and effective results.
- Kits may have limitations in permanently fixing degraded batteries, and some issues cannot be reversed through DIY methods.
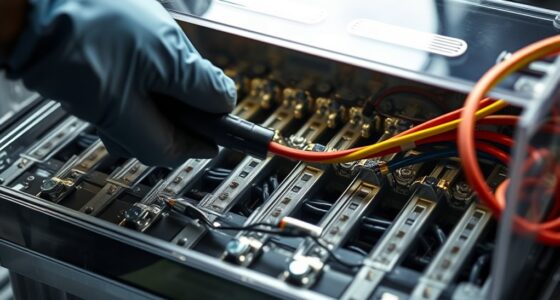
If you’re looking to extend the life of your batteries and save money, DIY battery reconditioning kits offer a practical solution. These kits can help you revive old or dead batteries, restoring their capacity and improving overall battery longevity. By reconditioning rather than replacing, you can cut costs considerably and reduce waste. However, before jumping into the process, it’s vital to understand the safety considerations involved. Handling batteries, especially lead-acid or lithium-ion types, can be dangerous if proper precautions aren’t taken. Always wear protective gloves and goggles, work in a well-ventilated area, and follow the instructions carefully. Neglecting safety can lead to acid leaks, fires, or other accidents, which can cause injury or damage to property.
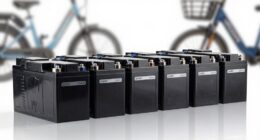
One of the main advantages of DIY battery reconditioning kits is that they empower you to take control of your battery maintenance. Instead of constantly buying new batteries, you can revive old ones, extending their lifespan and getting more value out of your investment. This process can be particularly useful for car batteries, laptop batteries, or even smaller household batteries. Plus, many kits are designed to be user-friendly, making it accessible even if you’re not technically inclined. They often come with step-by-step instructions, tools, and chemicals needed to perform the reconditioning process safely and effectively. Additionally, understanding flushing mechanisms can help you better troubleshoot issues related to battery performance and maintenance.
That said, there are some drawbacks to consider. Not all batteries can be reconditioned, especially if they’re severely damaged or have internal faults. Attempting to recondition a completely dead or compromised battery might not only be ineffective but could also pose safety risks. Additionally, DIY reconditioning kits require a certain level of technical skill and patience. If you rush the process or don’t follow safety protocols, you might end up damaging the battery further or risking personal injury. It’s also worth noting that reconditioning isn’t a permanent fix; batteries will eventually degrade, and their capacity will decline over time, meaning you’ll need to repeat the process periodically.
Ultimately, DIY battery reconditioning kits can be a cost-effective and environmentally friendly way to maintain your batteries, provided you prioritize safety and understand the limitations. You’re taking a proactive step toward extending your battery’s lifespan, but it’s vital to educate yourself on proper procedures and safety considerations. Doing so not only protects you but also ensures that you get the most out of your reconditioning efforts. When approached with caution and respect for the process, these kits can be a valuable tool in your maintenance arsenal.
Frequently Asked Questions
Are DIY Battery Kits Suitable for All Types of Batteries?
You should know that DIY battery kits aren’t suitable for all types of batteries. Battery compatibility varies, and some kits are designed specifically for certain battery types like lead-acid or NiMH. Kit versatility is limited, so you need to choose one tailored to your battery. Attempting to recondition incompatible batteries can be dangerous or ineffective, so always check the kit’s specifications and your battery type before starting.
How Long Does It Typically Take to Recondition a Battery?
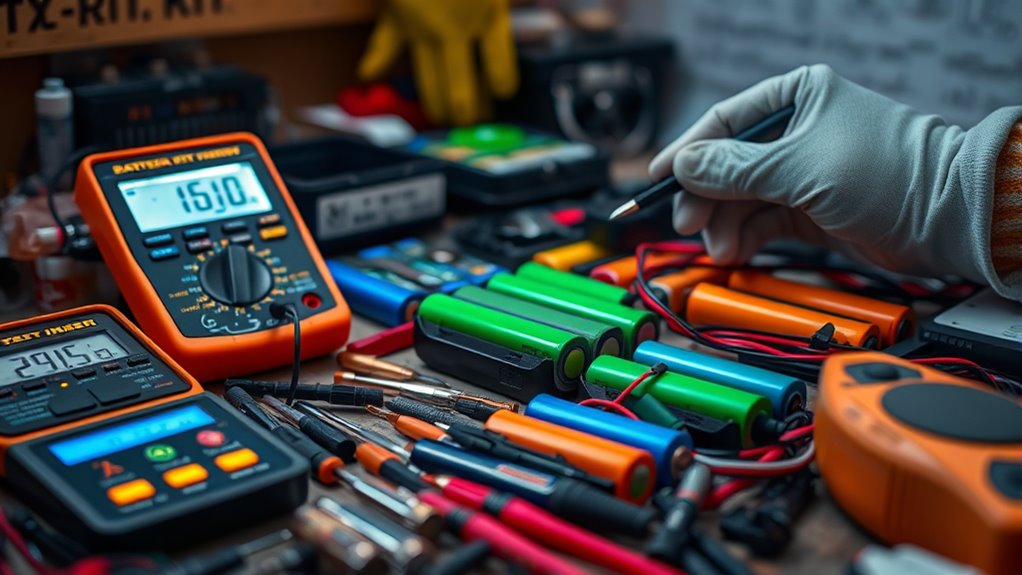
Reconditioning a battery usually takes between 1 to 4 hours, depending on the type and level of deterioration. The charge time during the process can vary, but most kits guide you through a reconditioning duration that includes discharging and recharging cycles. You’ll want to follow the instructions carefully, as rushing can impact the effectiveness. Patience guarantees you get the best results for extending your battery’s lifespan.
Is Professional Help Necessary for Complex Battery Issues?
When facing complex battery issues, professional help isn’t just helpful; it’s essential. You need an expert assessment to identify hidden problems and advanced diagnostics to pinpoint underlying faults. Trying to fix these problems yourself can risk further damage or safety hazards. Trust specialists who have the right tools and knowledge, ensuring your battery gets the proper care, and you avoid costly mistakes or dangerous mishaps.
What Safety Precautions Should I Follow During Reconditioning?
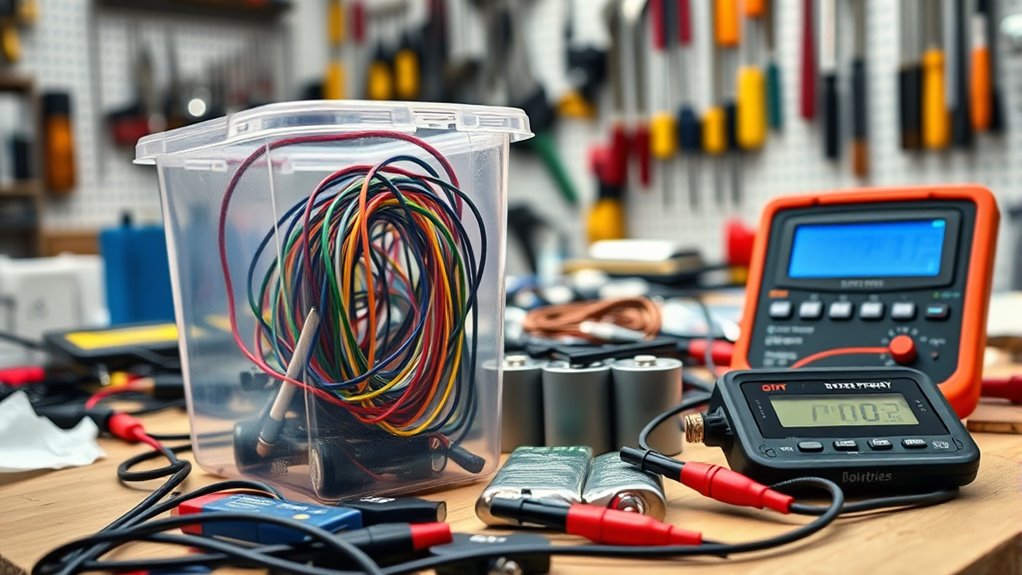
You should wear personal protective equipment like gloves and goggles to protect yourself from chemicals and sparks. Make certain good ventilation in your workspace to prevent inhaling fumes. Always work in a well-ventilated area and avoid open flames or sparks. Follow safety instructions carefully, and disconnect the battery before starting. Taking these precautions helps keep you safe during the reconditioning process.
Can Reconditioned Batteries Be Used in Critical Applications?
Reconditioned batteries can be used in critical applications, but you should consider safety concerns and reliability issues. They might not perform as consistently as new batteries, risking sudden failures. Always test reconditioned batteries thoroughly and monitor their performance. If safety is a top priority, especially in high-stakes environments, it’s better to use new, certified batteries to guarantee maximum safety and reliability.
Conclusion
So, now you know the pros and cons of DIY battery reconditioning kits. Will you take the chance, save some money, and breathe new life into your batteries? Or will the risks make you hesitate? The choice is yours—will you uncover the potential hidden inside those old batteries, or let them fade away? The decision could change how you see your tools and gadgets forever. Are you ready to decide?