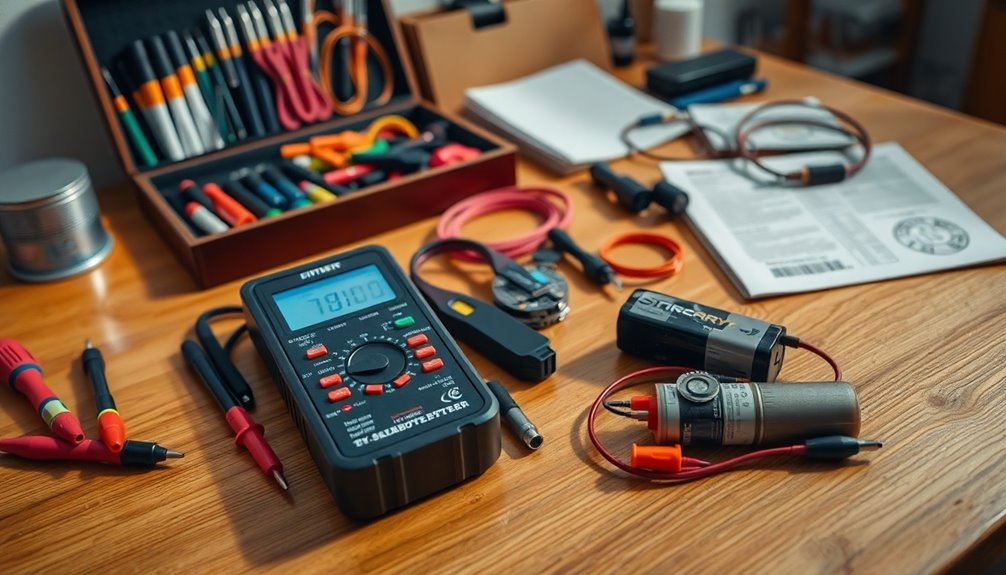
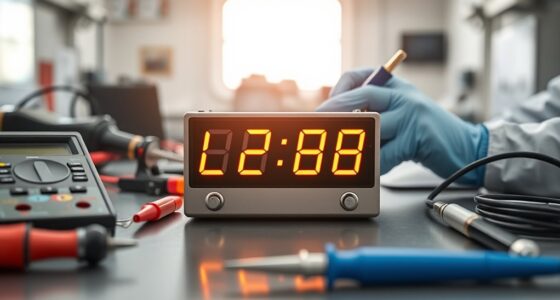
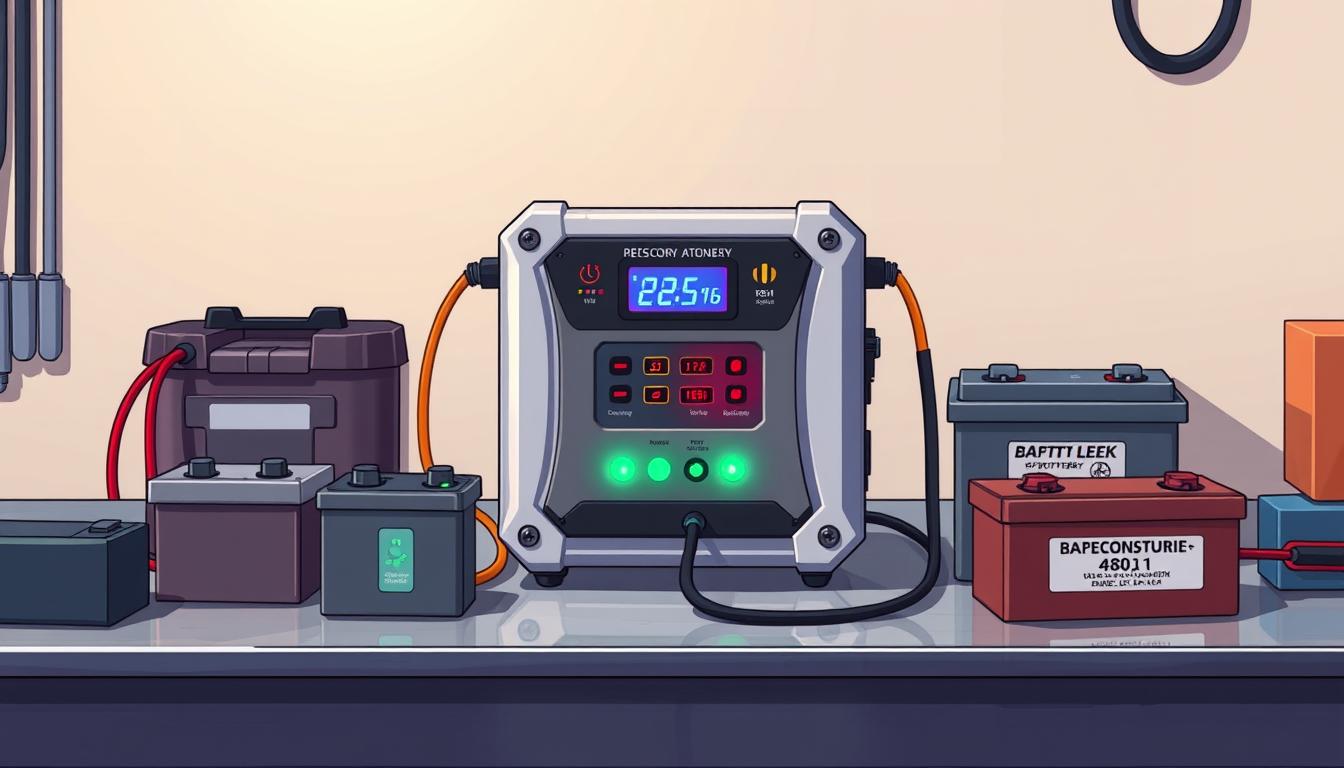
To successfully recondition batteries, you'll need a variety of DIY tools. Start with safety gear like gloves, goggles, and an apron. A digital voltmeter and load tester are crucial for voltage testing. For cell condition checking, visually inspect batteries and use a baking soda solution for cleaning corrosion. Consider desulfation equipment, like a PWM circuit, for optimal results. Don't forget chemicals, like Epsom salt, for electrolyte replacement. A well-organized workspace ensures safety during the process. Equip yourself with these essentials, and you'll be on your way to mastering battery reconditioning techniques. Learn more about the specifics ahead!
Key Takeaways
- A digital voltmeter is essential for accurately measuring battery voltage during reconditioning processes.
- Use a PWM circuit or transformer setup for effective desulfation of lead-acid batteries.
- A cleaning solution of baking soda and water helps remove corrosion from battery terminals.
- Epsom salt mixed with distilled water can replenish electrolytes in battery cells.
- Employ a balancing charger for lithium-ion batteries to ensure even and safe charging.
Safety Equipment Essentials
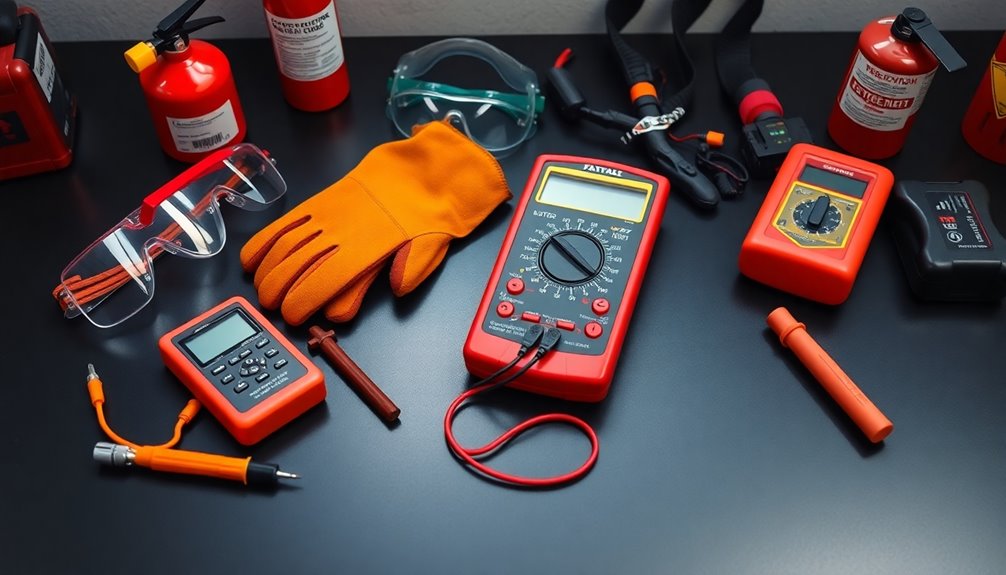
When you're diving into battery reconditioning, having the right safety equipment is crucial for protecting yourself. Start with gloves, which shield your hands from chemical splashes and electrical shocks.
Don't forget goggles or safety glasses with side shields to guard your eyes against acid splashes. If you're handling leaking batteries, face shields offer extra protection for your face.
An apron is also essential when dealing with potentially hazardous materials, helping to keep your clothing safe. Opt for polyester clothing to reduce the risk of static electricity, which can lead to dangerous situations.
Before you begin, disconnect the battery terminals, removing the negative cable first to prevent short circuits. Ensure the battery system is isolated and secured.
It's smart to avoid wearing jewelry or placing metal objects near the battery to prevent accidental shorts.
Maintain a well-ventilated workspace to avoid inhaling flammable gases. Using insulated tools is a must to prevent electrical shocks, as improper handling can lead to battery degradation that may hinder performance.
Always have an eye wash station and fire extinguisher accessible. Lastly, keep a battery spill kit handy for emergencies, ensuring you're prepared for any situation that may arise.
Voltage Testing Tools
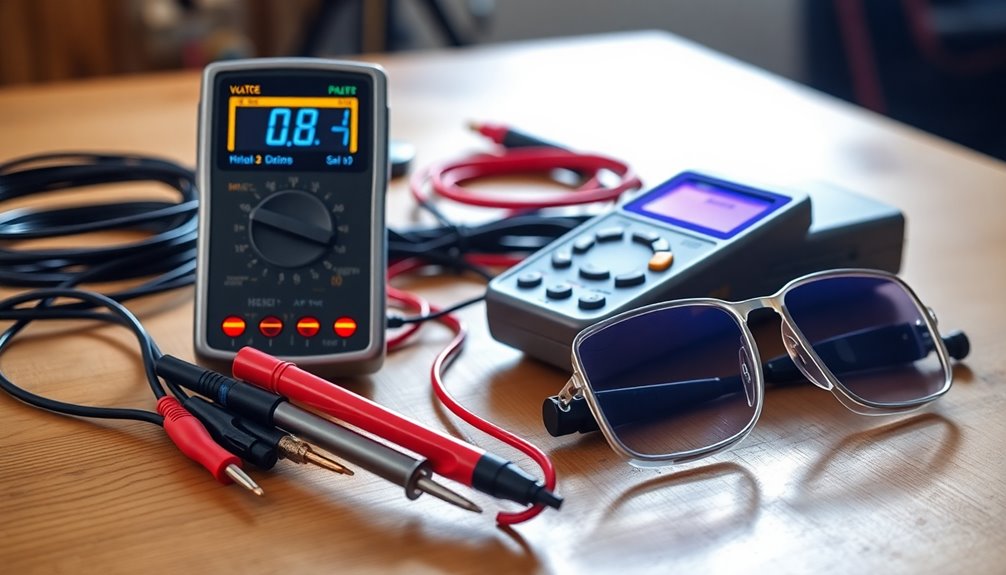
Voltage testing tools are essential for anyone looking to dive into battery reconditioning. A digital voltmeter is a must-have for measuring voltage accurately. To use it, connect the leads to the positive and negative terminals of the battery. Keep an eye on the readings; for a 12V battery, anything below 9.6V may indicate it needs reconditioning.
When you're testing battery performance, consider using a load tester. A 0.1 ohm, 100-watt resistor can create the necessary load to see how well the battery holds up under current draw. Make sure to connect the resistor properly for a closed circuit to obtain accurate results. This is important because battery load testing measures current production ability, which helps in diagnosing battery health.
Specialized probes and wire connectors can enhance your testing experience. You can make probes from materials like coat hanger wire, ensuring they attach securely to the voltmeter and battery terminals.
3D printed probes with metallic split pins can also improve precision, so make sure they make good contact.
Lastly, if you're using a multi-meter, set it to the appropriate voltage range—up to 20V for most rechargeable batteries. This way, you won't draw too much current, which could interfere with your readings.
Cell Condition Testing
After measuring the voltage of your battery, it's time to evaluate the condition of its individual cells.
Begin with a visual examination; look for any signs of damage or leakage. If you're working with maintenance-free or sealed lead-acid (SLA) batteries, carefully remove the lids to inspect the cells. Pay attention to the fabric inside—brown fabric with white lumps indicates sulfation.
Next, check the electrolyte levels in each cell. Use distilled water to maintain these levels, ensuring the fabric absorbs the added water efficiently. After adding water, gently shake the battery and let it rest for about ten minutes to allow proper mixing.
It's also crucial to perform a load test. Use a multimeter to measure the current draw and voltage, ensuring the battery performs well under stress. This step is particularly important as reconditioning can help extend battery life through improved performance.
For thorough testing, fully charge and discharge the battery several times to assess its capacity. Finally, test the battery with a practical load, like a car headlight or a 12V bulb, to confirm it holds voltage effectively.
Following these steps will give you a clear picture of your battery's cell condition and overall health.
Cleaning Supplies
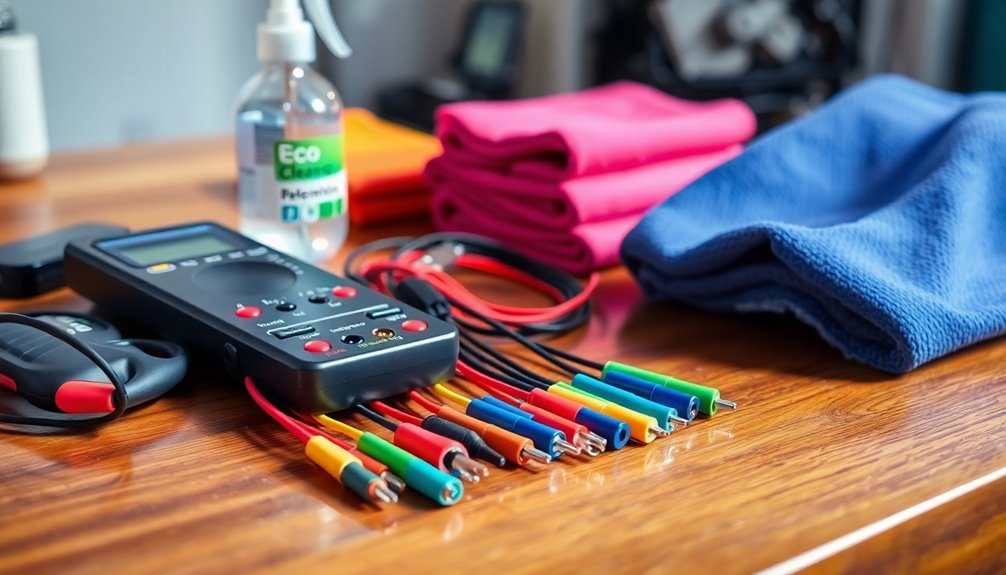
Cleaning supplies are essential for maintaining battery health and ensuring optimal performance. You can start with a simple cleaning solution by mixing 1 tablespoon of baking soda with 1 cup of water. For tougher grime, create a paste using a 2-to-1 ratio of baking soda and water. If you need to refill battery cells, mix 4 cups of water with 4 ounces of Epsom salt. For commercial options, consider using products like Permatex Battery Cleaner, which effectively removes corrosion and dirt. Remember to avoid bleach, as it can damage the battery.
Equip yourself with safety gear: wear protective goggles, chemical-resistant gloves, and an apron to prevent spills. Use an old toothbrush or steel wool to scrub corrosion off battery terminals, and have a rag handy to dry them afterward. A spray bottle will help you rinse off any residue. After applying your cleaner, let it sit for a few minutes before scrubbing. Rinse thoroughly and ensure the terminals are completely dry to prevent further corrosion. Finally, lubricate the terminals with petroleum jelly to keep them safe for the future. Regular cleaning and maintenance can help extend battery lifespan significantly, ensuring your battery performs efficiently for years to come.
Desulfation Equipment
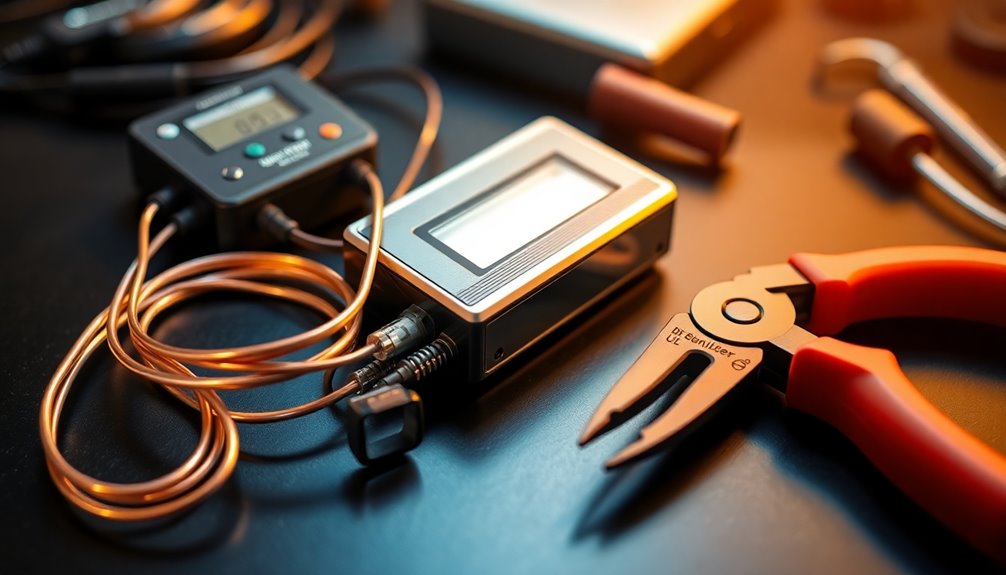
Desulfation equipment plays a crucial role in restoring the health of lead-acid batteries by breaking down harmful sulfate crystals that accumulate on the plates.
One effective method is using a PWM circuit, which generates high current pulses to dislodge these crystals. This can be automated for a long-duration process, enhancing battery efficiency. Short, high current pulses work best in this approach.
Another option is employing a transformer with a bridge rectifier. Make sure the transformer voltage is 25% higher than your battery's rating, and the current aligns with the battery's Ah rating. This method not only desulfates but also prevents new sulfate formation while charging.
If you're looking for a more intense approach, high voltage pulses can be applied using the battery's own voltage, although you'll need a charger in parallel for low-capacity batteries. This method utilizes high-amplitude pulsed currents to effectively break down sulfate crystals, making it the best method for removing sulfate crystals and restoring battery plates.
Finally, commercial regenerators with patented "shark pulse" technology offer automated desulfation. These devices can extend battery lifespan by up to 50% and integrate with monitoring systems for diagnostics.
Choosing the right desulfation equipment is key to reviving your batteries.
Charging Tools
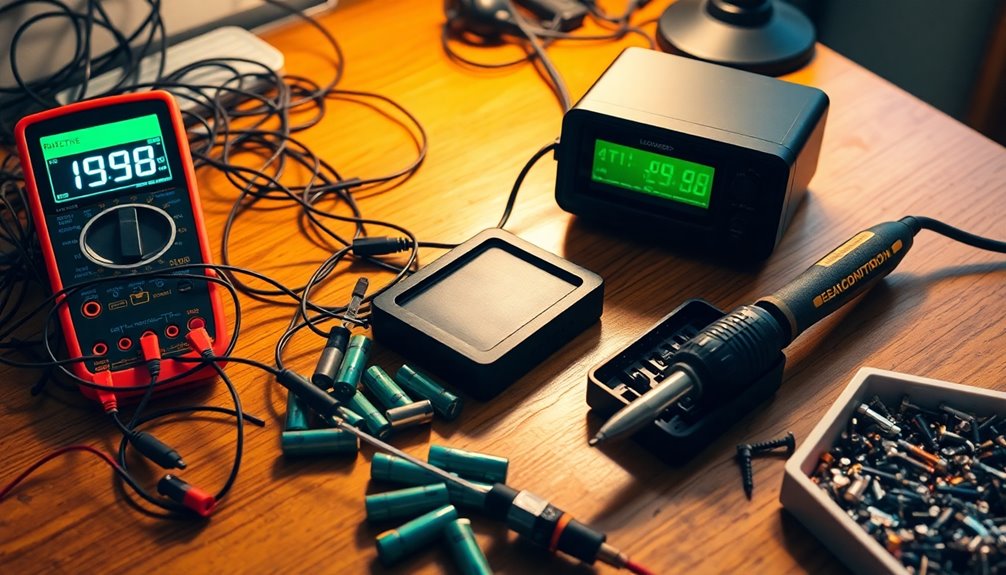
Charging tools are essential for effectively restoring and maintaining lead-acid batteries. To get the job done right, you'll want to consider using an adjustable power supply (PSU) or taper chargers. These tools are compatible with maintenance-free, sealed lead-acid, and traditional lead-acid batteries, providing you with controlled and adjustable voltage and current outputs.
Unlike smart chargers, these devices are necessary for proper reconditioning. Battery reconditioner devices utilize patented technology that cycles through charging and discharging, effectively restoring battery performance and extending battery life by removing sulfation build-up. They're fully automated, making the process hassle-free.
You can also opt for manual charging, which involves a low and slow approach—typically at 12V and 2 amps for around 36 hours. Just remember to remove battery caps during charging to prevent overflow. Additionally, old batteries may require more attention during the charging process to ensure optimal performance.
Lastly, specialized charging equipment, like machines with Shark Pulse Technology, can improve efficiency by breaking down sulfate crystals while monitoring battery health.
Whichever method you choose, ensure you're working in a safe and well-ventilated area, and always wear protective gear for safety.
Equalization Techniques
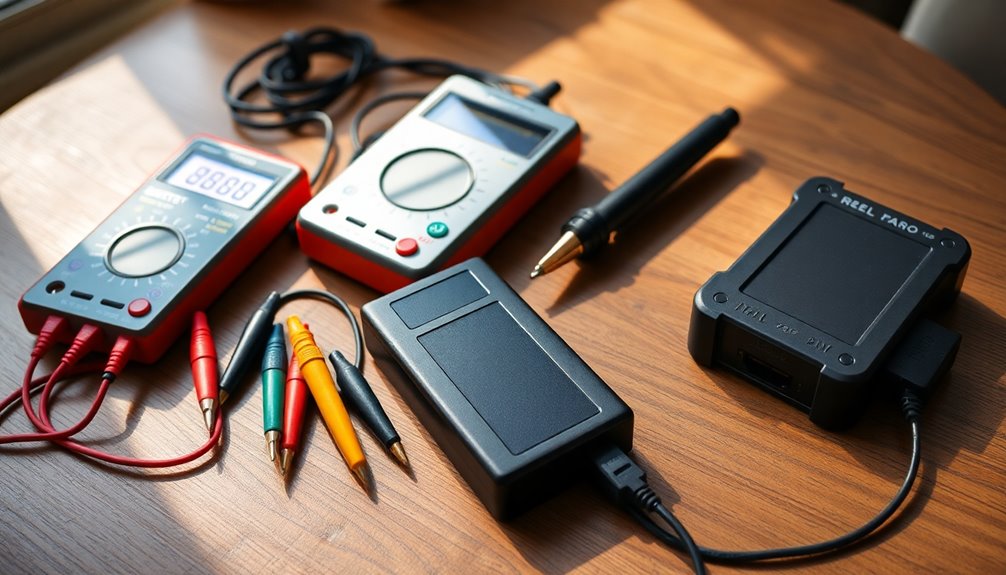
Equalization techniques are a vital aspect of maintaining optimal performance in flooded lead-acid batteries. Before you start, ensure your battery is fully charged and check the manufacturer's recommendations to confirm that equalization is applicable. Remember, this process isn't suitable for gel batteries, and while some AGM batteries can be equalized, it differs from flooded batteries.
To begin, remove all loads from the battery and ensure proper ventilation to prevent hydrogen gas buildup. Check the electrolyte levels, and disconnect any sensitive equipment.
Connect the battery to a charger set to equalizing mode, or adjust a power supply to the recommended equalization voltage, typically between 15 and 16 volts for a 12V battery. Limit the current to 5-10% of the battery's amp-hour capacity. Equalization helps eliminate acid stratification and sulfation, both of which can significantly reduce battery performance.
Throughout the process, monitor the battery voltage and specific gravity readings hourly. Equalization is complete when specific gravity values stabilize, and all cells reach a consistent specific gravity.
Allow the battery voltage to rise to 2.65V per cell (+/- 0.05V) and stop the process once the low cells match the fully charged cells.
Chemicals for Reconditioning

After ensuring your batteries are balanced and performing well through equalization, the next step in reconditioning involves using specific chemicals to enhance their longevity and efficiency.
Start with cleaning your battery terminals using a paste made from baking soda and water. This helps remove corrosion, so grab some steel wool or a battery terminal cleaner along with a toothbrush for scrubbing.
For the electrolyte replacement, mix Epsom salt with distilled water to create a solution. If you're in a hurry, boiling water can speed up the dissolution. Use a syringe or dropper for precise application into the battery cells, and a funnel can help avoid spills.
Phosphoric acid is another important chemical for reducing phosphate buildup and sulfation. Carefully add 5ml per cell for new batteries or 2.5-3.5ml per 100ml for older ones. Always wear safety goggles and nitrile gloves to protect yourself. Regularly monitoring for proper charging cycles is also essential to maintain battery health.
Lastly, consider specialized reconditioning chemicals from brands like China Depot for enhanced results.
Keep a hydrometer, voltmeter, and battery load tester handy to assess the battery's condition before and after reconditioning.
Miscellaneous Useful Tools
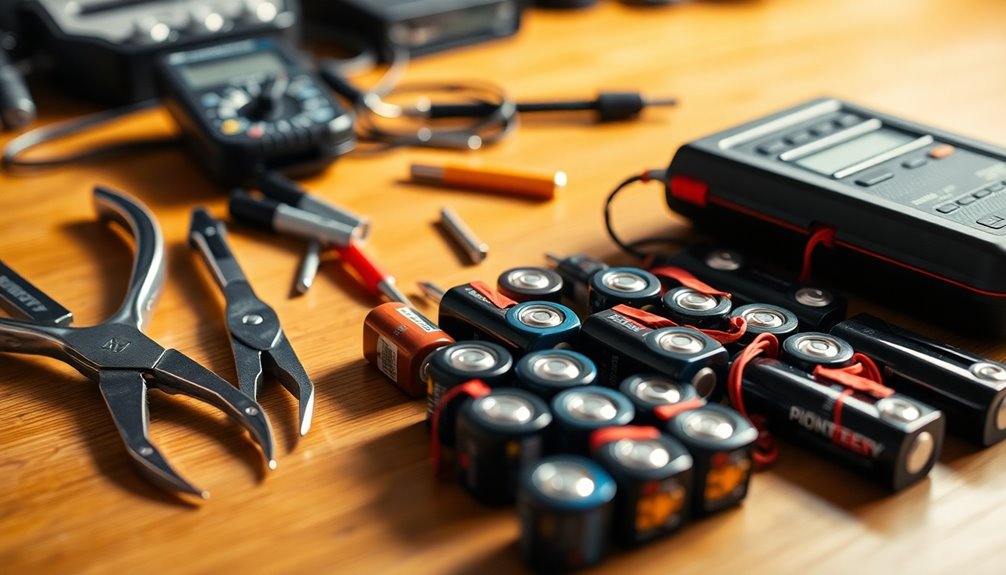
When tackling battery reconditioning, having the right tools on hand can make all the difference. Among the miscellaneous useful tools, a plastic funnel becomes essential for pouring cleaning solutions and new electrolytes into cells without spills. You'll also need distilled water to maintain proper electrolyte levels in flooded lead-acid batteries, ensuring optimal performance. A plastic bucket is a must for safely disposing of old acid and other waste, keeping your workspace tidy and compliant with safety standards. If you're working with lithium-ion batteries, a balancing charger is crucial to ensure each cell charges evenly, prolonging battery life. For voltage testing, a screwdriver with probes can help you check voltage at different points, giving you a clearer picture of your battery's condition. Regularly cleaning battery posts can also enhance battery performance by preventing corrosion buildup.
These miscellaneous tools might seem simple, but they play a vital role in the reconditioning process. By gathering these items, you're setting yourself up for success, ensuring effective reconditioning and safer handling of materials. Make sure you've got all of these handy before diving into your project!
Proper Workspace Setup

Creating a proper workspace setup is essential for safe and effective battery reconditioning. Start by choosing a well-ventilated area to prevent inhalation of harmful gases. Use protective gear like gloves and safety goggles to safeguard yourself while working. Clear the space of any flammable materials, and always keep chargers and equipment away from batteries to avoid potential explosions.
Consider installing ventilation systems that can remove harmful gases, ensuring a safer environment. Exhaust vents placed directly behind the batteries will help maintain cool airflow. Organize your tools and equipment so they're easily accessible, and designate specific areas for tasks like cleaning, charging, and testing. A clean, clutter-free workspace minimizes accidents.
Place chargers and electrical equipment in secure locations, away from the batteries. Ensure the battery is stable and level during reconditioning. Utilize a cooling box and fan for hybrid batteries to maintain the right temperature, and check that all necessary software and laptops are compatible with your equipment. Additionally, having essential hybrid-specific equipment is crucial to ensure effective operations during the reconditioning process.
Lastly, keep a cleaning solution ready for any signs of corrosion or spills, and clean them up immediately to maintain safety.
Frequently Asked Questions
How Often Should I Recondition My Batteries?
You should recondition your batteries every 12 to 18 months to maintain optimal performance.
Look for signs like reduced runtime, slow charging, or visible sulfation. If you notice these issues, it's time to check their condition.
For batteries under three years old, you'll likely see better results from reconditioning.
Regular maintenance helps prevent irreversible damage, so staying proactive will ensure your batteries last longer and perform better.
Can I Use Regular Water for Battery Maintenance?
You shouldn't use regular water for battery maintenance.
Tap water contains minerals that can damage your battery, leading to reduced performance and lifespan.
Instead, opt for distilled water, which is free from harmful minerals and won't harm your battery.
Always add water only after the battery is fully charged and ensure the plates are covered.
This simple step can significantly enhance your battery's longevity and efficiency.
What Types of Batteries Can Be Reconditioned?
You can recondition several types of batteries, including lead-acid, nickel-cadmium (NiCd), nickel-metal hydride (NiMH), and lithium-ion batteries.
Lead-acid batteries often suffer from sulfation, while NiCd and NiMH benefit from discharging and recharging cycles.
Lithium-ion batteries require balancing and temperature management.
Each type has specific methods for reconditioning, so knowing the chemistry involved is crucial.
With the right techniques, you can restore their capacity and extend their lifespan effectively.
Is Battery Reconditioning Safe for Beginners?
Battery reconditioning can be safe for beginners if you take the right precautions.
You've gotta wear protective gear like gloves and goggles to shield yourself from acid spills and shocks.
Ensure you work in a well-ventilated space and avoid leaning over the batteries.
Familiarizing yourself with the process and following safety guidelines will help prevent accidents.
Just remember to inspect your batteries for damage before starting, and you'll be on the right track!
How Long Does the Reconditioning Process Take?
The reconditioning process can vary significantly based on the battery type.
For Impres batteries, it might take up to 12 hours, while lead-acid batteries can require around 40 hours.
You'll need to discharge and recharge them multiple times. The completion is often indicated by a steady green light on the charger.
Keep in mind that the specific steps and timeframes depend on the battery's condition and type, so be prepared for variability.
Conclusion
In conclusion, having the right DIY tools for battery reconditioning can make all the difference in your project's success. By equipping yourself with safety gear, voltage testing tools, and desulfation equipment, you're setting yourself up for effective repairs. Don't forget the importance of a clean workspace and proper techniques, too. With these essentials at your fingertips, you'll be well on your way to reviving old batteries and saving money while doing it. Happy reconditioning!

