
To build a DIY desulfator under $20, gather a 555 timer IC, a suitable transistor or MOSFET, a small transformer, and basic components like resistors and diodes. Connect the circuit to generate high-frequency pulses that you can attach to your battery terminals, ensuring correct polarity. Use short pulse cycles, around 15-20 minutes, to effectively break down sulfate buildup without damaging the battery. If you continue exploring, you’ll discover detailed steps to craft an efficient desulfator easily at home.
Key Takeaways
- Gather affordable components like a 555 timer IC, transistor/MOSFET, transformer, and basic resistors and capacitors within a $20 budget.
- Build a high-frequency oscillator circuit using the 555 timer to generate pulsed signals for desulfation.
- Connect the circuit output to the battery terminals carefully, ensuring correct polarity and safety precautions.
- Use a small transformer or coil to step up voltage and produce high-voltage pulses needed for sulfate breakdown.
- Operate the desulfator in short cycles (15-20 minutes) for effective maintenance without damaging the battery.
Ever wondered how to restore your lead-acid batteries and extend their lifespan? If you’re into battery maintenance, building a DIY desulfator can be a game-changer. Over time, lead-acid batteries develop sulfate crystals on their plates, which reduces their capacity and efficiency. A desulfator sends high-frequency pulses to break down these crystals, helping your battery perform better and last longer. The best part? You can build one yourself for under $20 with basic electrical components and some simple tools.
Discover how to extend your lead-acid battery life with a simple DIY desulfator under $20.
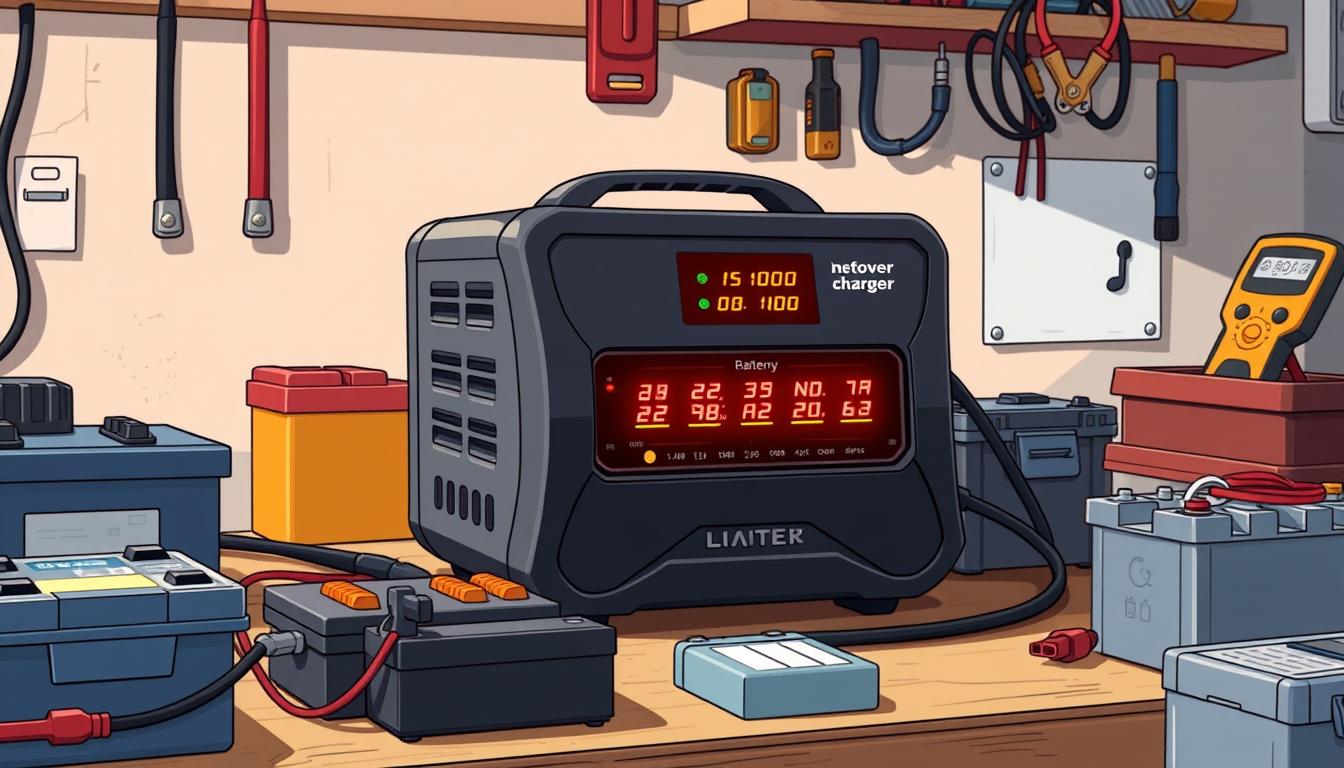
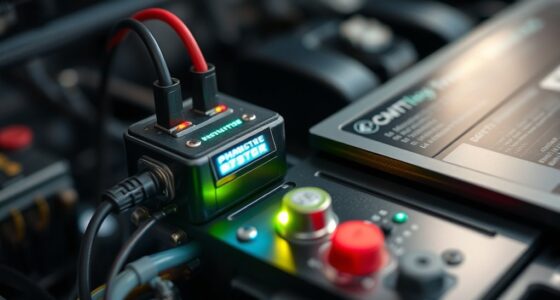
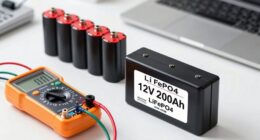
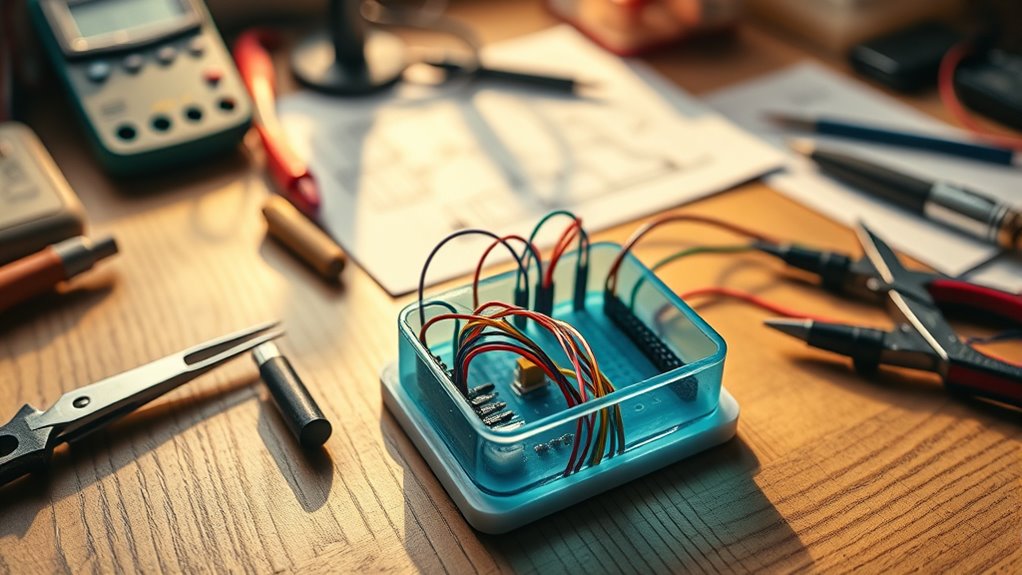
To get started, you need to understand the core idea behind a desulfator: it’s essentially an electronic circuit that creates high-voltage, high-frequency pulses. These pulses travel through the electrical components of your battery, dissolving the sulfate buildup. When constructing your DIY desulfator, focus on selecting the right components—mainly a high-voltage oscillator circuit, a transistor or MOSFET for switching, and a transformer or coil to generate the pulses. You’ll also need a power source, like a 12V battery or power supply, to energize the circuit.
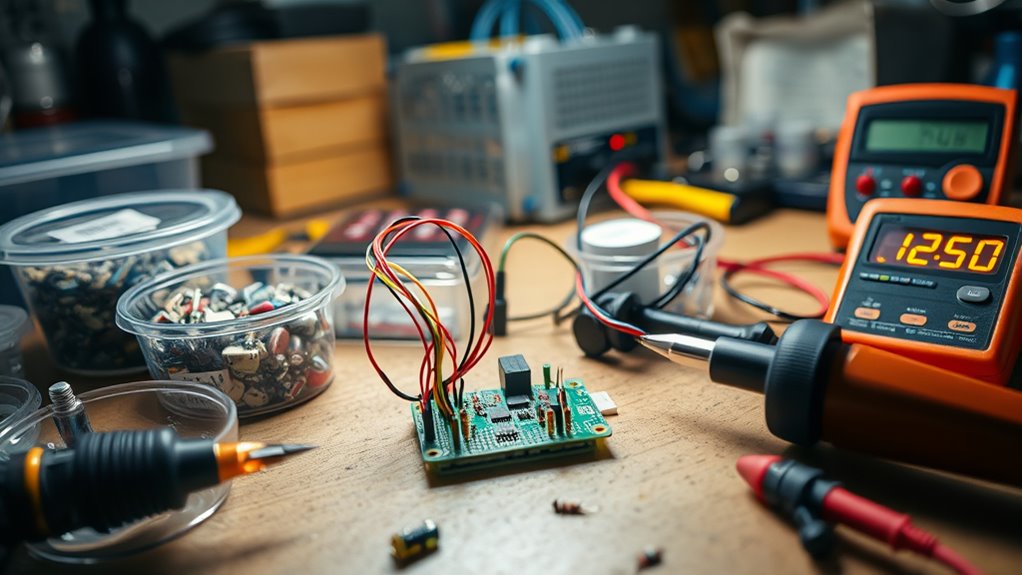
The key to effective battery maintenance with this setup is ensuring your electrical components are correctly rated for the voltages and currents involved. For instance, choose a transistor that can handle the pulse voltage and current without overheating. A simple oscillator circuit, such as one based on a 555 timer IC, can generate the required high-frequency signals. You’ll connect the output of this oscillator to a transformer or coil, which boosts the voltage to create the pulses needed for desulfation. All these parts are inexpensive and readily available at electronics stores or online.
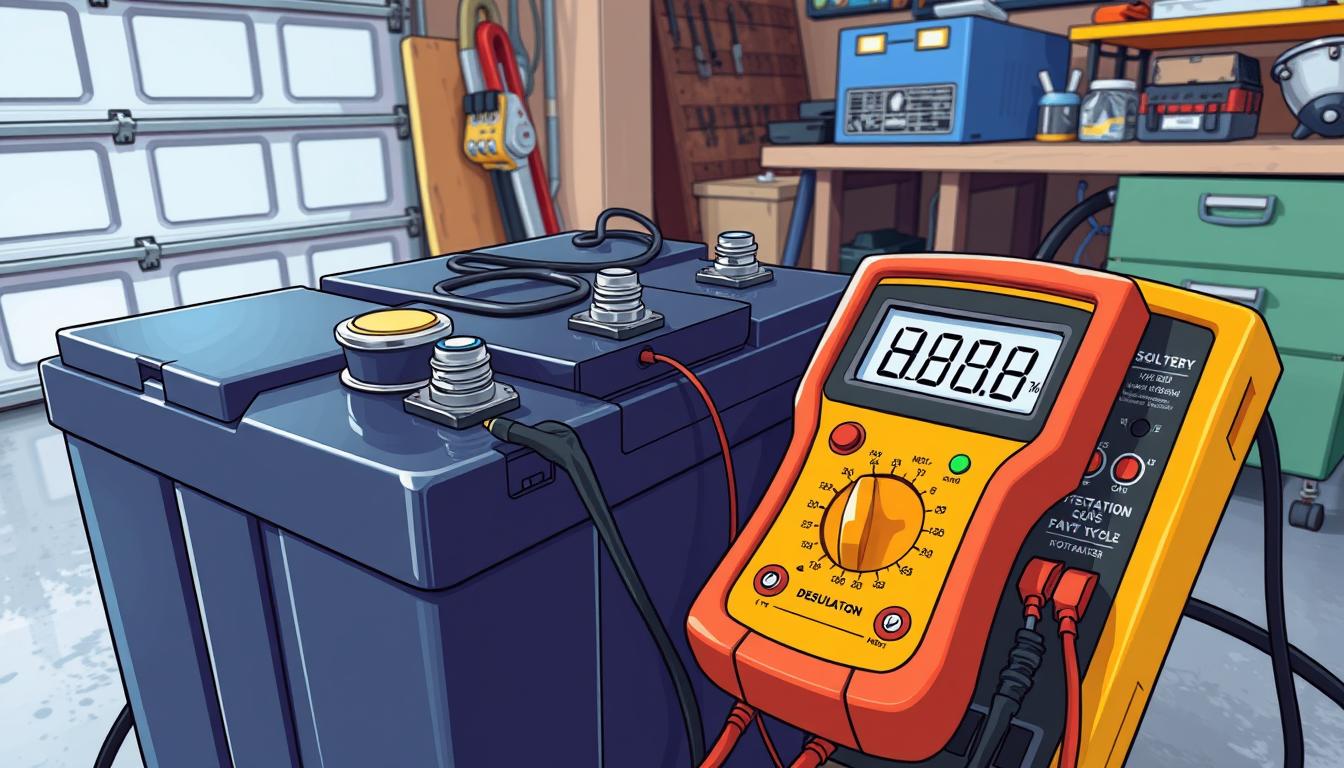
Once assembled, you’ll want to connect the desulfator carefully to your lead-acid battery. Make sure to attach the circuit’s output to the battery terminals, observing proper polarity. It’s essential to monitor your battery during operation—look out for any signs of overheating or swelling. Running the desulfator in short cycles, such as 15-20 minutes per session, can prevent stress on the battery and optimize results. Regular use can considerably improve the battery’s capacity and longevity, making it a cost-effective maintenance tool.
Understanding the importance of high-frequency pulses and how they interact with sulfate crystals can help optimize your desulfation process. In addition, selecting components with appropriate ratings ensures safety and efficiency during operation. In essence, building a DIY desulfator isn’t just about saving money; it’s about taking control of your battery maintenance. By understanding the electrical components involved and how to safely integrate them, you can create a simple yet powerful device that helps your lead-acid batteries perform at their best. With patience and careful assembly, you’ll have a functional desulfator that can extend your battery’s life—saving you money and hassle down the line.
Frequently Asked Questions
Can I Use Any Type of Battery With This Desulfator?
You might wonder if any battery works with this desulfator. While it’s compatible with many types, battery compatibility varies, and desulfator limitations exist. It’s best to check your battery’s chemistry and size, ensuring they match the desulfator’s specifications. Using incompatible batteries could reduce effectiveness or cause damage. Always verify your battery’s details and follow guidelines to avoid issues and maximize the desulfator’s benefits.
How Often Should I Run the Desulfation Process?
You should run the desulfation process based on your battery’s condition and usage. For regular battery maintenance, it’s best to do it every 4 to 6 weeks, or sooner if you notice reduced performance. Keep an eye on your battery’s voltage and capacity, and adjust the desulfation frequency accordingly. Regular desulfation helps extend your battery’s lifespan by preventing sulfation buildup, ensuring reliable power when you need it.
Will This Desulfator Work on All Battery Sizes?
You might think one desulfator fits all batteries, but nope—battery chemistry and charge cycles matter. While your DIY desulfator can help, it’s not a magic wand for every size or type. Smaller, lead-acid batteries respond best, but larger or lithium ones might need different treatments. So, don’t expect it to work perfectly across the board; adapt your approach based on your battery’s specific needs and chemistry.
Is There a Risk of Damaging My Battery Using This Method?
You might wonder if using a DIY desulfator risks damaging your battery. While it’s generally safe if you follow proper procedures, there are desulfation risks involved. Battery safety depends on correct voltage and timing; overdoing it can cause damage. Always monitor your battery during the process, and avoid using it on incompatible or damaged batteries. Proper precautions help guarantee safe, effective desulfation without risking harm.
Do I Need Any Special Tools or Equipment Besides the Listed Parts?
You don’t need many special tools beyond basic soldering supplies and safety gear. Focus on electrical safety by wearing insulated gloves and working in a dry, ventilated area. Basic soldering tools like a soldering iron and wire cutters are enough. Just guarantee you handle components carefully, avoid short circuits, and follow safety precautions to protect yourself and your battery during assembly.
Conclusion
Building a DIY desulfator for under $20 is a smart way to extend your battery’s life and save money. Did you know that sulfation can reduce a lead-acid battery’s capacity by up to 50%? By creating your own desulfator, you can effectively reverse this damage and improve performance. Plus, with just basic materials and a little effort, you’re empowering yourself to maintain your batteries and avoid costly replacements. It’s a simple project with big benefits!