
To connect car batteries safely, start by wearing safety gear and working in a ventilated area. Make certain the engine's off, then disconnect the negative terminal first, followed by the positive. Remove the old battery and clean the tray before placing the new battery in. Connect the positive terminal first, securing it tightly, then attach the negative terminal. Verify all connections are snug and free of corrosion. Finally, test the installation by starting the engine and checking the voltage. For more tips on maintaining your car battery, keep exploring this essential guide.
Key Takeaways
- Always wear safety glasses, gloves, and steel-toed shoes when handling car batteries to protect against spills and debris.
- Disconnect the negative terminal first before the positive terminal to prevent short circuits.
- Secure the new battery in place with the hold-down bracket after ensuring the battery tray is clean.
- Connect the positive terminal first, followed by the negative terminal, ensuring all connections are tight.
- Test the battery voltage with a multimeter to ensure it's within the 12.4 to 12.7 volts range after installation.

Ktsxxops Ratchet Wrench, Car Battery Terminal Wrench 5/16in 0.4in 10mm op Side Post Battery Terminal Ratchet Wrench with 1/2in Socket for RV, Sports Car and Collector Car
- Dual Functionality: Fits 10mm and 5/16 inch terminals
- Compact and Portable: 143mm length, lightweight for easy transport
- Insulated Safety Handle: Ensures safe operation during battery work
As an affiliate, we earn on qualifying purchases.
As an affiliate, we earn on qualifying purchases.
Safety Precautions

When you're connecting car batteries, it's crucial to prioritize safety to prevent accidents and injuries.
Start by wearing safety glasses and gloves to protect yourself from battery acid spills and flying debris. Steel-toed shoes are also a smart choice, safeguarding your feet from heavy batteries that could slip or fall.
Always review the safety precautions outlined in the vehicle's owner's manual before proceeding, ensuring you follow specific guidelines.
While working, make sure you're in a well-ventilated area to reduce the risk of inhaling fumes released from the battery.
Finally, avoid touching both battery terminals simultaneously with metal tools, as this can lead to short circuits and potential injury.
Consider using an anti-corrosion solution for added protection.
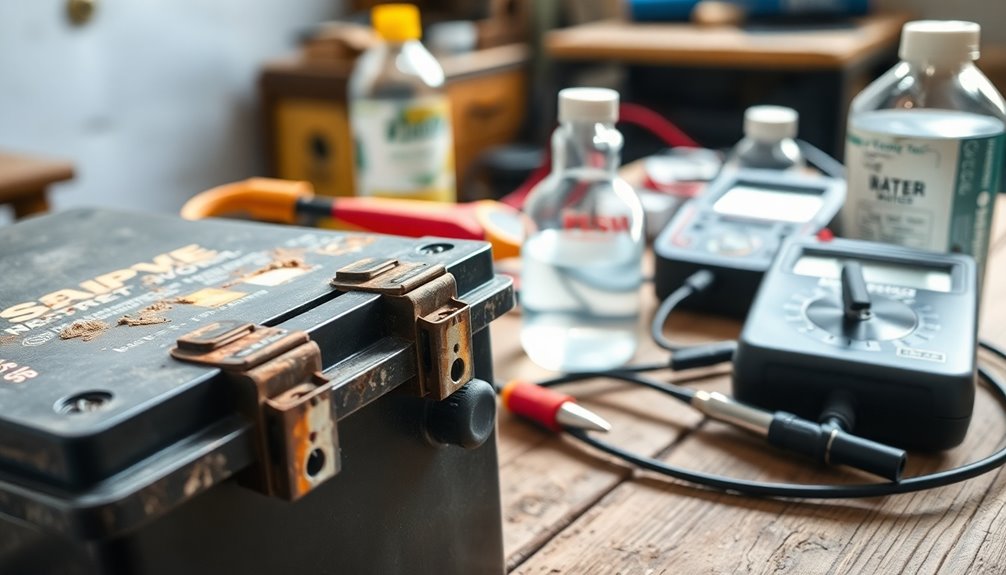
Required Tools

Before you get started connecting car batteries, you'll need some essential tools to make the process smooth.
A socket wrench, terminal brush, and safety gear are must-haves, while optional tools like a terminal spreader can make your job easier.
Gathering these items will set you up for success and help guarantee a secure connection.
Essential Tools Needed
To successfully connect car batteries, you'll need a few essential tools on hand.
Start with a socket wrench or a wrench kit, as it's vital for loosening and tightening the battery terminal fasteners securely. A terminal brush is also important; it helps clean the battery terminals and cable clamps, ensuring a solid electrical connection.
If you're dealing with tight spaces during battery installation, a ratchet, socket(s), and extension will make your job easier.
Don't forget to have your replacement battery ready. With these tools, you'll efficiently handle the positive and negative terminals, making the entire process smoother and safer.
Prepare yourself to tackle the task confidently with these essentials at your side.
Optional Tools for Assistance
Often, having a few optional tools on hand can make the process of connecting car batteries even smoother. These tools can enhance your efficiency and guarantee a safer installation.
Here are some helpful items to take into account:
- Wrench: Essential for loosening fasteners and securing battery cables.
- Terminal Brush: Useful for cleaning terminals and cable clamps, promoting ideal electrical contact.
- Ratchet: Makes accessing tight spaces easier and loosening bolts simpler.
- Flathead Screwdriver: Provides extra leverage for terminal clamps or hold-down brackets.
Additionally, a terminal spreader or puller can help with stubborn terminals, preventing damage during removal.
Having these tools could save you time and effort as you connect your car batteries effectively.
Battery Disconnection Steps
Disconnecting a car battery is a straightforward process that you can complete with just a few tools. First, turn off the engine and remove the keys from the ignition to eliminate any residual electrical energy.
Identify the negative terminal, marked with a minus (-) symbol, and use a wrench to loosen the cable clamp. Once you've done that, disconnect the negative.
Next, locate the positive terminal, marked with a plus (+) symbol, and carefully disconnect the positive cable clamp, ensuring it's secured away from any metal surfaces.
Always remember to disconnect the negative terminal first to prevent short circuits.
Finally, make sure all caps or coverings are replaced on the battery terminals to avoid any accidental contact while the battery is disconnected.
Battery Replacement Process

Replacing a car battery is a manageable task that you can tackle with a bit of preparation and the right tools. Follow these steps for a smooth battery replacement:
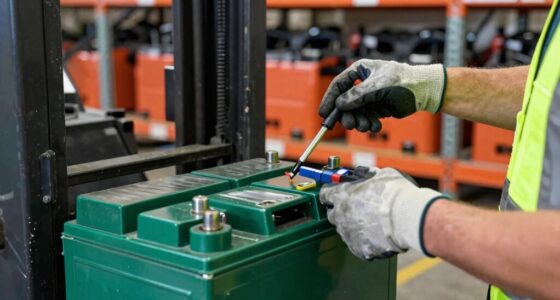
- Remove the hold-down bracket securing the old battery, keeping track of any small parts.
- Gently lift out the old battery, being cautious of corrosion in the battery tray.
- Clean the battery tray thoroughly to remove dirt or corrosion that could affect the new battery's performance.
- Position the new battery in the tray, ensuring the positive terminal and negative terminal align correctly with their cables.
After positioning the new battery, secure it with the hold-down bracket. Clean the terminals and cable clamps for ideal electrical connection before proceeding.
Final Installation Steps
Now that you've got the new battery in place, it's time to secure the connections.
Start by tightening the positive cable clamp on the positive terminal, followed by the negative clamp on the negative terminal.
Double-check that everything's snug and clean to guarantee peak performance.
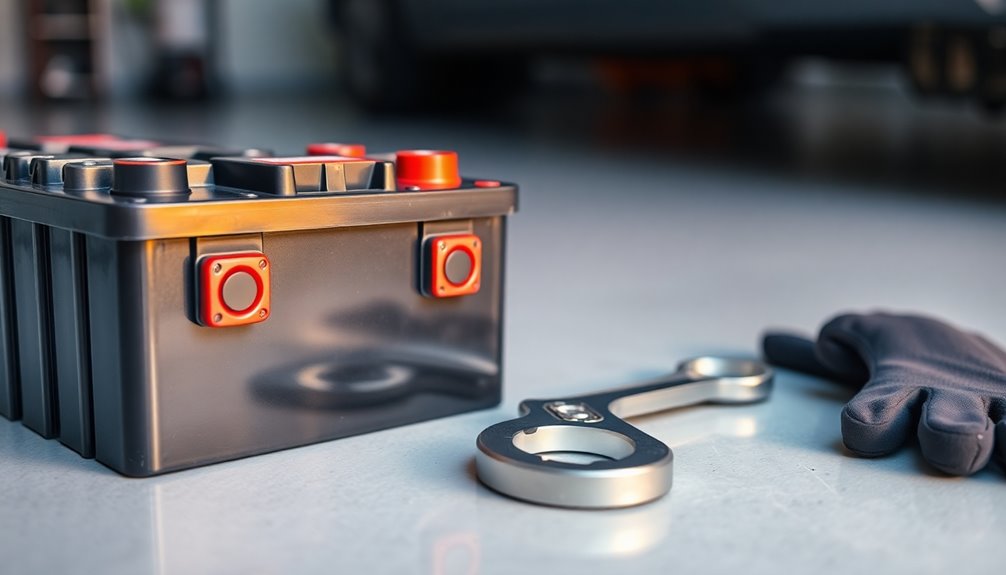
Secure Battery Connections
Securing battery connections is essential for guaranteeing your vehicle operates smoothly and safely. Follow these steps to properly install and tighten your battery connections:
- Reinstall the hold-down bracket: After placing the new battery, secure it with the hold-down bracket and tighten all fasteners for stability.
- Connect the positive cable: Attach the positive cable clamp to the positive terminal first, tightening it securely with a wrench.
- Attach the negative cable: Next, connect the negative cable clamp to the negative terminal, guaranteeing it's tightened firmly.
- Check stability: Gently jiggle the battery to confirm that all clamps are seated properly and secure.
Lastly, consult your vehicle manual for any specific requirements regarding battery venting to guarantee compliance and safety.
Verify Terminal Tightness
Verifying terminal tightness is essential to guarantee a reliable connection for your vehicle's electrical system. After connecting the battery, gently jiggle the terminals to check for any looseness.
Use a torque wrench to tighten the connections according to the manufacturer's specifications; this guarantees peak electrical conductivity and prevents overheating. Make sure the positive cable is firmly attached to the positive terminal and the negative cable to the negative terminal to avoid short circuits.
Inspect the cable clamps for signs of wear or corrosion, as damaged clamps can lead to poor connections. Finally, confirm that all connections are snug and that the battery is properly seated in its tray to prevent vibrations that could loosen the terminals over time.
Cleaning Battery Terminals

Cleaning battery terminals is essential for maintaining a reliable electrical connection and optimizing your vehicle's performance.
Corrosion can build up on the battery post and impede functionality, so follow these steps for effective cleaning:
- Prepare a mixture of baking soda and water to neutralize any battery acid.
- Use a wire brush or terminal cleaning tool to scrub the terminals and cable clamps until free of any residue.
- Rinse the terminals with water and dry them thoroughly to avoid moisture issues.
- Apply an anti-corrosion solution or grease to the terminals post-cleaning, which helps inhibit future corrosion and prolongs battery life.
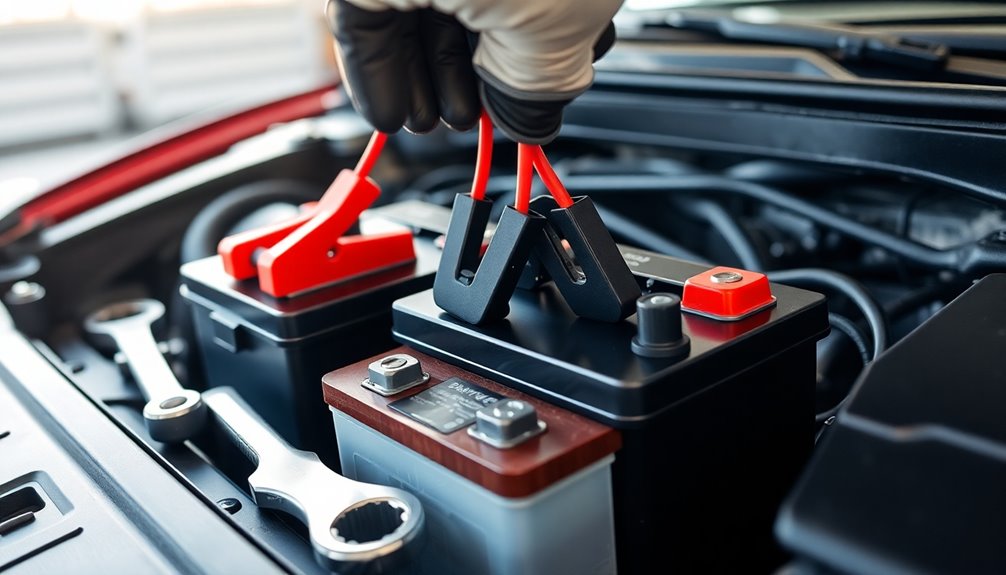
Attaching Battery Cables
Before you start attaching battery cables, it's crucial to confirm that the battery terminals are clean and free from corrosion.
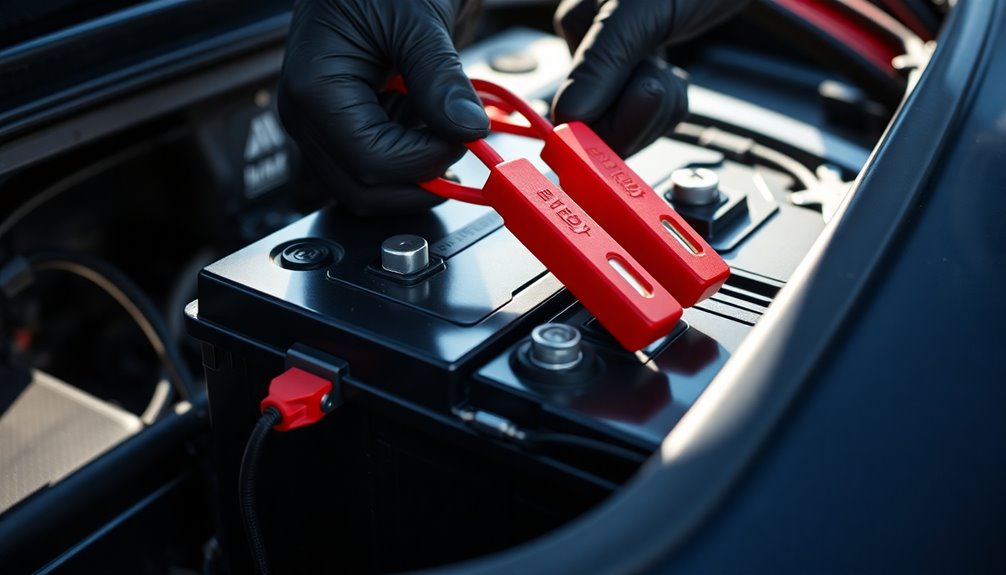
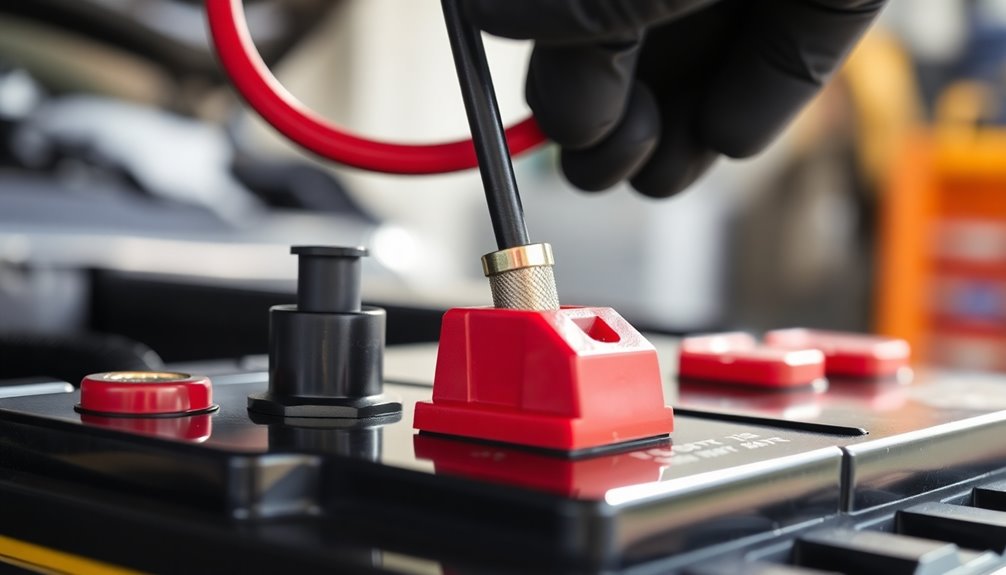
First, connect the positive cable (red) to the positive terminal, making sure of a secure fit to prevent electrical shorts.
After that, attach the negative cable (black) to the negative terminal, tightening it firmly for a solid connection.
While doing this, verify the battery terminals align correctly with the corresponding cables to avoid any cross-connection.
Once both cables are connected, gently tug on them to confirm they're tightly attached and won't come loose during vehicle operation.
Testing the Installation

Once you've securely attached the battery cables, it's time to test the installation. Here's how you can verify everything's working properly:
- Start the Engine: Turn the key and check if the engine cranks smoothly, indicating good electrical energy flow.
- Wiggle the Cables: Gently move the battery connections to confirm they're secure and show no signs of looseness.
- Check Voltage: Use a multimeter to measure the voltage across the battery terminals; it should read between 12.4 to 12.7 volts when the engine is off.
- Perform a Load Test: Use a battery tester to verify the battery can hold a charge under load conditions, confirming the effectiveness of your installation.
Keep an eye on your dashboard for any warning lights during this process!
Frequently Asked Questions
Which Battery Terminal Do You Connect First?
You should always connect the positive terminal first. This practice helps minimize the risk of short circuits while you're handling battery connections.
Look for the red cover marked with a plus (+) symbol; that's your positive terminal. Once you've securely tightened it, you can then connect the negative terminal.
This order guarantees a safer and more stable connection, preventing sparks and potential damage to your vehicle's electrical system. Always prioritize safety!
What Are the Steps to Connect a New Car Battery?
To connect a new car battery, start by turning off your vehicle and ensuring all electrical components are off.
First, attach the red cable to the positive terminal of the new battery, tightening it securely.
Then, connect the black cable to the negative terminal, making sure it's firm.
After that, double-check all connections for tightness and secure the battery in its tray.
Finally, turn on your vehicle to test everything.
What Order Do You Connect Car Batteries?
When you connect car batteries, always start with the positive terminal. Attach the red cable to the positive terminal first.
Then, connect the negative terminal by securing the black cable to the negative terminal. This order helps prevent sparks and guarantees a safe connection.
Remember, when disconnecting, reverse the order: negative first, then positive.
Always double-check that the clamps are tight to avoid any loose connections that could cause issues later.
What Is the Safest Way to Connect a Car Battery?
Ever tried connecting a battery during a thunderstorm? It's not fun!
To safely connect a car battery, start by wearing safety glasses and gloves.
First, attach the positive terminal to the positive post, then connect the negative terminal to the negative post.
Tighten the clamps securely with a wrench, and give everything a gentle jiggle to guarantee stability.
This'll help you avoid electrical issues and keep things running smoothly.
Safety first!
Conclusion
To sum up, connecting car batteries isn't just about following steps; it's about doing it safely. Did you know that improper battery connections account for nearly 30% of battery-related issues? By taking the time to follow this guide, you're not only ensuring a successful installation but also extending the life of your battery. Remember to always wear protective gear and double-check your connections. Now you're ready to hit the road with confidence!