
Changing the batteries in your Honeywell thermostat is easy and keeps it running efficiently. Start by locating the battery compartment, usually on the back or bottom. Power off the thermostat before opening it and remove the old batteries, noting the positive and negative orientations. Insert fresh, high-quality alkaline AAA batteries, ensuring they fit securely. If needed, reattach the thermostat to the wall and check for proper operation. If it doesn't work, verify the battery placement and check the circuit breaker. You're just a few simple steps away from ensuring your thermostat runs effectively—discover more details to make the process even smoother!
Key Takeaways
- Locate the battery compartment, usually on the back or bottom, and consult the user manual for specific instructions.
- Power off the thermostat before removing old batteries to prevent electrical issues.
- Remove old batteries, noting the orientation of positive (+) and negative (-) terminals for correct installation.
- Insert new high-quality alkaline AAA batteries, ensuring they are fresh and properly aligned.
- Reattach the thermostat, check for proper function, and troubleshoot if it doesn't turn on after replacement.

Amazon Basics AAA Long-Lasting Alkaline Batteries, 12 Count, 1.5 Volt, 10-Year Shelf Life, for Home and Office
- Pack Size: 12 AAA batteries per pack
- Voltage: 1.5 Volt alkaline batteries
- Shelf Life: 10-year shelf life
As an affiliate, we earn on qualifying purchases.
As an affiliate, we earn on qualifying purchases.
Battery Replacement Overview
Changing the batteries in your Honeywell thermostat is a simple yet essential task to keep your home comfortable.
Most Honeywell thermostat models require you to change the batteries every 3-5 years, but for peak performance, yearly replacement is recommended. You'll often receive a low battery alert up to 60 days in advance, giving you time to prepare for replacing the battery.
Regular maintenance guarantees your thermostat functions correctly, preventing unexpected shutdowns. When it's time to swap out those old batteries for new ones, consult your user manual for guidance on the battery compartment's location.
Remember to use high-quality alkaline AAA batteries, as this is critical for your thermostat's reliability and longevity. Keep an eye on battery life to maintain comfort in your home.
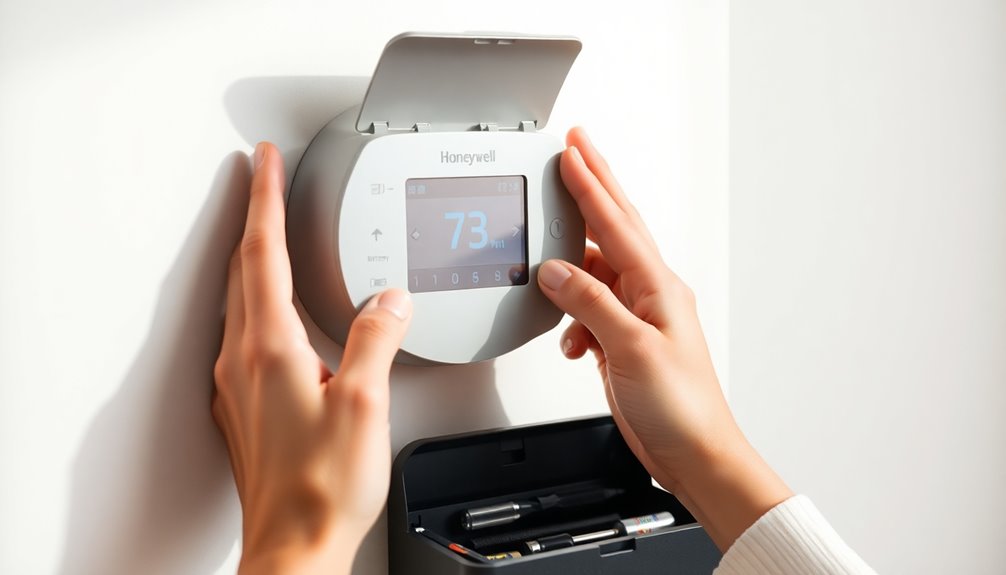
Locating the Battery Compartment
Finding the battery compartment in your Honeywell thermostat is essential for a smooth battery replacement process. Here's how to locate it:
- Check the Back or Bottom: Most Honeywell models place the battery compartment here.
- Front-Loading Design: Some models have a battery compartment accessible from the front, making it easier for quick access.
- Refer to User Manuals: Your user manual provides specific details on your model's battery compartment location.
Identifying the correct compartment helps you avoid damaging the thermostat during battery replacement.
If you have models like the DT2 or DT2R, you may need to remove the faceplate, while others like the Pro 3000 series let you simply detach the thermostat from the wall for efficient maintenance.
Removing the Old Batteries

Before you start removing the old batteries, make certain your thermostat is powered off to avoid any electrical issues.
Open the battery compartment carefully, and then begin removing the old batteries. Pay attention to the positive (+) and negative (-) orientations, as this will guide you when it's time to insert the new batteries.
If needed, detach the thermostat from the wall mount for easier access.
After removing the old batteries, check for corrosion or damage in the compartment, as this could impact the performance of the new batteries.
Finally, dispose of the old batteries according to local regulations to guarantee proper recycling and environmental safety.
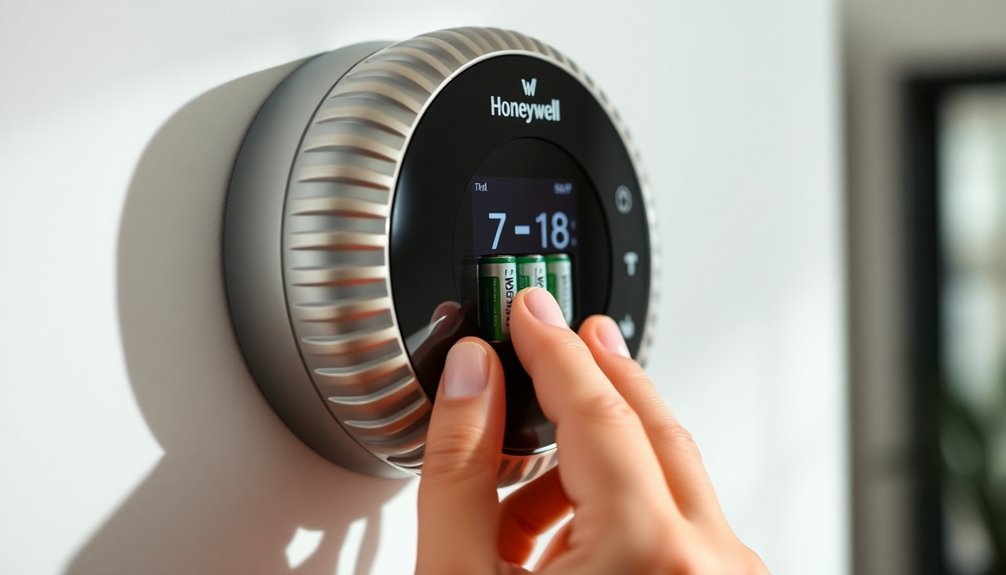
Choosing and Inserting New Batteries

Once you've removed the old batteries, you'll need to choose the right replacements for your Honeywell thermostat.
Here are three key points to contemplate for your Honeywell thermostat battery replacement:
- Check the user manual or battery compartment to confirm if you need AA or AAA alkaline batteries.
- Handle batteries carefully, avoiding dropping them, and verify they're fresh and within their expiration date.
- Align the positive (+) and negative (-) terminals correctly when inserting new batteries to avoid operational issues.
Reinstalling and Troubleshooting
After you've replaced the batteries, reattaching the thermostat to its wall mount is essential for guaranteeing it functions correctly. For models like the Honeywell 3000 series, verify the cover plate is secured. If your thermostat doesn't turn on, check the circuit breaker; a tripped breaker is a common issue that can affect heating and cooling.
| Troubleshooting Steps | Action |
|---|---|
| Reinstalling the thermostat | Securely mount it back on the wall |
| Check the circuit breaker | Confirm it hasn't tripped |
| Verify battery polarity | Make sure the batteries in a Honeywell are correctly installed |
| Contact a professional | If problems persist, reach out for help |
Store spare batteries in a dry place. If you need help, don't hesitate to contact us!
Frequently Asked Questions
How to Replace Batteries in a Honeywell Home Thermostat?
To replace the batteries in your Honeywell home thermostat, start by finding the battery compartment, usually located on the back or sides.
Check the user manual for the correct battery type—most models use AA or AAA alkaline batteries.
Turn off the thermostat, insert the new batteries with the correct orientation, and close the compartment.
Finally, reattach the thermostat if necessary and make sure the display lights up to confirm it's working.
How Do You Take the Cover off a Honeywell Thermostat?
To take the cover off your Honeywell thermostat, first identify the model you have.
For many models, you just slide or pull off the faceplate. If you have a DT2 or DT2R, you won't need tools; simply pull the faceplate away.
The Pro 3000 series lifts off the wall mount easily. For T3R models, just flip up the faceplate.
Always check your user manual for specific instructions tailored to your model.
How Do You Remove a Thermostat Cover to Replace a Battery?
When tackling the task of taking off the thermostat cover, start by powering down to prevent pesky problems.
Depending on your specific model, you'll either slide the cover off or unscrew a bottom screw.
For certain models, just remove the faceplate to access the battery compartment directly.
If you've got a Pro 3000 series, detach it from the wall mount to reach the batteries.
Always check your user manual for precise guidance!
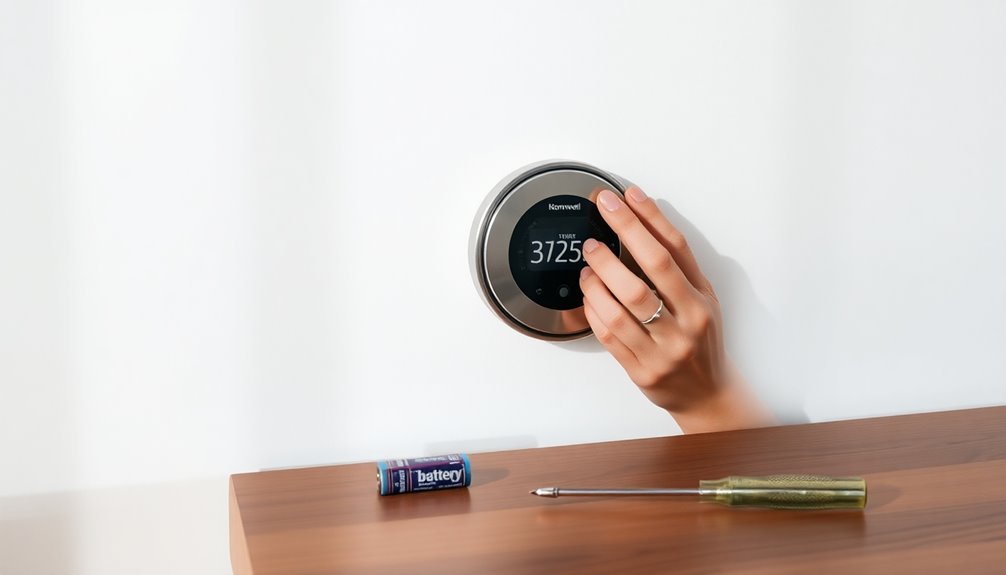
How Do I Know if My Honeywell Thermostat Needs New Batteries?
You'll know your Honeywell thermostat needs new batteries when you see a low battery symbol on the screen or if the display starts to dim.
These indicators can appear weeks before the batteries die, so keep an eye out. If the thermostat becomes unresponsive, that's another clear sign.
Regularly checking the battery status helps you avoid unexpected shutdowns and keeps your home comfortable.
Always refer to your user manual for specific alerts related to your model.
Conclusion
Now that you've replaced the batteries in your Honeywell thermostat, imagine the warm glow of your home as it comfortably hums back to life. You've taken a simple step to guarantee your environment stays just right, like a cozy blanket on a chilly night. Remember to check those batteries regularly, keeping your thermostat in peak condition, so you can enjoy every season without a hitch. You've got this—your comfort is just a battery away!