When troubleshooting DIY battery reconditioning, start with safety. Always wear protective gear and ensure proper connections. Inspect the battery for damage, check electrolyte levels, and measure voltage with a multimeter. Clean terminals using a baking soda solution to remove corrosion, and ensure your battery is securely placed. Use the right charging techniques, like cycle charging and equalization, to restore capacity. Monitor temperatures and avoid overcharging to extend battery life. Stay alert for signs of severe damage, as it might mean the battery's beyond repair. Keep exploring these tips to master your battery reconditioning skills.
Key Takeaways
- Always wear protective gear and ensure correct connections to prevent accidents during battery reconditioning.
- Monitor temperatures carefully during charging to avoid damage, especially with lithium-ion batteries.
- Assess the battery's condition regularly; severe damage may indicate it's beyond repair.
- Use appropriate charging techniques for different battery types to avoid cross-method issues.
- Conduct load tests and check individual cell voltages after reconditioning to evaluate improvements.

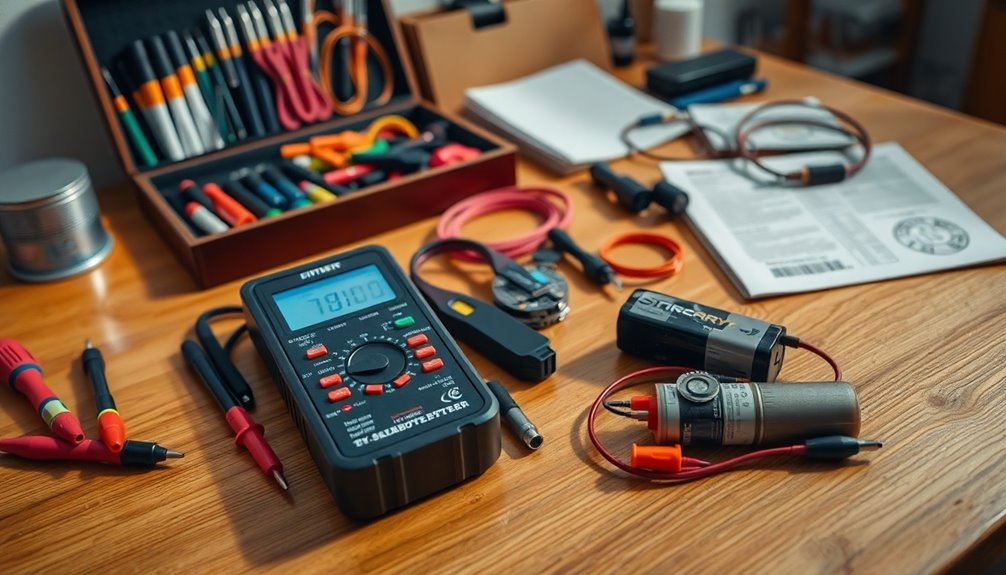
Digital Multimeter Voltmeter Battery Voltage Multi Tester Continuity Ohm Volt Amp DC AC Current Resistance Diodes 2000 Counts Electrical Test Meter with Leads Backlight LCD Display
- Accurate Measurements: Measures AC/DC voltage, current, resistance, and more
- Safe and Durable: Overload protection and double insulation for safety
- User-Friendly Display: Large backlit LCD for easy reading in low light
As an affiliate, we earn on qualifying purchases.
As an affiliate, we earn on qualifying purchases.
Safety Precautions
When handling batteries, prioritize safety to prevent accidents and injuries. Always avoid bringing metal into contact with batteries, as this can lead to electrocution. Never let both terminals touch an object simultaneously, which could allow electrical current to pass through and create hazards.
When you're lifting or moving batteries, don't hand-guide them—this can expose you to electrical shock or acid contact. Instead, use the specified lifting equipment designed for the battery's weight to minimize risks. Additionally, ensure that conductive materials are kept away from the lifting area to avoid accidental short-circuiting.
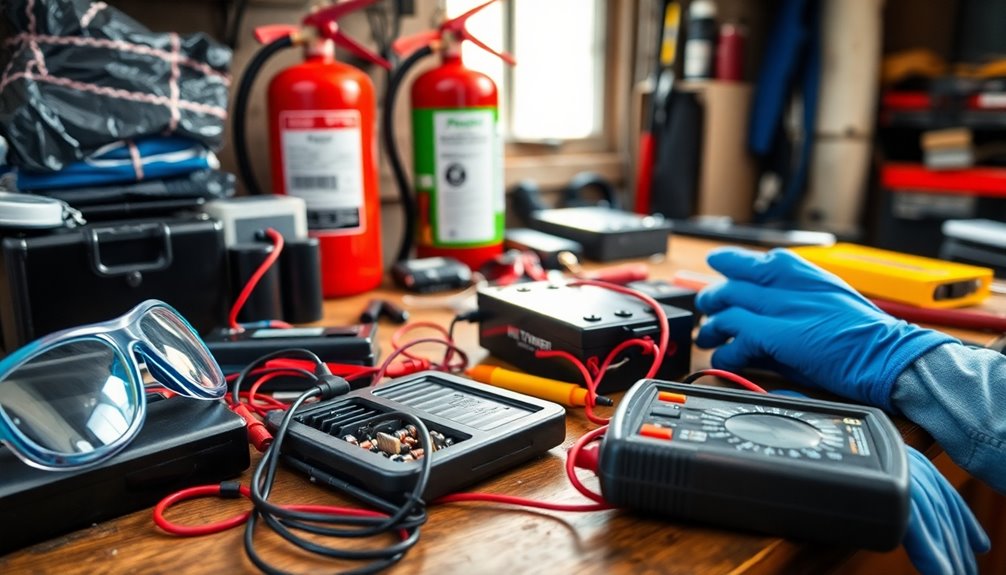
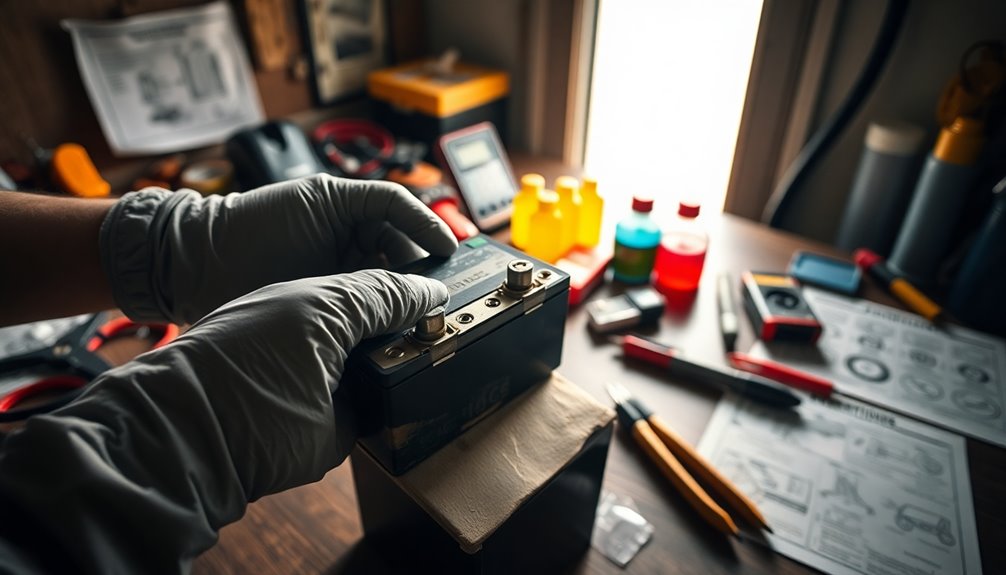
Wearing protective gear is essential. Equip yourself with gloves, eyewear, and a hard hat when dealing with batteries. Chemical-resistant gloves will shield you from acid spills, while safety goggles protect your eyes from potential splashes. Thick work clothes provide an extra layer of defense against acid and electrical hazards.
Finally, practice safe handling techniques by keeping your work area clear of obstacles. This helps prevent tripping, which could lead to dropping a battery and causing injury. Regularly remind yourself and your coworkers about appropriate battery handling procedures to maintain a safe environment.
Initial Inspection Steps

Before diving into the reconditioning process, start with a thorough initial inspection of the battery.
Begin with a visual inspection. Check the battery's physical placement; ensure the bracket isn't damaged or corroded. Inspect the battery box for any fractures or distortion, and verify that the battery guard cover is intact. Make sure the poles are in good shape, free from excessive wear or corrosion, and ensure the ventilation holes are clear with vent caps in place.
Next, perform a cell and electrolyte inspection. Remove the battery caps and look for signs of sulfation, which appears as brown fabric with white lumps. Ensure the electrolyte levels are at least an eighth of an inch above the lead plates and check the color and clarity of the electrolyte. Cloudy or contaminated electrolyte indicates damage. Additionally, consider the battery's age and previous usage as these factors can significantly affect its performance.
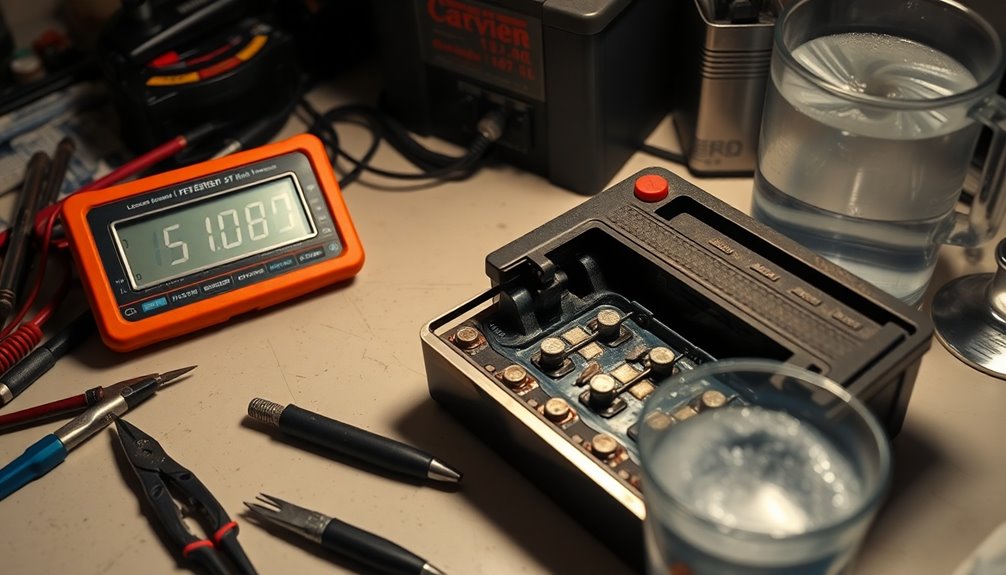
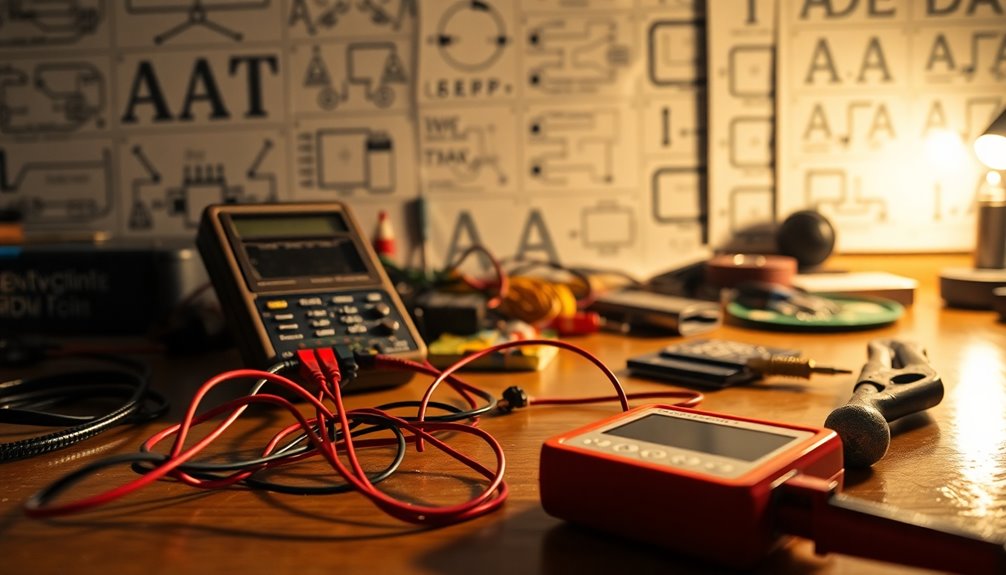
Finally, check the voltage and charge level using a multimeter. The overall voltage shouldn't drop below 11.8V for a 30% charge. During a load test, ensure the voltage remains above 9.6V DC.
This initial inspection is crucial for determining whether your battery is worth reconditioning or needs replacement.
Assessing Battery Condition
After completing the initial inspection, it's important to assess the battery's condition to determine if it can be reconditioned. Start by checking the voltage levels with a multimeter. For a 12-volt lead-acid battery, a healthy reading should be around 12.6V. If you find readings between 10V and 12.6V, the battery may be reconditionable. Anything below 10V suggests it's time for a replacement.
Next, test the individual cells by removing the battery caps and using probes connected to a voltmeter. Each cell should read at least 2 volts. You can also use a hydrometer to check the specific gravity of the electrolyte in each cell; low readings indicate weak cells. Regular cleaning of the battery posts is also essential for optimal contact.
Don't forget to check the electrolyte levels, ensuring they're at least an eighth of an inch above the lead plates. If you have a flooded lead-acid battery, add distilled water as needed.
Finally, perform a load test by connecting a load tester and monitoring the voltage while the battery is under load. A healthy reading should be above 9.6V. This thorough assessment will guide your reconditioning efforts effectively.
Cleaning Battery Terminals
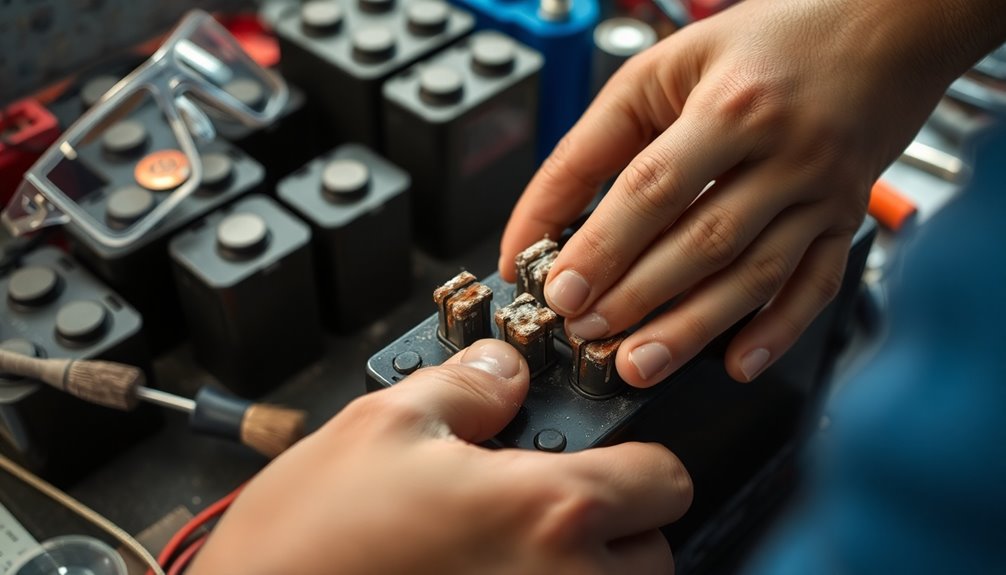
Cleaning battery terminals is crucial for maintaining optimal battery performance and preventing further corrosion. To get started, ensure the engine is off and wear protective gloves.
First, disconnect the negative battery cable, followed by the positive cable. Inspect the terminals for any buildup, corrosion, or grime, and check the battery case for leaks or swelling; if you notice any damage, consider replacing the battery.
Now, mix one tablespoon of baking soda with one cup of water to create a cleaning solution. Dip an old toothbrush or stiff-bristled brush into the solution and scrub the terminals thoroughly. Use a wire brush for tougher corrosion, and remember to clean off the brush regularly to avoid spreading dirt. Make sure all debris is removed. A thorough cleaning ensures the battery operates efficiently.
After scrubbing, rinse the terminals with clean water to eliminate any remaining solution or residue. Dry them completely using a clean rag or shop towels.
To further protect your terminals, apply a thin layer of petroleum jelly, which lubricates and helps prevent corrosion. Finally, reattach the cables in reverse order, starting with the positive cable, then the negative.
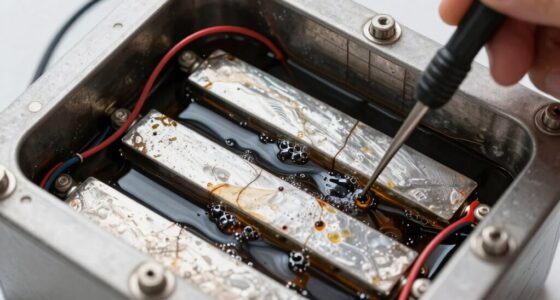
Desulfation Process
Desulfation is a vital process for restoring the performance of lead-acid batteries. The high voltage pulse technique supplies quick, intense pulses to effectively desulfate battery plates.
Electrolyte Replacement Guide
Regularly replacing the electrolyte in your lead-acid battery can significantly enhance its performance and lifespan. Battery reconditioning can also help clean sulfates and replenish the electrolyte solution, further improving battery efficiency.
Start by gathering your protective gear, including safety goggles, chemical-resistant gloves, and an apron. Always work in a well-ventilated area to avoid inhaling harmful fumes. Before you begin, check for any physical damage to the battery, such as cracks or bulges.
To remove the old electrolyte, use a flathead screwdriver to take off the battery caps. Drain the old solution into a bucket, being careful to avoid spills. Neutralize any spills with a baking soda and water mix, aiming for a pH of 6.8 to 7.2. Dispose of the old electrolyte properly and clean the battery cells thoroughly.
Next, prepare your new electrolyte by mixing Epsom salt and distilled water at a ratio of 120 grams per liter. Ensure the salt is fully dissolved—warming the water can help.
Use a funnel to refill the battery cells to the fullest level with the new solution. After replacing the caps securely, shake the battery gently to distribute the electrolyte evenly, then let it settle for a minute before checking that everything is properly sealed.
Charging Techniques
Charging your battery properly is crucial for maintaining its performance and longevity. For lead-acid batteries, consider low current charging. Set your charger to 12V and 2 amps to prevent damage, and keep it away from the battery to avoid overheating.
Charge for 24 to 36 hours to help Epsom salt dissolve lead sulfate crystals, and always ensure you're in a well-ventilated area. Remove battery caps during charging to prevent overflow. Additionally, be aware that sulfation can lead to decreased efficiency over time, which emphasizes the importance of proper charging techniques.
Equalization charging is another effective technique. This involves applying a controlled overcharge to balance the cells and restore capacity. Use a smart charger and regularly check each cell's voltage before and after the process.
For lithium-ion batteries, balancing cells is essential. Use a specialized charger to ensure even charging across all cells.
Cycle charging and discharging can also help restore lost capacity—just fully charge and discharge the battery pack multiple times.
Lastly, manage temperature carefully during charging. Keeping your batteries in an optimal temperature range prevents damage and preserves lifespan.
Always follow safety precautions, like wearing gloves and goggles, while charging to protect yourself from potential hazards.
Testing Battery Performance

Testing your battery's performance is essential to determine its health and longevity. Start by using a multimeter to check the overall battery voltage. A healthy car battery should read around 12.6V. If your reading falls between 10V and 12.6V, the battery can be reconditioned, but if it's below 10V, you should consider replacing it.
Next, check the voltage of each cell by removing the battery caps. Use probes made from coat hanger wire to test each cell, ensuring each reads at least 2 volts. If you notice any weak or bad cells, that's a sign of trouble. A hydrometer can further help you assess the condition of the cells and electrolyte levels.
Perform a load test by connecting a load tester, ensuring the positive lead is attached first. Turn on the vehicle and high beams, then measure the voltage—under load, the battery should maintain at least 9.6V. This battery load test is crucial for diagnosing battery health and determining readiness for replacement.
Repeat this test after reconditioning to see if there's any improvement. Finally, check your electrolyte levels and clean any corrosion from the terminals to ensure accurate readings and optimal performance.
Regular Maintenance Tips

Maintaining your battery is crucial for its performance and lifespan. Start by cleaning the battery and terminals regularly. Use a brass brush or scouring pad to scrub the terminals, and apply a baking soda and water paste to remove any corrosion. For heavily corroded batteries, steel wool works wonders. A toothbrush can help you thoroughly clean any build-up, ensuring the terminals are completely dry afterward.
Next, ensure your battery is seated securely in its tray. This prevents vibrations that can cause internal damage. Check for loose connections and tighten any brackets holding the battery in place.
Keep the battery tray clean and free from debris, rust, or corrosion by using a wire brush and baking soda solution. Regular maintenance enhances overall performance of your battery system, ensuring reliability during use.
Don't forget to manage water and electrolyte levels. Regularly check non-maintenance-free batteries and top up low levels with distilled water, avoiding overfilling. Always add water only after charging and disconnecting the battery.
Use a hydrometer for flooded batteries and ensure fluid covers the battery plates to prevent sulfation.
Finally, charge your battery when it reaches 20% capacity and monitor its temperature during charging to avoid overheating.
Common Troubleshooting Issues

Troubleshooting common issues during DIY battery reconditioning can make the difference between success and failure. First, ensure you're using the right method for your battery type. For instance, don't apply desulfation techniques meant for lead-acid batteries on lithium-ion batteries, which require proper balancing and cycle charging. Failing to distinguish between battery types can lead to ineffective results or even damage.
Next, prioritize safety. Always wear protective gear like gloves and goggles when handling batteries to avoid acid spills and electrical shocks. Incorrectly connecting chargers can also cause serious issues, so double-check your connections. Monitor temperatures during charging, especially for lithium-ion batteries, to prevent damage. Additionally, understanding battery chemistry can help you better identify the right reconditioning techniques and avoid common pitfalls.
Charging and discharging problems are common, too. Avoid overcharging or undercharging, as this can significantly reduce battery lifespan. For deep-cycle lead-acid batteries, remember to perform regular equalization charging to prevent sulfation.
Lastly, be realistic about recovery limits. If a battery shows signs of severe damage or high voltage readings that don't stabilize, it may be beyond repair. Always check the specific gravity and voltage before and after reconditioning to gauge progress.
Frequently Asked Questions
Can I Recondition a Completely Dead Battery?
You can't always recondition a completely dead battery. If it's below 10V, it's likely beyond repair.
Check for physical damage like cracks or bulges, as these make reconditioning impossible.
If the battery's voltage is between 10V and 12.6V, it might be reconditionable. However, sulfation can sometimes be reversed, but not guaranteed.
Always prioritize safety and consider replacing the battery if it shows signs of severe damage or age.
How Often Should I Perform Battery Maintenance?
You should perform battery maintenance regularly to ensure optimal performance.
For flooded lead-acid batteries, check water levels every 2–4 weeks and inspect electrolyte levels every 4 discharge cycles.
Monthly, inspect battery cables for damage and clean terminals to remove corrosion.
Schedule these tasks on a calendar to stay organized, and document your findings in a maintenance logbook.
Keeping a consistent maintenance routine will help extend the life of your battery.
What Tools Are Essential for Battery Reconditioning?
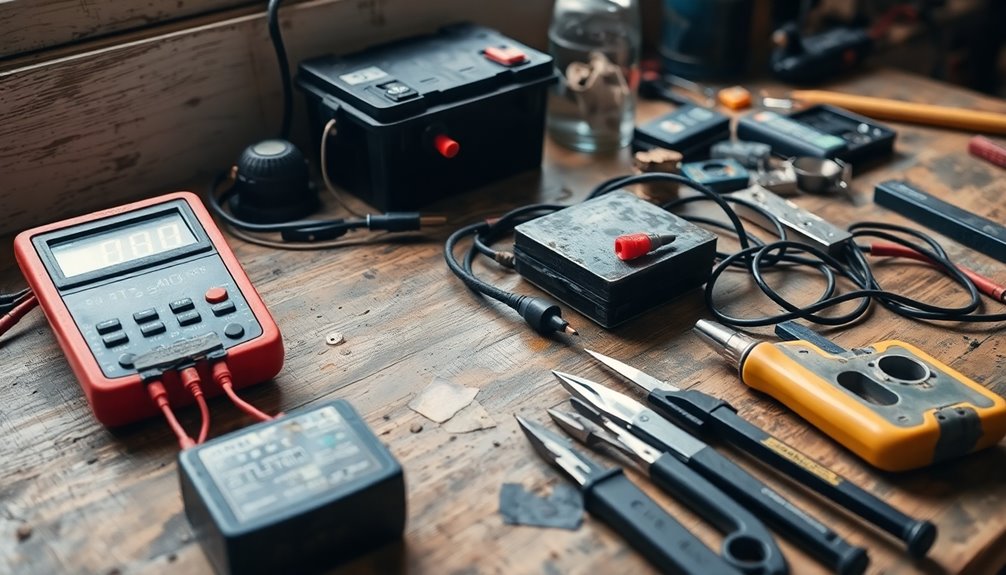
To successfully recondition batteries, you'll need essential tools like a multimeter for measuring voltage and checking cell balance, a smart battery charger tailored to your battery type, and safety gear like gloves and goggles.
If you're working with lead-acid batteries, a desulfator and distilled water are crucial. A battery hydrometer and load tester can help assess battery health, while a battery post cleaner keeps connections clean.
Having these tools ensures effective reconditioning.
Is It Safe to Recondition Lithium Batteries?
Reconditioning lithium batteries can be risky if you don't take proper precautions. You must handle them carefully to avoid fire hazards, like ensuring they're fully discharged before working on them.
Wearing personal protective equipment is crucial, too. Always work in a well-ventilated area and keep a fire extinguisher nearby.
If you're not experienced, it's best to leave it to professionals to avoid potential dangers and comply with safety regulations. Your safety should always come first.
What Should I Do With Old Batteries After Reconditioning?
After reconditioning old batteries, you've got a couple of options.
If they're functional, reuse them in devices that need the same type. Monitor their performance and maintain them regularly.
For batteries that didn't hold up, take them to specialized recycling facilities to prevent environmental hazards. Always check local regulations to ensure you're disposing of them properly.
Conclusion
In conclusion, troubleshooting DIY battery reconditioning can be straightforward if you follow the right steps. By prioritizing safety and conducting thorough inspections, you can assess the condition of your batteries effectively. Remember to keep terminals clean and utilize proper charging techniques. Regular maintenance and awareness of common issues will help extend battery life. With these tips in mind, you're well-equipped to tackle any battery reconditioning challenge that comes your way. Happy reconditioning!