
To test your golf cart batteries, start with a visual inspection for damage and secure connections. Next, you'll need a digital multimeter to measure the voltage, ensuring it's above 12.6V for lead-acid batteries or 13.3V for LiFePO4. Conduct a load test to simulate real-world use; a significant drop below 9.6V may indicate failure. Use a hydrometer for specific gravity readings if you have lead-acid batteries, ensuring it's between 1.265 and 1.299 for ideal health. Consistent poor results might mean it's time for a replacement. Stick around, and you'll uncover more helpful tips for battery maintenance.
Key Takeaways
- Perform a visual inspection for physical damage, corrosion, or swelling before testing the batteries.
- Use a digital multimeter to measure the voltage; healthy lead-acid batteries should read above 12.6V.
- Conduct a load test; significant voltage drop below 9.6V indicates potential battery failure.
- Utilize a hydrometer for lead-acid batteries to check specific gravity, aiming for readings between 1.265 and 1.299.
- Regularly monitor battery health with monthly checks to ensure reliable performance and early detection of issues.

Brightown 100FT Solar String Lights Outdoor Waterproof with Remote, 31+2 LED Shatterproof Bulbs, Dimmable & Timable, 3 Light Modes - Commercial Grade Patio Lights for Garden Backyard Party Decor
【100FT Pro Solar String Lights Outdoor Waterproof】Transform your large spaces with 100 feet of solar string lights outdoor...
As an affiliate, we earn on qualifying purchases.
Importance of Testing Batteries

Testing your golf cart batteries is essential for guaranteeing their efficiency and longevity. Regular testing helps you prevent unexpected failures and costly replacements, keeping your golf cart in top shape.
If you notice a voltage drop below 12 volts during testing, it's a warning sign that something's not right. Addressing these issues promptly can save you from unexpected power loss when you're out on the course.
Additionally, visual inspections for physical damage, swelling, or corrosion around terminals can help you identify early signs of battery failure.

Brightown 52FT Solar String Lights Outdoor Waterproof, Patio Lights with Remote & Timer, USB/Solar Powered Dimmable Outdoor Lights, 15+1 LED Bulbs for Backyard Garden Camping Party - 26Hrs Runtime
【Solar Powered & USB Charging】52FT solar string lights with 15+1 shatterproof st38 LED bulbs (E12 base) – harness...
As an affiliate, we earn on qualifying purchases.
Safety Precautions
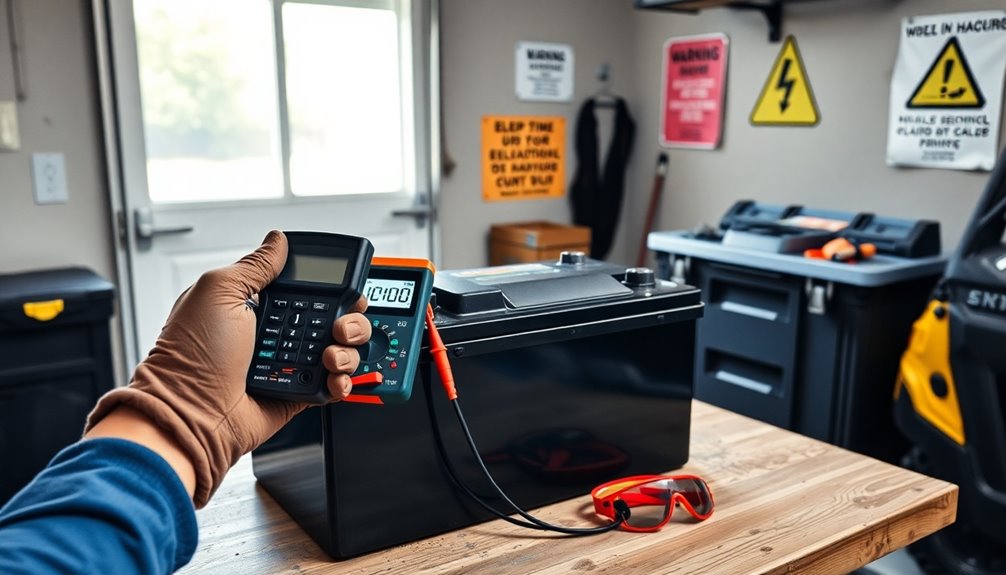
Before diving into battery testing, it's important to prioritize safety to protect yourself and your equipment. Follow these precautions to guarantee a safe testing environment:
- Wear protective gloves and safety goggles to shield yourself from battery acid exposure.
- Make sure the golf cart is powered off and the key is removed to prevent accidental start-up during testing.
- Conduct testing in a well-ventilated area to reduce the risk of harmful fumes accumulating, and keep flammable materials away to avoid fire hazards.
Additionally, use insulated tools to prevent accidental contact with battery terminals, minimizing the risk of electrical shock.
Prioritizing these safety measures will help create a secure testing experience.

SZTPS 10.1" Windows Tablet Touchscreen Tablets Computer 6GB RAM 128GB ROM, Intel Processor, USB 3.0, Micro HDMI, 6000MAH Battery, Dual Cameras, Bluetooth 5.0
【Long-Lasting Battery】:6000mAh built-in rechargeable battery, can be mixed for 5-12 hours, and is equipped with charger, data cable,...
As an affiliate, we earn on qualifying purchases.
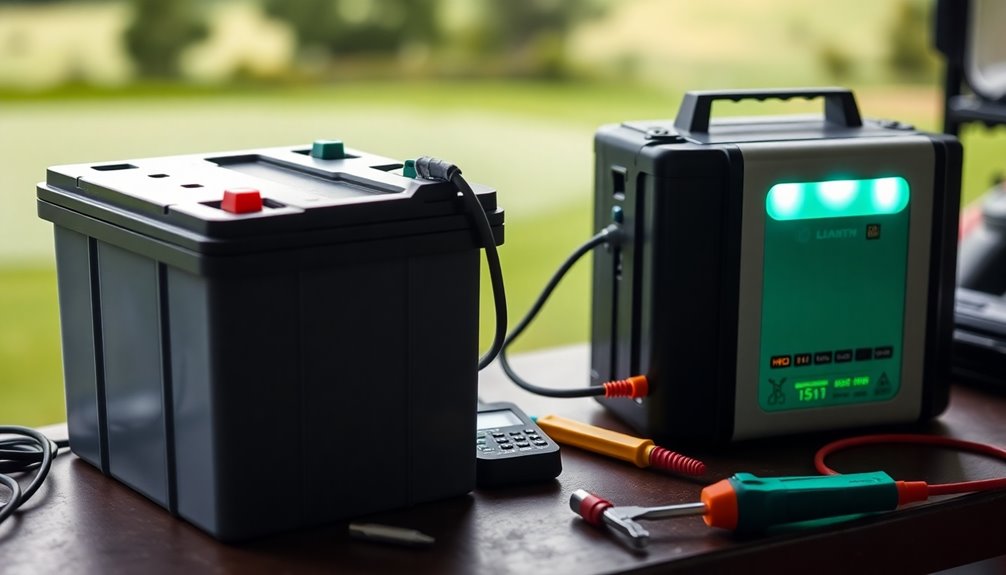
Necessary Tools for Testing

To effectively test your golf cart batteries, you'll need some essential tools.
A digital multimeter, hydrometer, and battery load tester are key for evaluating battery health, while insulated tools keep you safe during the process.
Having the right equipment guarantees accurate readings and helps you maintain peak battery performance.
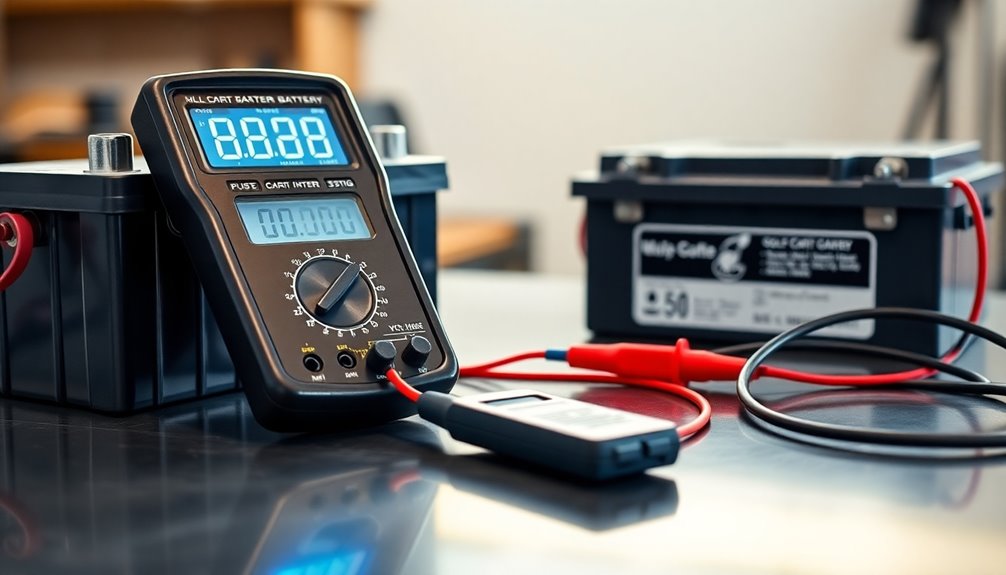
Essential Testing Equipment
When you're ready to test golf cart batteries, having the right equipment can make all the difference in getting accurate results. Here are three essential tools you'll need:
- Digital Multimeter: This device measures voltage levels. Fully charged 12-volt batteries should read between 12.6V and 12.8V, while 6-volt batteries should show around 6.3V to 6.5V.
- Battery Load Tester: This tool simulates real-world conditions by applying a load for 10-15 seconds, allowing you to see how well the battery maintains voltage under strain.
- Hydrometer: For lead-acid batteries, this device measures the specific gravity of the electrolyte, indicating proper charge levels with healthy readings between 1.265 and 1.299.
Having these tools will guarantee accurate testing results!
Safety Gear Requirements
While testing golf cart batteries can be straightforward, prioritizing safety is essential to prevent accidents and injuries. Always wear safety goggles and protective gloves to shield yourself from battery acid during the testing process. These items are important for protecting your eyes and skin from potential harm.
Using insulated tools is also significant; they help prevent accidental contact with battery terminals and reduce the risk of electric shock.
To accurately measure voltage, employ a digital multimeter, ensuring your 12-volt batteries read at least 12.7 volts when fully charged. For deeper insights, consider a battery load tester and a hydrometer to evaluate the battery's performance and electrolyte health.
Taking these precautions will help you test batteries safely and effectively.

Samsung Galaxy Tab A11+ 6GB RAM, 128GB Storage, Optimized Performance, Long Lasting Battery, Expandable Storage, Large Display, Dolby Atmos Speakers, AI Assist, Slim, Light, 2 Year Warranty, Gray
POWER FOR ALL YOU DO: Galaxy Tab A11+ gives your family the optimal performance they need for all...
As an affiliate, we earn on qualifying purchases.
Step-by-Step Testing Guide

To start testing your golf cart batteries, you'll want to follow a systematic approach.
First, check for any visible damage and confirm connections are tight.
Then, you can move on to measuring voltage and conducting a load test for a thorough evaluation.
Visual Inspection Checklist
A thorough visual inspection of your golf cart batteries is essential to confirm peak performance and longevity.
Start by checking for any signs of physical damage that could affect functionality. Follow this checklist:
- Inspect for corrosion: Verify battery terminals are clean and free from buildup, which can impede electrical flow.
- Look for physical damage: Examine the battery case for bulging, cracks, or swelling, as these can indicate internal failure.
- Check connections: Make certain all terminals are securely fastened to prevent voltage loss during operation.
Also, watch for any electrolyte leaks, which signal potential battery failure.
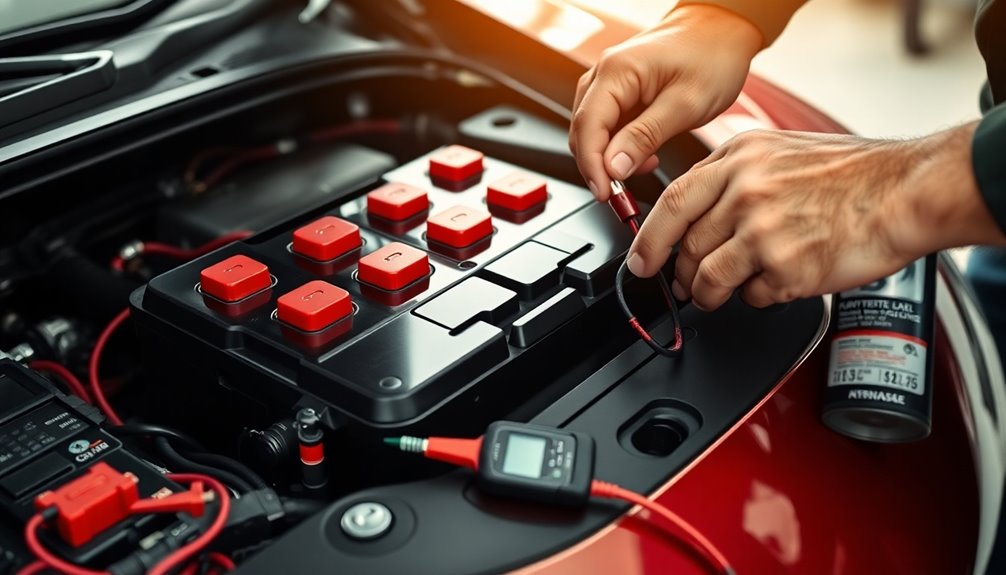
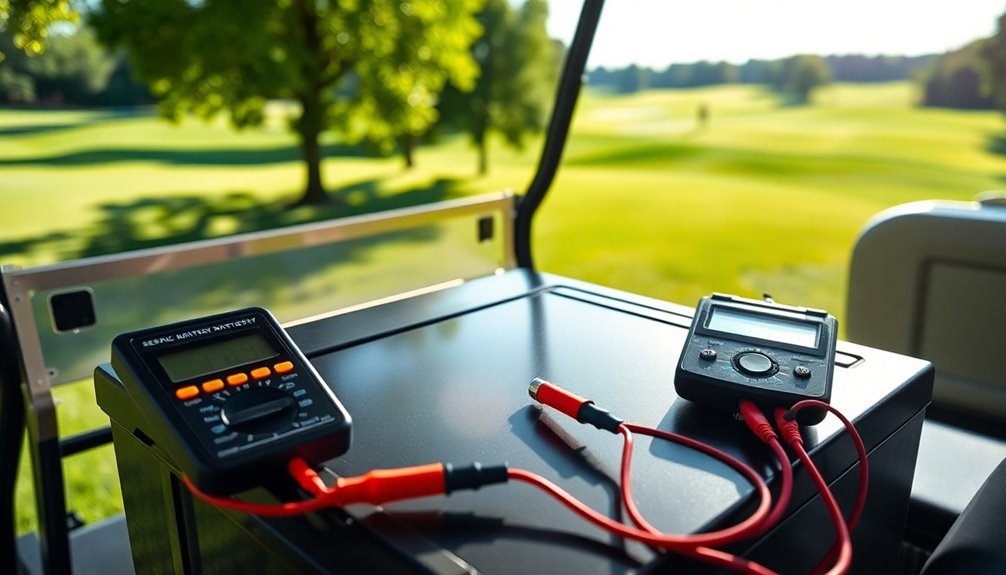
Voltage Testing Procedure
Testing the voltage of your golf cart batteries is essential for ensuring they operate efficiently.
Start by turning off the golf cart and disconnecting any chargers to prevent electric shock during testing. Grab a digital multimeter and set it to the DC voltage setting.
For fully charged batteries, expect 6V batteries to read between 6.3V and 6.5V, 8V batteries between 8.3V and 8.5V, and 12V batteries showing 12.6V to 12.8V.
Carefully connect the multimeter probes: red to the positive terminal and black to the negative terminal. Record the voltage reading and compare it to the expected values.
If your reading is markedly lower, it could indicate potential battery issues that need addressing.
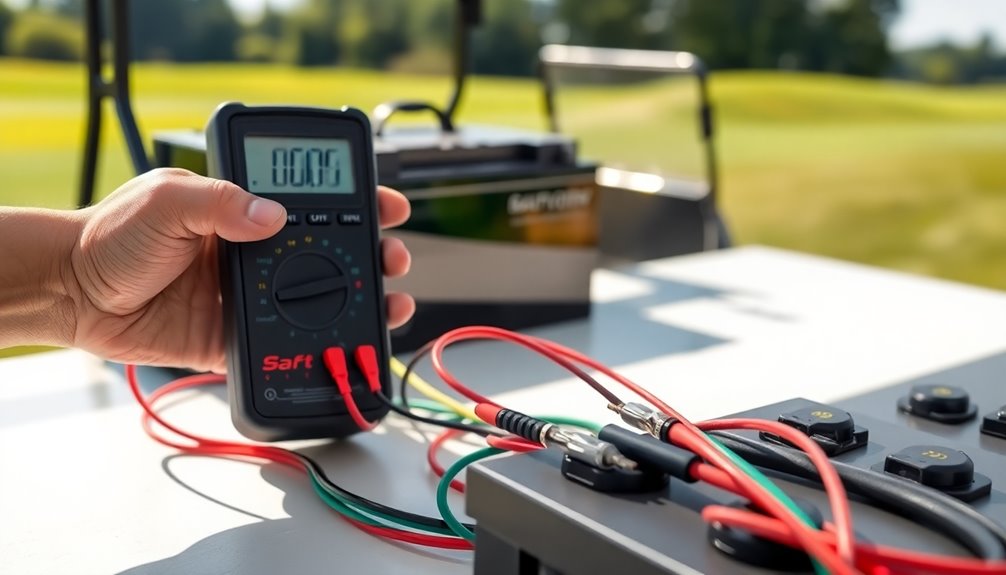
Load Testing Steps
Once you've measured the voltage of your golf cart batteries, it's time to assess their performance under load. Follow these load testing steps:
- Prepare the Battery: Verify your battery is fully charged. A healthy 6V battery should read 6.3V to 6.5V, while an 8V battery should read 8.3V to 8.5V.
- Connect the Load Tester: Attach the load tester to the battery. Apply a specific load for 10-15 seconds while monitoring the voltage.
- Monitor Voltage Drops: During load testing, if the voltage drops considerably below 9.6 volts, it indicates reduced capacity or potential failure.
After testing, compare your results with the manufacturer's specifications to decide if replacement or further maintenance is necessary.
Interpreting Test Results
How can you tell if your golf cart batteries are in good shape? Start by checking the battery voltage.
Healthy lead-acid batteries should maintain levels above 12.6V, while LiFePO4 batteries should be above 13.3V. If you see a significant drop below 9.6V during load testing, that's a red flag indicating potential failure.
Next, look at the specific gravity readings for lead-acid batteries. A range between 1.265 and 1.299 confirms a healthy state of charge. Anything lower suggests sulfation or undercharging.
For LiFePO4 batteries, keep an eye out for BMS error codes or abnormal temperature readings.
If you consistently get poor results from voltage tests or specific gravity checks, it's time to contemplate replacing your batteries for reliable performance.
Charging Compatibility
When it comes to charging your golf cart batteries, using the right charger is crucial for maintaining their health and longevity.
You need to guarantee charging compatibility, especially since deep cycle batteries require specific chargers. Using the wrong charger can lead to serious issues, so follow these steps:
- Check the Voltage: Verify the charger's voltage matches your battery's specifications.
- Verify Chemistry: Confirm that the charger is designed for deep cycle batteries, not car batteries.
- Use a BMS: For lithium batteries, always utilize a Battery Management System for ideal charging practices.
Understanding AGM Batteries
Although you might be familiar with traditional lead-acid batteries, understanding AGM (Absorbent Glass Mat) batteries is vital for optimizing your golf cart's performance.
AGM batteries are maintenance-free and boast a sealed design, preventing leaks and spills—perfect for your golf cart. They require specific testing processes, primarily using a multimeter, due to their unique charging needs.
Compared to standard lead-acid batteries, AGM batteries deliver power more efficiently and typically last longer. Plus, they've a lower self-discharge rate, so they hold their charge longer when idle.
To guarantee you get the most out of your AGM battery, it's important to use compatible chargers that cater specifically to these batteries for proper charging techniques and longevity.
Professional Assistance Options

If you're unsure about the condition of your golf cart batteries, seeking professional assistance can be a smart move. Battery specialists use advanced testing equipment to provide accurate assessments, ensuring peak battery health.
Consider these options:
- Routine Professional Checks: Regular assessments help catch issues early, especially for carts in heavy use or harsh conditions.
- Expert Advice: Specialists can guide you on maintenance and replacement, particularly if your batteries show consistent underperformance despite proper care.
- Rejuvenation Techniques: They may offer solutions to extend the lifespan of aging batteries, enhancing functionality.
With many specialists providing warranties and customer support, you'll gain peace of mind about your battery investment.
Don't hesitate to consult the pros for a thorough evaluation!
Frequently Asked Questions
How to Test a Golf Cart Battery to See if It Is Good?
To test your golf cart battery, start with a visual inspection for any corrosion or leaks.
Next, grab a digital multimeter and measure the voltage; a fully charged 6V battery should read between 6.3V and 6.5V.
Then, use a load tester for about 15 seconds to see if the voltage stays stable.
Finally, check the specific gravity with a hydrometer for lead-acid batteries, ensuring healthy readings from 1.265 to 1.299.
What Is the Most Accurate Test Method for Checking Battery Is?
When you want to peek into the heart of your battery's performance, load testing's your best friend.
It's like giving your battery a little workout, watching how it holds up under pressure. By applying a load and measuring the voltage drop, you'll see if it can keep up.
Healthy batteries dance above 12.4V during this test. Pair this with a quick visual check, and you've got a solid assessment of its health.
How Do I Know if One of My Golf Cart Batteries Is Bad?
To know if one of your golf cart batteries is bad, look for physical signs like bulging or corrosion around the terminals.
Use a multimeter to check voltage; 6V batteries should read between 6.3V and 6.5V, while 8V batteries should be between 8.3V and 8.5V.
If you notice longer charging times or unusual noises, these could indicate battery issues.
Conduct a load test to see if the voltage drops substantially under load.
Do You Have to Disconnect Golf Cart Batteries to Test Them?
Imagine you're on the green, ready to tee off, but your golf cart won't budge—could a battery issue be the culprit?
You don't have to disconnect the batteries to test them, but it can boost safety and prevent accidental shorts. Just guarantee the cart's off and the key's out.
If you spot corrosion or loose connections, disconnecting for a thorough clean is wise before you test. Better safe than sorry!
Conclusion
In testing your golf cart batteries, you not only guarantee peak performance but also extend their lifespan, coincidentally enhancing your overall golfing experience. By following these simple steps, you'll gain confidence in your equipment and keep your cart running smoothly. Remember, a well-maintained battery is just as significant as a good swing. So, take the time to check those batteries regularly, and who knows? You might just find yourself hitting more holes-in-one along the way!