If your DeWalt battery isn't charging, don't worry—quick fixes are possible! First, check if the battery is fully seated in the charger; it should click into place. Clean the contacts on both the battery and charger to ensure a secure connection. Inspect for damaged cells or internal connections that may need repair. If your battery's light indicators show unusual patterns, they could point to specific issues. Remember to keep your charger in a proper temperature range. For deeper insights on troubleshooting techniques, you'll want to explore the next steps to restore your battery's performance.
Key Takeaways
- Ensure the battery is fully seated in the charger; look for a clicking sound to confirm proper connection.
- Check for broken internal connections or damaged terminals that may prevent charging; visual inspections can reveal issues.
- Clean the battery and charger contacts regularly to maintain a secure fit and optimize charging performance.
- Monitor the charger and battery for overheating; avoid exposure to high temperatures and ensure correct insertion.
- If the battery is completely depleted, consider jumpstarting it or performing a manual reset to revive charging functionality.
Common Charging Issues
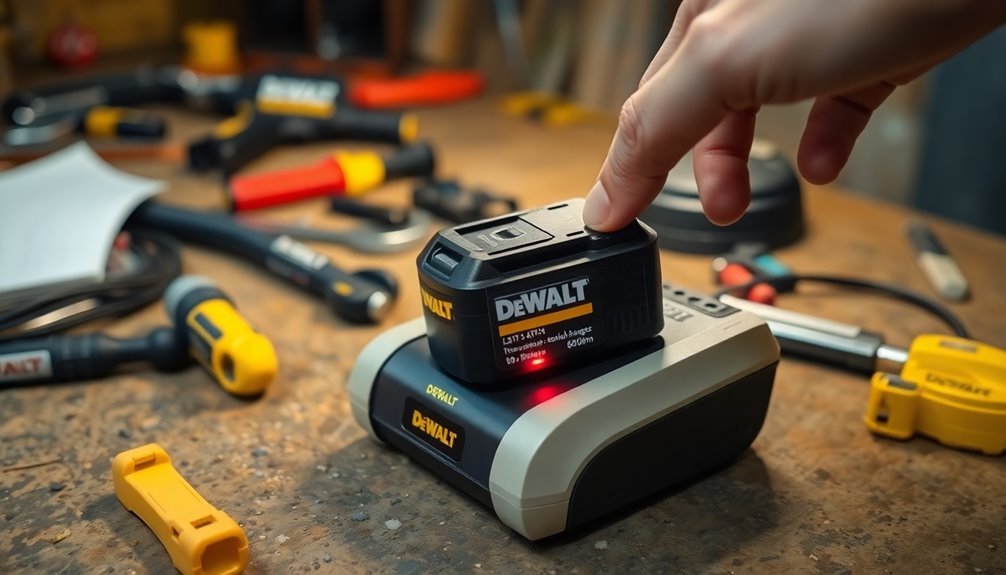
When dealing with common charging issues, it's essential to understand that various factors can prevent your DeWalt battery from charging properly. One potential culprit is broken internal connections. If you suspect this, inspect the battery's internal components for any damaged connectors. Repairing these connections can often restore the battery's functionality.
Another issue could be cell balance and health. Batteries consist of multiple cells, and if one cell gets shorted or opens up, it can throw off the balance. The protective circuit within the battery monitors these cells, and if one's unbalanced, the circuit may indicate a defective battery. Checking each cell individually can help you identify any faults, and rebalancing or replacing bad cells might resolve your charging problem. Additionally, if the battery is showing low functionality, it may require component replacement to restore its performance.
Sometimes, a completely depleted battery might need a jump start from another battery. By connecting the B+ and B- terminals of a good battery to the dead one, you can get it going again. After jump-starting, place it in the charger, and it should charge normally.
Always check compatibility between the charger and battery, as issues can arise even with newer equipment.
Checking Battery Placement
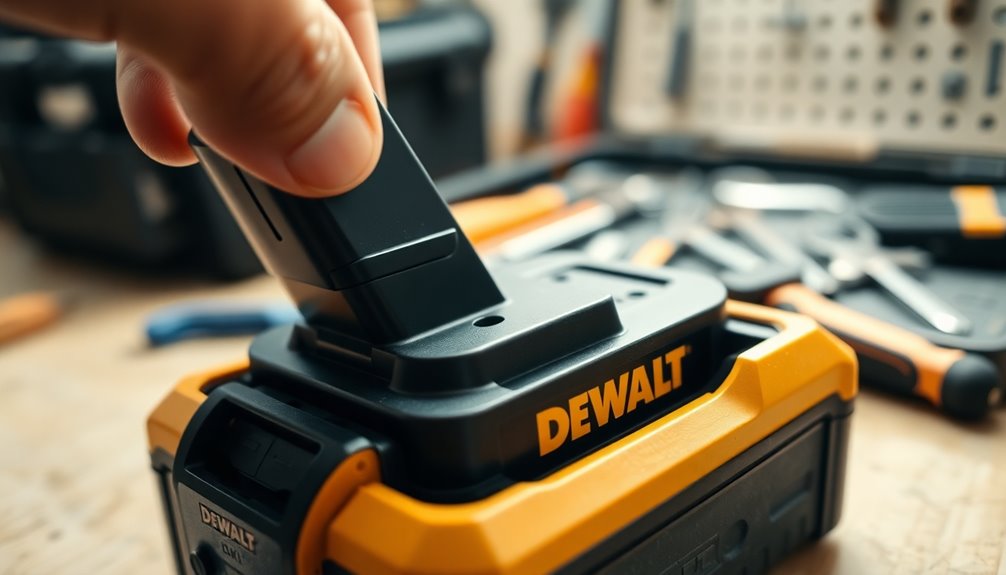
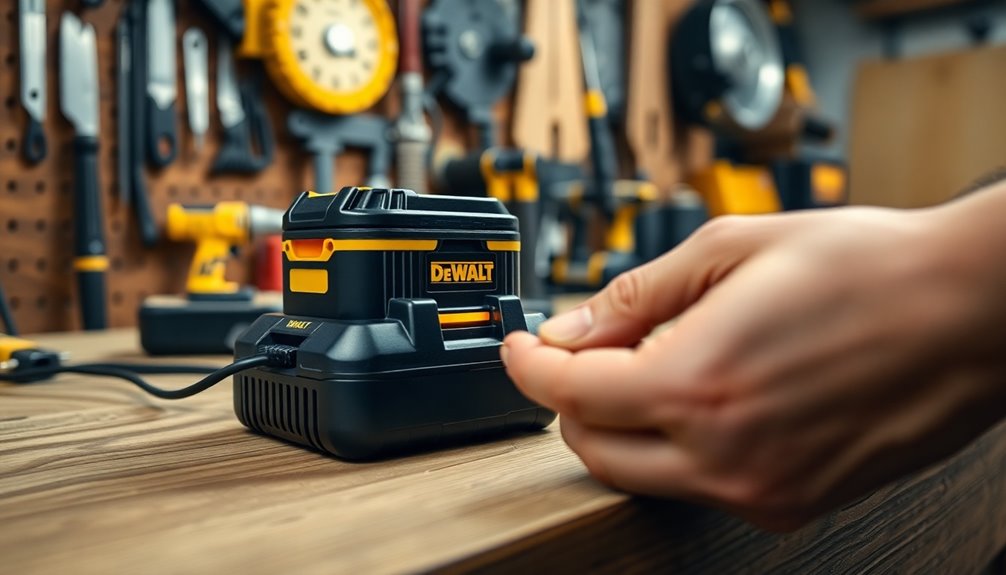
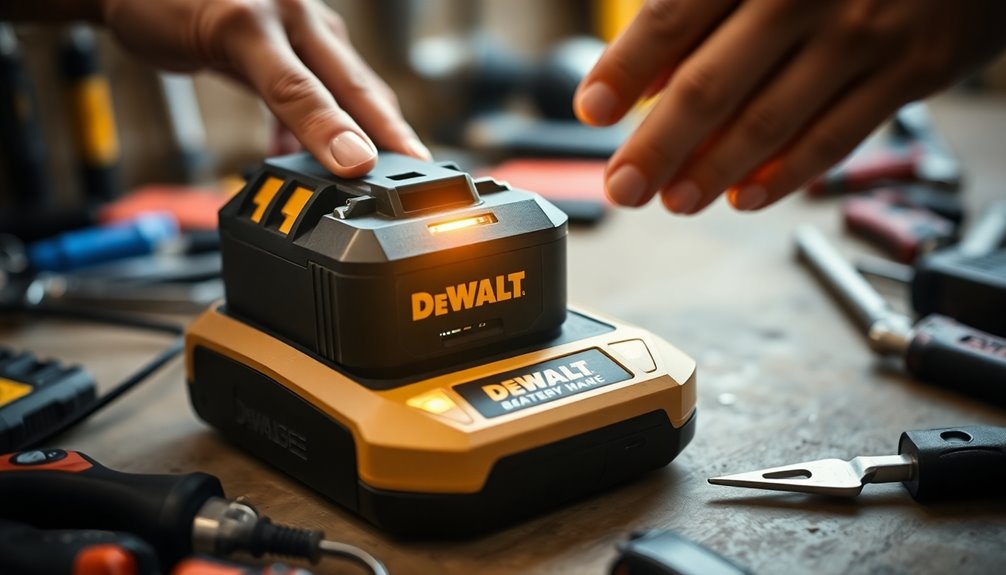
To ensure your DeWalt battery charges effectively, it's crucial to check its placement in the charger. First, make sure the battery is fully inserted into the charger slot. If it's just resting on top, it might light up but won't charge. You should hear a click when the battery is properly seated, indicating it's connected correctly.
Next, look for visual cues on both the battery and charger. If the battery lights up without charging, it likely isn't seated fully. Press the battery indicator button to check the charge level, and ensure all connections are secure and aligned. Additionally, ensuring a secure fit can prevent charging issues and save you time.
If you're still having issues, remove the battery and reinsert it, listening for that essential click. Check the weight distribution to confirm it's evenly aligned.
If problems persist, try cleaning the contacts on both the battery and charger, and make sure the charger is on a stable surface to prevent misalignment.
Regular inspection of battery and charger contacts for wear can prevent future issues. Always use the correct charger for your DeWalt battery model and follow the manufacturer's guidelines for maintenance.
Understanding Overheating Problems
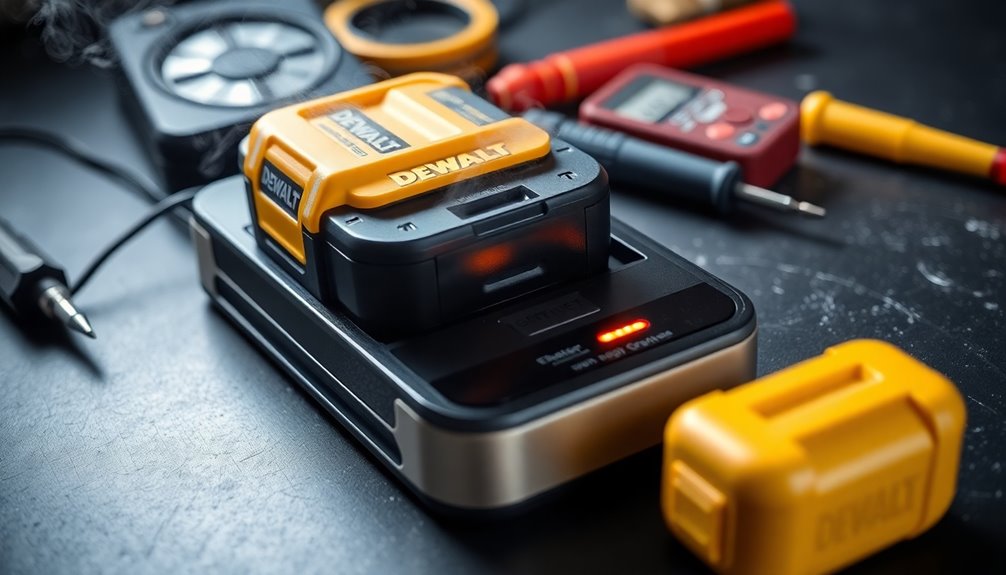
Overheating problems in DeWalt batteries can lead to significant performance issues and potential damage. Several factors can cause your battery to overheat. Incorrect battery insertion can create poor contact or even short circuits. Rapid current flow due to a short circuit can heat the battery up quickly.
Additionally, exposing your batteries to direct sunlight or high temperatures can elevate their temperature. Overworking the battery under high load conditions generates excessive heat, while poor storage in humid or hot environments can also contribute.
You might notice symptoms of overheating, such as a battery pack that feels very warm or hot to the touch. The charger may show an overheating warning, like a yellow light. If the battery fails to charge or power devices despite appearing fully charged, it's a red flag. Melting solder joints may also be a critical sign indicating that overheating has caused damage to the battery's internal components.
Physical signs like melted solder joints or deformed cells indicate severe issues. Overheating can cause irreversible damage to battery cells or the battery management system, reducing efficiency and lifespan.
To remedy overheating, let the battery cool down completely before charging, check connections, and store it in stable conditions. Taking these steps can help prevent overheating and extend your battery's life.
Handling Complete Battery Depletion
After addressing overheating issues, it's important to understand how to handle complete battery depletion. First, check the voltage of your DeWalt battery. If it shows no signs of life, you might've a completely dead battery. Look for solid red lights or no bars on the charger, which indicates the battery isn't being recognized.
Inspect the battery for damaged terminals or broken connections, as these can prevent charging. If the battery's voltage is low but you suspect it can be revived, try jumpstarting it with a fully charged battery. Connect the positive and negative terminals for a few seconds and observe any heat generated; this can be a sign that the jumpstart is working. You might need to attempt this multiple times. Additionally, if you notice heat observed in wires during your attempts, it may indicate that the jumpstart is having some effect.
If jumpstarting doesn't work, consider resetting the battery. If there's a popped Current Interrupt Device (CID), a manual reset can sometimes revive it.
After attempting these methods, always check the voltage and charging status to see if the battery's functioning properly. If all else fails, more advanced troubleshooting may be necessary. Regular maintenance can help prevent complete depletion in the future.
Best Charging Practices
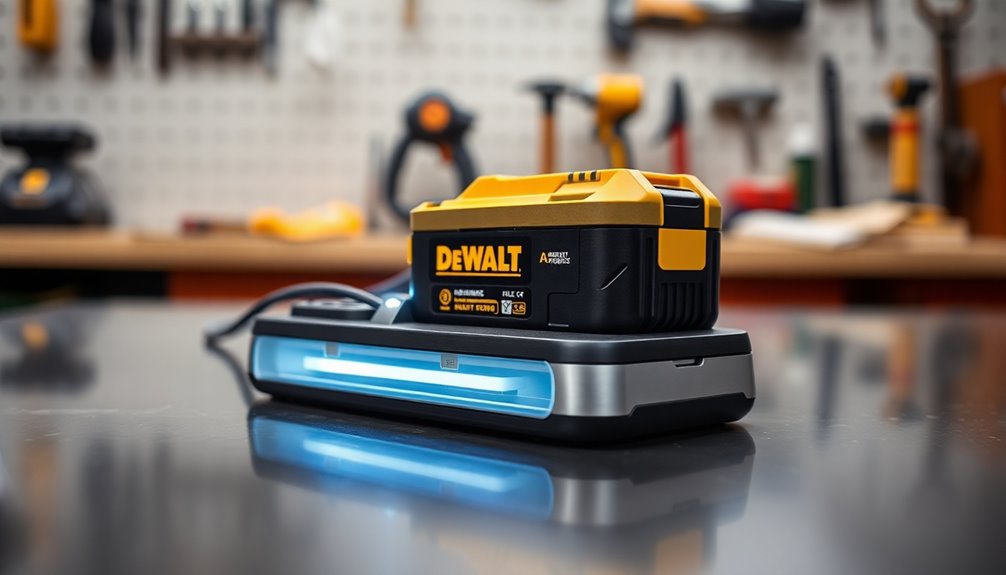
While you might be eager to charge your DeWalt battery, following the best charging practices is crucial for maintaining its longevity and performance.
Start by plugging the charger into an electrical outlet with 110/220 volts. Make sure the battery is inserted correctly into the charging dock, fully seated and locked in place. For optimal results, leave the battery on the charger for a full 8 hours to undergo maintenance and equalization modes. Charging it overnight is a great strategy, ensuring each cell gets fully charged. Additionally, frequent short charges can damage batteries over time, so avoid removing the battery too soon as this can lead to long-term damage.
It's also essential to keep the battery and charger in a stable, moderate environment, avoiding extreme temperatures. Room temperature is ideal for charging. If you can, limit the use of fast-charging options to reduce stress on the battery cells.
Performing Voltage Checks
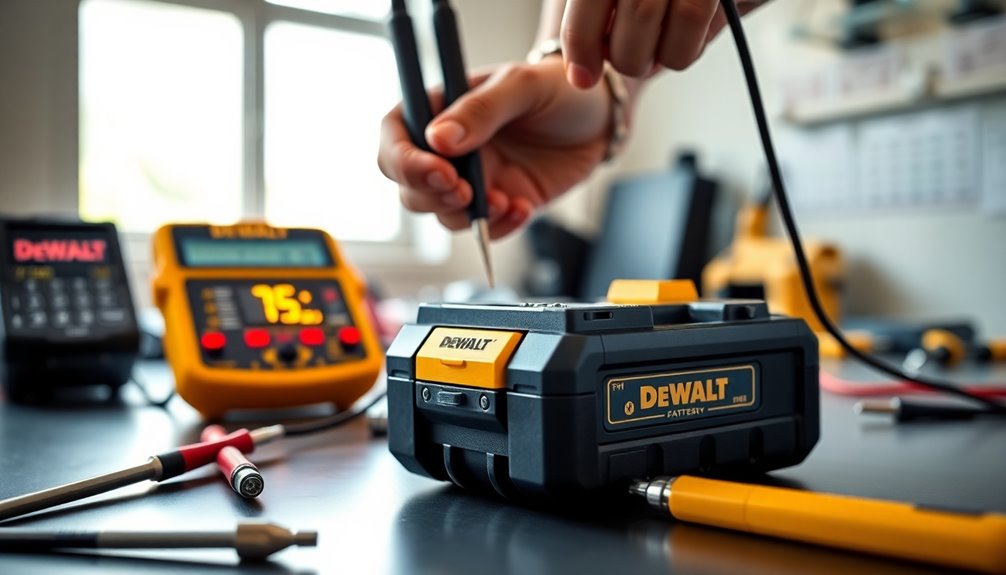
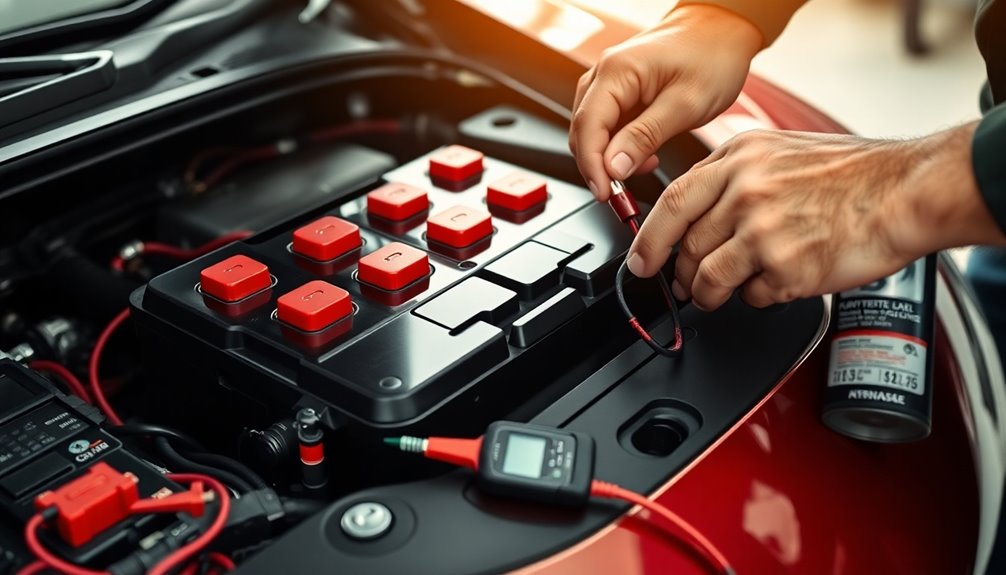
Even with the best charging practices in place, issues can still arise with your DeWalt battery, making it necessary to perform voltage checks. You'll need a multimeter set to measure DC voltage, along with red and black probes.
First, ensure the multimeter is correctly configured—connect the red probe to the red wire and the black probe to the black wire.
As you measure, each healthy cell should read between 3.6V to 4V, typically around 3.7 to 3.9 volts. If you encounter readings below 3.6V or above 4V, those cells are likely faulty. Pay close attention to significantly low voltages, like 2.4V or 1.6V; these indicate bad cells. In fact, cells with voltage below 3.0V are considered potentially faulty.
If you discover low overall battery voltage, it could stem from a few bad cells impacting the entire battery. In that case, consider replacing the faulty cells or charging them individually.
Also, check for broken internal connections that might cause low voltage issues. If the cells look good, inspect for other internal problems, such as broken connectors. This process will help you identify the root cause of your battery's charging issues.
Inspecting Indicator Lights
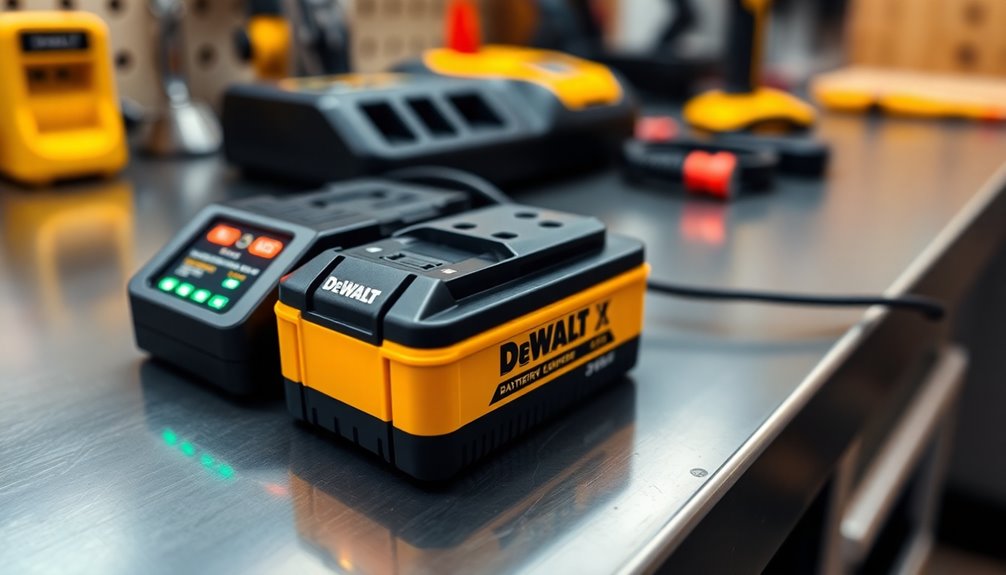
Checking the indicator lights on your DeWalt charger can quickly reveal what's going on with your battery. If you see a flashing red light, it means your battery's charging but isn't fully charged yet. A solid red light indicates that your battery is 100% charged and ready for use.
However, if there's no light at all, there could be an issue with either the charger or the battery itself; try using a different battery to isolate the problem. Regularly inspecting the charger and battery for visible damage can also help identify issues.
In cases where you see a solid yellow light accompanied by a flashing red light, your battery's too hot or too cold. Charging will pause until it reaches a suitable temperature.
If both a long red light (solid or blinking) and a second small bar light up, it's a sign of a malfunction, possibly due to temperature issues or a dead battery. A rapidly blinking red light suggests damaged battery cells or a faulty charger.
Lastly, if you notice one flash of red then nothing, your battery may be in sleep mode and needs a jumpstart. No life when pressing the indicator button could mean your battery is dead or deeply discharged.
Advanced Troubleshooting Techniques
If you've ruled out the charger and indicator lights as the source of the problem, it's time to explore advanced troubleshooting techniques for your DeWalt battery.
Start by diagnosing internal connections; broken connections are a common issue that can hinder charging. Disassemble the battery casing using a Torx or T10 bit, then use a multimeter to test voltage readings across different cells. Look for fusible links or broken connectors that may be preventing a charge.
Next, jumpstart the battery with another fully charged DeWalt battery. Connect the positive terminals together and do the same with the negative terminals for a few seconds. This can help revive a battery that's below the minimum voltage threshold. Additionally, be mindful that lithium-ion batteries can pose serious risks if not handled properly during this process.
Afterward, test for bad cells by measuring the voltage of each one. Check for signs of physical damage, like swelling or leakage. If you find faulty cells, replace them if possible, or consider a new battery if several are affected.
Finally, repair any broken internal connections by soldering or replacing damaged components, ensuring all electrical connections are secure before reassembling the battery. Test it to confirm everything's functioning correctly.
Manual Reset Procedure
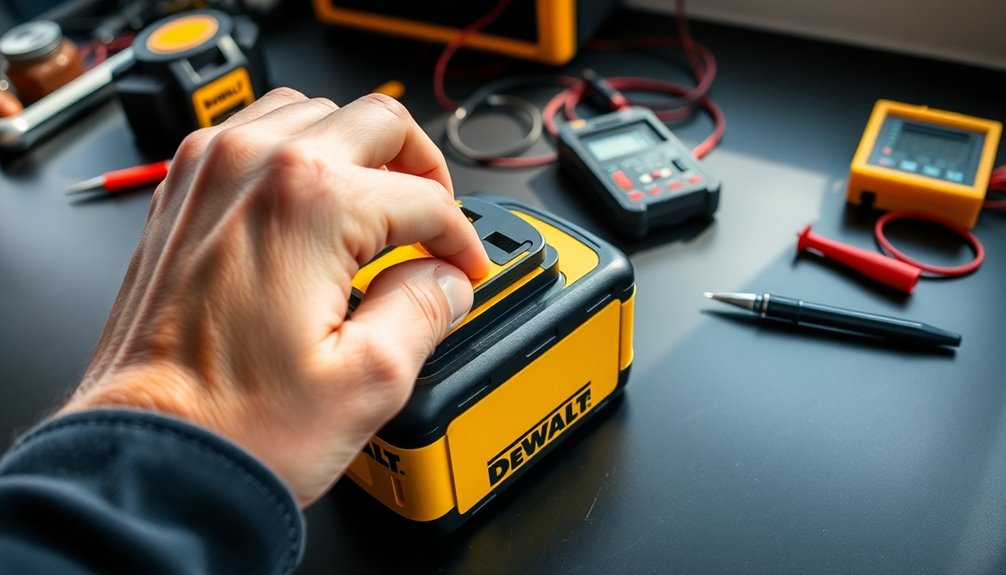
When your DeWalt battery refuses to charge, a manual reset procedure might just do the trick. Start by identifying the B+ and B- terminals on the battery.
To jump start it, use a good DeWalt 20V battery or another compatible 18V-20V battery from a different brand. Connect the B+ terminals together and the B- terminals together using insulated wires with forked connectors. Make sure the wire ends don't touch to avoid short circuits.
Check the power indicator light on the bad battery; disconnect after a few seconds.
If that doesn't work, you may need to disassemble the battery. Remove the four T-10 screws from the corners and carefully disconnect the terminal block.
Look for the small indentations on the top of each battery cell. Use a small flat screwdriver to push down on the gaps to reset them. Additionally, be aware that cold temperatures can impact battery performance and charging capability, making the reset even more crucial.
Next, locate the Current Interrupt Device (CID) inside the plastic case. Reset it by pressing down on the cap with four holes.
After reassembling the battery, check the voltage of the cells and try charging again. Test it with a tool to ensure it's functioning properly.
When to Seek Professional Help
Sometimes, tackling battery issues on your own can lead to more problems than solutions. If you notice that the internal battery components seem complex or inaccessible, it's wise to seek professional help. Diagnosing and repairing these batteries often requires specialized tools and a solid understanding of electrical circuits and battery chemistry.
Attempting repairs without this knowledge can pose serious risks, including electrical shock or even fire. If you lack the necessary skills, such as soldering or using a multimeter, it's best to leave it to the pros. They're equipped to handle complicated faults, identify broken connections, and safely open damaged battery casings. Additionally, if the battery shows signs of voltage issues, a professional can help determine if repair or replacement is the best course of action.
If you've already assessed the battery and found severe imbalances or internal damage, attempting to fix it yourself might lead to further issues. Additionally, if the battery's age and usage suggest replacement might be more economical, a professional can guide you through this decision.
Frequently Asked Questions
Can I Use a Different Charger for My Dewalt Battery?
You can use a different charger for your DeWalt battery, but make sure it's compatible. Chargers like the DCB104 and DCB118 work with various battery types, ensuring efficient charging.
However, using an incompatible charger could damage your battery or void its warranty. Always check the amp output and the LED status light to confirm proper charging.
If you're unsure, it's best to stick with the recommended chargers to avoid issues.
How Long Does a Dewalt Battery Typically Last Before Needing Replacement?
A DeWalt battery typically lasts around three years or about 300 to 500 charge cycles, depending on how you use and maintain it.
If you avoid extreme temperatures, overcharging, and deep discharges, you can extend its lifespan. Regular maintenance, like cleaning and inspecting for damage, also helps.
Storing the battery in a cool, dry place when not in use will keep it healthy longer, ensuring you get the most out of your investment.
What Safety Precautions Should I Take While Charging My Battery?
When charging your battery, you should prioritize safety.
Avoid charging in explosive atmospheres and ensure the temperature stays between 65°F and 75°F.
Use only the charger specified in the manual and never modify the battery pack.
Keep liquids away from the charger, and don't operate it if the cord or plug is damaged.
Finally, unplug it when not in use to minimize electric shock risks.
Following these precautions ensures safe and efficient charging.
Is It Safe to Charge Batteries Overnight?
Charging batteries overnight can be safe if you follow a few key precautions.
Make sure your charger has built-in overcharge protection and is compatible with your battery type. Use a trickle charger with automatic shutoff for added safety.
Always keep the charging area clean and well-ventilated, and ensure there's no risk of flammable materials nearby.
If you're unsure, it's better to charge during the day when you can monitor the process.
Can Extreme Temperatures Affect My Battery's Performance?
Yes, extreme temperatures can significantly affect your battery's performance. High heat may boost capacity temporarily but accelerates degradation, shortening its lifespan.
Conversely, low temperatures slow chemical reactions, reducing output and charging efficiency. You might notice a drop in capacity and increased internal resistance in cold conditions, impacting how well your device functions.
To maximize performance, keep your battery within the recommended temperature range and avoid exposing it to extreme temperatures for prolonged periods.
Conclusion
If your DeWalt battery isn't charging, don't worry—you can fix it quickly! By checking the battery placement, monitoring for overheating, and following best charging practices, you'll likely resolve the issue. Remember to inspect indicator lights and try a manual reset if needed. If these tips don't work, it might be time to seek professional help. With a little troubleshooting, you'll have your battery up and running in no time!

